You can create stunning DIY wedding photography and videography centerpieces on a budget with a little creativity. Consider using Polaroid-style frames, rustic photo ladders, or memory jar video stations to showcase your favorite moments. Upcycle vintage cameras or window frames for unique displays, or craft photo wreaths and storybook albums for a personalized touch. Floating photo candles and personalized lanterns add romantic ambiance, while video projections offer a modern twist. Don't forget to include fun photo booth props to encourage guest participation. These ideas not only save money but also infuse your reception with meaningful memories and personal flair. Explore further to discover even more budget-friendly centerpiece inspirations.
Key Takeaways
- Create photo display centerpieces using affordable frames, wooden ladders, or upcycled window frames to showcase cherished memories.
- Design interactive memory jar video stations with tablets or smartphones for guests to leave video messages.
- Craft floating photo candle arrangements or personalized photo lanterns for romantic, budget-friendly lighting options.
- Repurpose vintage cameras or create storybook album centerpieces for unique, thematic table decorations.
- Set up a DIY photo booth with homemade props using inexpensive materials like cardboard and craft supplies.
Polaroid Picture Frame Centerpieces
Creating Polaroid picture frame centerpieces adds a personal touch to your wedding tables while showcasing cherished memories. To craft these unique displays, you'll need Polaroid-style frames, photos of you and your partner, and sturdy bases.
Start by selecting meaningful photos that capture your relationship's journey. Print these images in the classic square Polaroid format. Next, choose frames that complement your wedding's color scheme. You can find affordable options at craft stores or online retailers.
For the base, consider using small wooden boxes, vintage books, or rustic slabs of wood. Arrange the frames in varying heights to create visual interest. Use floral wire or clear fishing line to secure the frames to the base, ensuring they won't topple over during the reception.
To enhance the centerpiece, add small battery-operated string lights or tea lights around the base. You can also incorporate elements like dried flowers, greenery, or small trinkets that reflect your personal style.
Don't forget to include a mix of candid and posed shots to give guests a glimpse into your love story. These DIY centerpieces won't only save you money but also serve as conversation starters for your guests.
Rustic Photo Ladder Displays
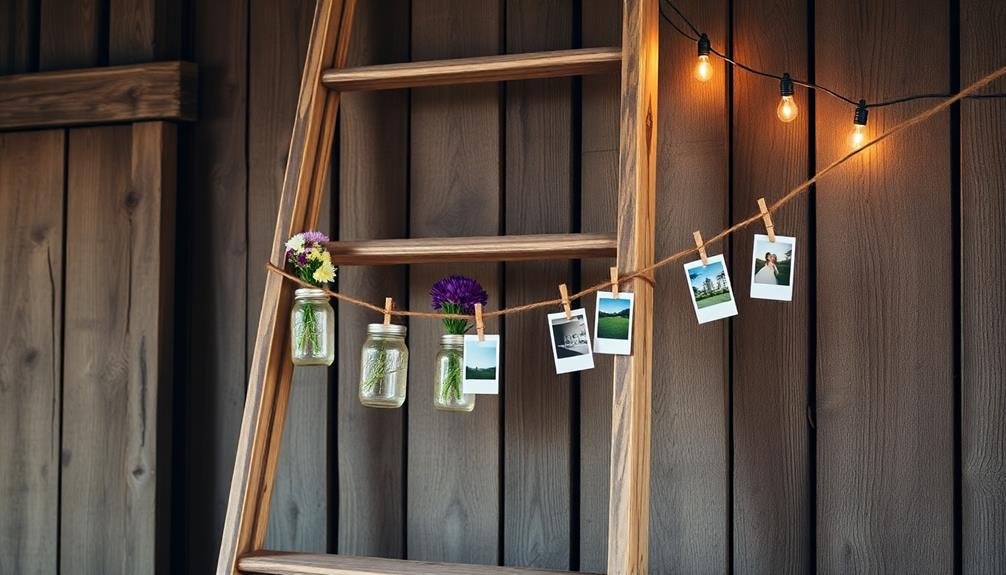
Rustic photo ladder displays frequently offer a charming and versatile centerpiece option for wedding tables. You can create these eye-catching displays using small wooden ladders, easily found at craft stores or repurposed from thrift shops.
To start, sand and stain the ladder to achieve your desired rustic look.
Next, gather a selection of favorite photos of the couple, their families, or memorable moments. Print these in various sizes and attach them to the ladder rungs using twine, mini clothespins, or decorative clips. You can also incorporate small potted plants, fairy lights, or hanging mason jars with tea lights to add depth and ambiance.
For a personal touch, include handwritten notes or quotes about love and marriage on small chalkboards or kraft paper tags. Don't forget to leave some space for guests to add their own photos or messages during the reception.
To elevate the display, place the ladder on a wooden crate or vintage suitcase. Surround the base with textured elements like burlap, lace, or greenery to complete the rustic aesthetic.
These photo ladder centerpieces won't only serve as conversation starters but also create a warm, nostalgic atmosphere for your wedding celebration.
Memory Jar Video Stations
Memory jar video stations offer a unique and interactive twist on traditional wedding photography centerpieces. These stations combine the charm of memory jars with modern video technology, allowing guests to create lasting memories for the newlyweds.
To set up a memory jar video station, you'll need a tablet or smartphone, a stand, and a decorative jar. Place the device on the stand and position it near the jar. Use an app that allows guests to record short video messages. Decorate the area with flowers, candles, or themed elements that match your wedding decor.
Encourage guests to leave video messages for the couple by recording their well-wishes, advice, or favorite memories. They can then write a brief description of their message on a small piece of paper and place it in the jar. This creates a physical keepsake for the couple to enjoy alongside the digital videos.
After the wedding, you can compile all the video messages into a montage, creating a heartwarming memento of your special day. This interactive centerpiece not only serves as a conversation starter but also provides a fun activity for guests and a treasure trove of memories for the newlyweds.
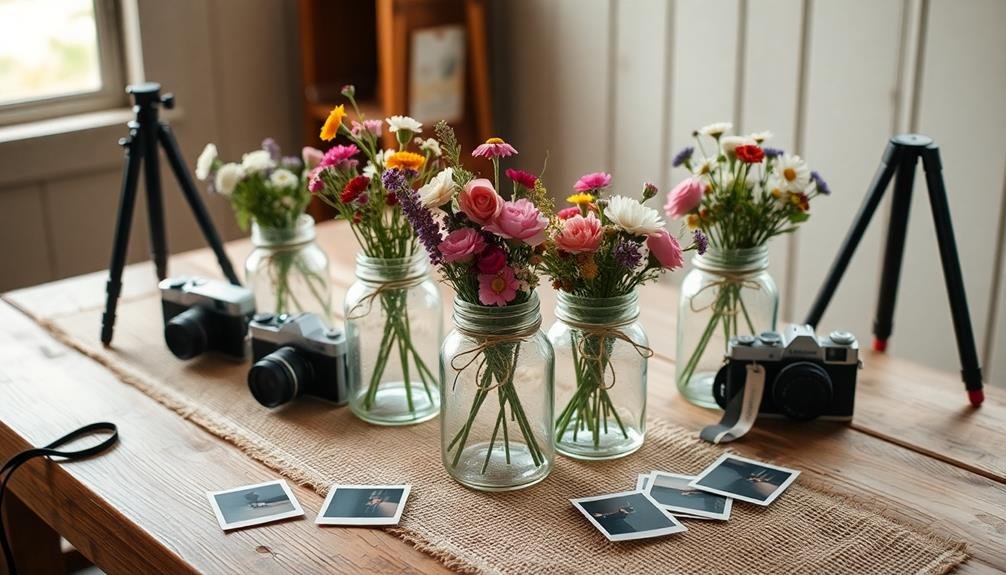
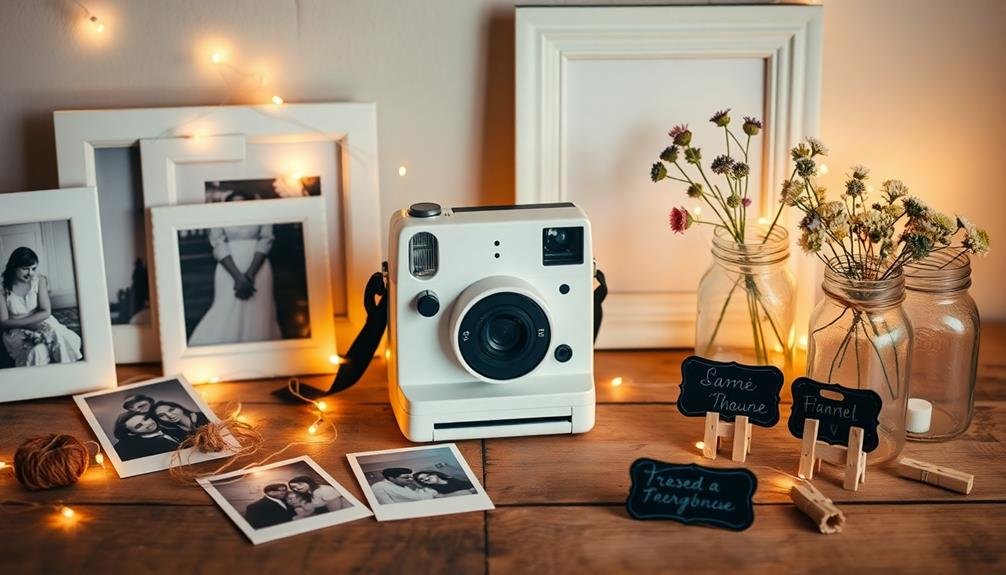
Vintage Camera Table Decorations
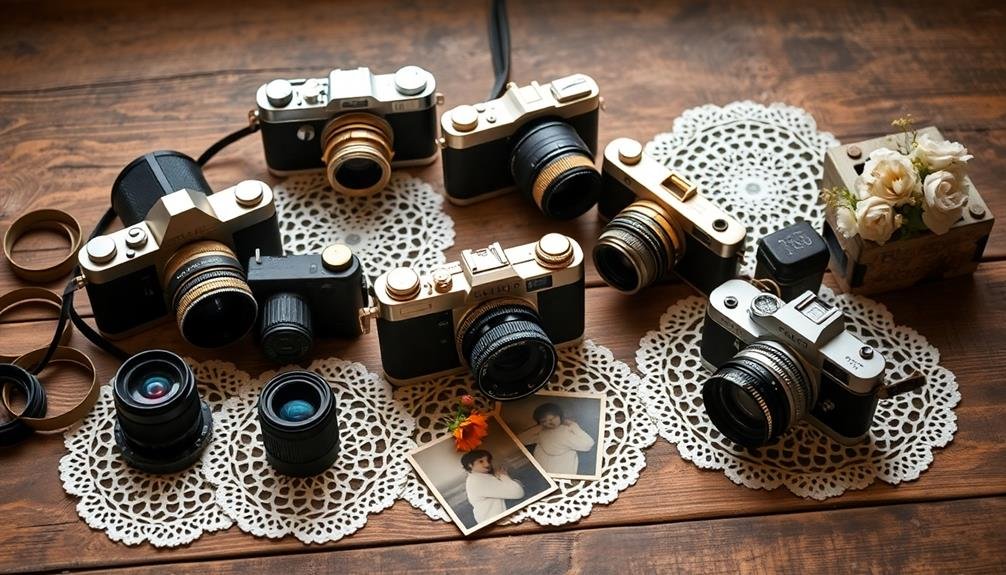
Photography enthusiasts' weddings can be beautifully enhanced with vintage camera table decorations. These unique centerpieces add a nostalgic touch while celebrating your passion for photography.
To create these eye-catching displays, start by scouring thrift stores, flea markets, and online marketplaces for old cameras. Look for a variety of styles, sizes, and colors to add visual interest.
Once you've collected your cameras, clean them carefully and arrange them in small groups on each table. You can elevate some cameras using vintage books or wooden boxes to create depth.
Add a personal touch by printing black and white photos of you and your partner, or vintage images related to your wedding theme, and display them in small frames around the cameras.
Enhance the centerpieces with complementary elements like film reels, old photographs, or vintage postcards. Incorporate soft lighting by placing battery-operated tea lights or small string lights around the display.
For a finishing touch, add fresh flowers or greenery that match your wedding color scheme. These camera centerpieces won't only serve as conversation starters but also provide a unique backdrop for guests' own photos throughout the reception.
Photo Wreath Centerpieces
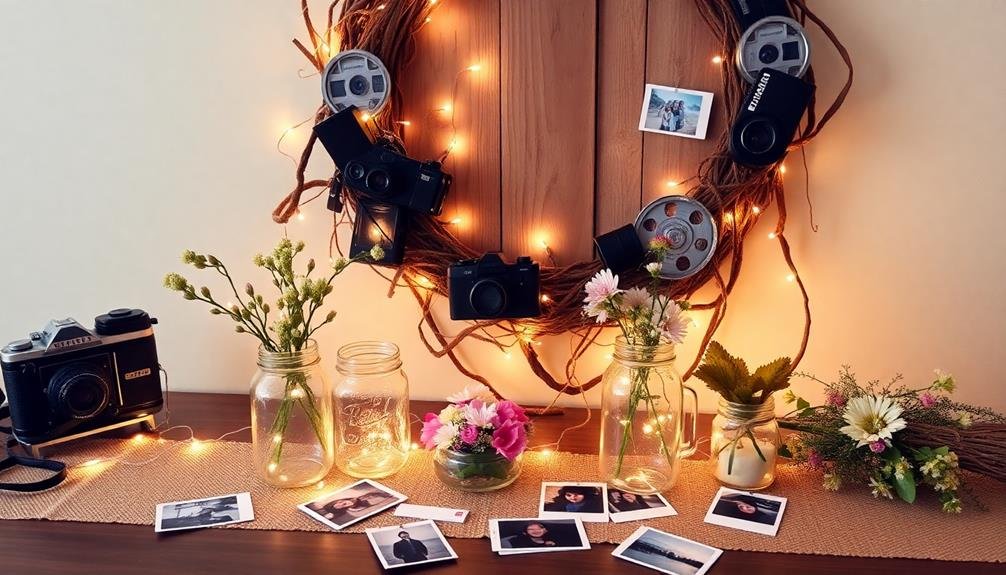
Create stunning photo wreath centerpieces for your wedding tables using simple materials and easy assembly techniques.
You'll need a wreath form, floral wire, and printed photos to craft these eye-catching decorations.
Personalize each wreath by selecting meaningful images that showcase your relationship, family members, or cherished memories.
Materials and Assembly
To bring your photo wreath centerpieces to life, you'll need a few key materials and some simple assembly steps. Start by gathering a foam wreath form, floral wire, ribbon, and printed photos of the couple or wedding party. You'll also need scissors, a hot glue gun, and any additional decorative elements you'd like to incorporate.
Begin by wrapping the foam wreath form with ribbon, securing it with hot glue as you go. Next, cut your photos into uniform sizes and shapes. Attach each photo to the wreath using floral wire, creating an overlapping pattern around the form.
As you work, consider these tips to enhance your centerpiece:
- Mix portrait and landscape orientations for visual interest
- Alternate color and black-and-white photos
- Include candid shots alongside posed images
- Add small floral accents between photos
- Incorporate meaningful mementos or trinkets
Once you've attached all your photos, finish the wreath by adding a decorative bow or hanging ornament in the center. Secure any loose elements with hot glue, and your photo wreath centerpiece is ready to display.
These personalized creations will surely captivate your wedding guests and serve as cherished keepsakes long after the big day.
Personalizing Photo Selections
Selecting photos for your wreath centerpieces is a deeply personal process that'll make your wedding decor truly unique. Consider choosing images that tell your love story, from first dates to the proposal. Include photos of both you and your partner individually, as well as shots of you together.
Don't limit yourself to just portraits; incorporate candid moments and images that capture shared interests or hobbies. You might also want to include photos of family members or close friends who've played important roles in your relationship. If you're honoring deceased loved ones, add their pictures to create a touching tribute.
For a cohesive look, choose photos with similar color tones or apply filters to create a uniform aesthetic. Mix up the orientations, using both landscape and portrait shots to add visual interest.
If you're creating multiple wreaths, you can theme each one differently – perhaps dedicating one to childhood photos, another to travel memories, and a third to your engagement period.
Remember to select high-quality images that'll print well at the size you need. Avoid blurry or poorly lit photos that might detract from the overall impact of your centerpieces.
Floating Photo Candle Arrangements

While traditional centerpieces have their charm, floating photo candle arrangements offer a unique and intimate touch to your wedding decor. These eye-catching displays combine the warmth of candlelight with cherished memories, creating a romantic ambiance that's sure to captivate your guests.
To create your own floating photo candle arrangements, you'll need:
- Clear glass bowls or vases
- Floating candles
- Printed photos (waterproof or laminated)
- Decorative stones or pebbles
- Floral wire or clear fishing line
Start by selecting photos that reflect your relationship's journey or special moments with loved ones. Print them on waterproof paper or laminate them to protect against moisture. Cut the photos into circular shapes slightly smaller than your floating candles.
Attach the photos to the bottom of the candles using floral wire or clear fishing line. Fill your glass containers with water and add decorative stones for a pop of color.
Gently place the photo-adorned candles on the water's surface. As they flicker, your photos will dance in the reflection, creating a mesmerizing effect that'll spark conversations and evoke fond memories throughout your reception.
DIY Photo Booth Props
You'll want to create eye-catching props for your DIY photo booth that reflect your wedding's theme and personality.
Consider making oversized picture frames, quirky signs with witty sayings, and fun accessories like bow ties or tiaras using affordable materials like cardboard, foam board, and craft supplies.
With a bit of creativity, you can design unique props that will encourage guests to snap memorable photos and add an extra element of fun to your special day.
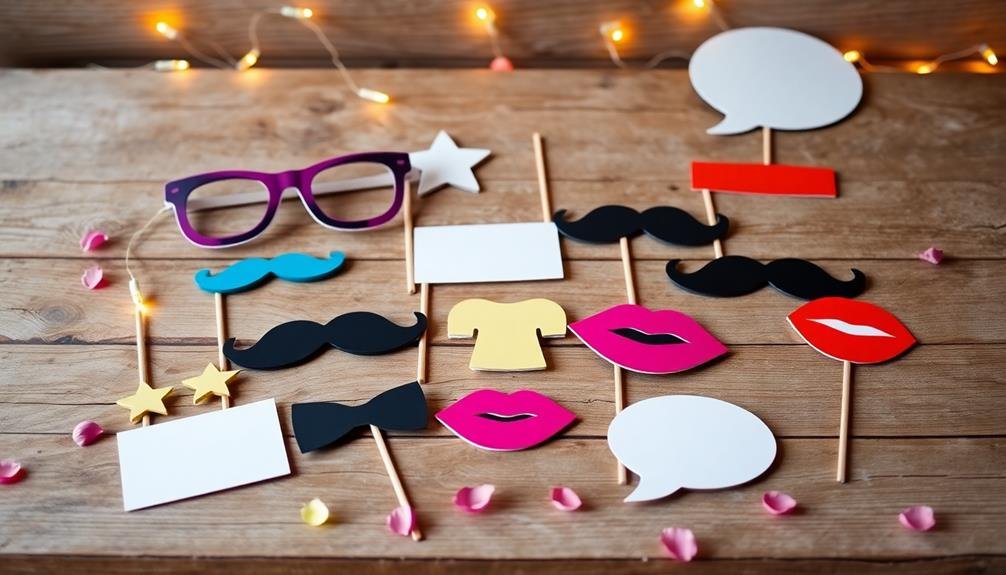
Creative Prop Ideas
Photo booth props often make or break the fun factor at wedding receptions. To guarantee your guests have a blast, you'll want to create a diverse and entertaining array of props.
Don't worry about breaking the bank; you can easily craft unique and eye-catching props using everyday materials. Start by gathering supplies like cardstock, craft sticks, glue, and scissors.
Then, let your creativity flow as you design and cut out various shapes and accessories. Consider these fun prop ideas:
- Oversized glasses frames in different styles and colors
- Speech bubbles with witty phrases or wedding-related quotes
- Mustaches on sticks in various shapes and sizes
- Silly hats, from top hats to tiaras
- Themed props that match your wedding style or inside jokes
Remember to create props that appeal to all age groups and personalities. Mix in some elegant options alongside the silly ones to cater to everyone's tastes.
Don't forget to make multiples of popular items to avoid disappointment. With a little effort and imagination, you'll create a prop collection that'll have your guests lining up for photo booth fun all night long.
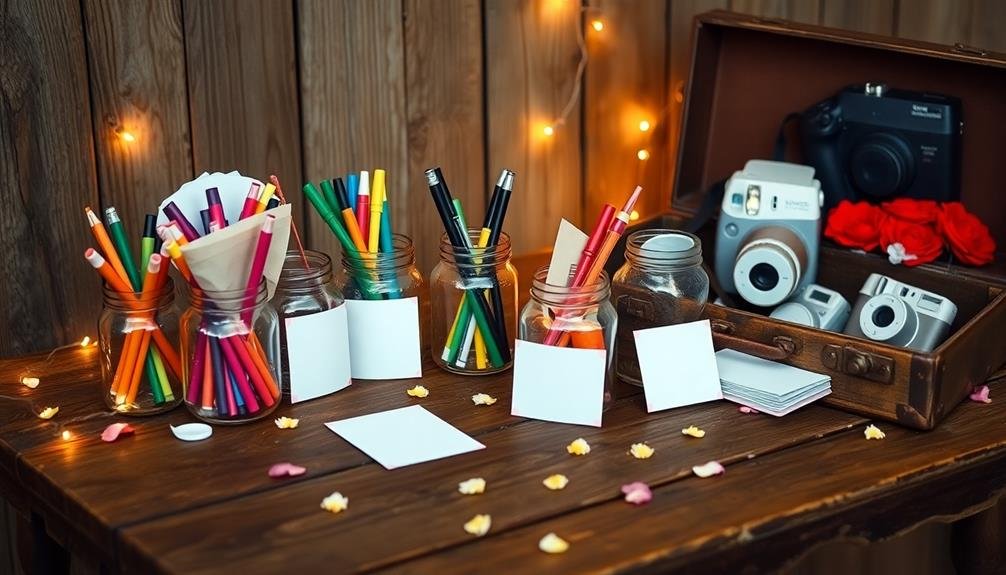
Affordable Materials List
For creating DIY photo booth props on a budget, you'll need a variety of affordable materials. Start with colorful cardstock or construction paper, which forms the base for many props. Add wooden dowels or popsicle sticks for handles. Glitter, sequins, and colored markers will help you embellish your designs.
Don't forget adhesives like glue sticks, double-sided tape, and a hot glue gun. Craft foam sheets are versatile for creating 3D elements. Include scissors, an X-acto knife, and a cutting mat for precise cutting. Ribbons, feathers, and pom-poms add texture and flair.
For specific prop ideas, gather old eyeglass frames (lenses removed), costume jewelry, and small chalkboards. Felt sheets work well for mustaches and lips. Cardboard boxes can become fun photo frames. Consider purchasing a pack of assorted craft supplies for added variety.
Look for these materials at dollar stores, craft shops, or online marketplaces. Buy in bulk when possible to save money. Remember, many household items can be repurposed for props, so check your storage areas before shopping.
With these affordable materials, you'll be ready to create unique, budget-friendly photo booth props for your wedding.
Storybook Album Table Centerpieces
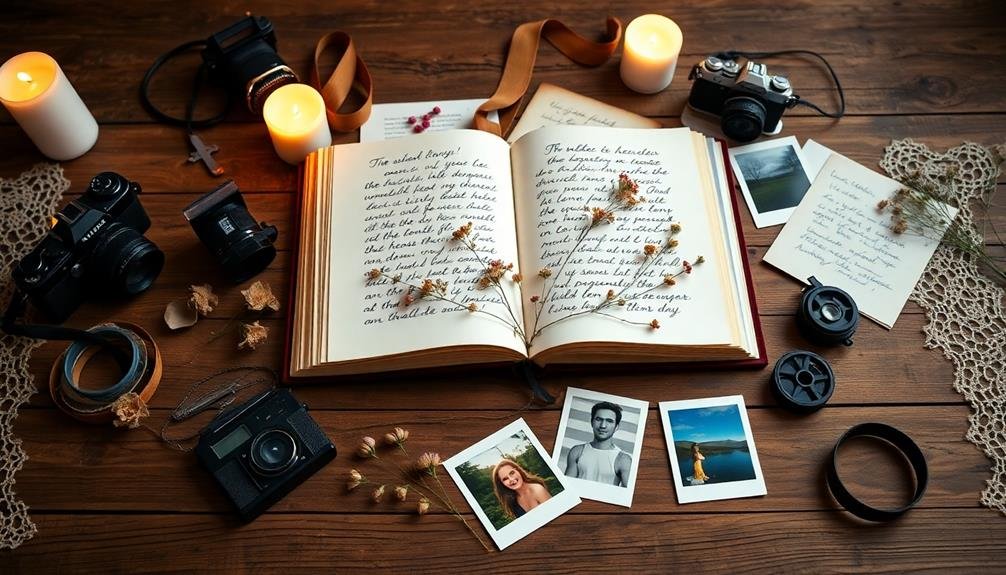
Ever wondered how to bring a touch of nostalgia and romance to your wedding tables? Storybook album centerpieces offer a unique and personal way to showcase your love story while keeping costs down.
These eye-catching displays will captivate your guests and serve as conversation starters throughout the reception.
To create your own storybook album centerpieces, you'll need:
- Photo albums or scrapbooks
- Printed photos of you and your partner
- Decorative paper or fabric
- Ribbon or twine
- Battery-operated fairy lights
Start by selecting meaningful photos that highlight your relationship's journey. Arrange them chronologically in the album, leaving space for guests to add their own messages.
Cover the album with decorative paper or fabric that matches your wedding theme. Tie a ribbon or twine around the album for an elegant touch.
Place the finished album on a small easel or prop it up using a decorative stand. Surround it with battery-operated fairy lights to create a warm, inviting glow.
You can also add small objects that represent shared interests or milestones in your relationship. These personalized centerpieces won't only save you money but also create lasting memories for you and your guests.
Personalized Photo Lanterns
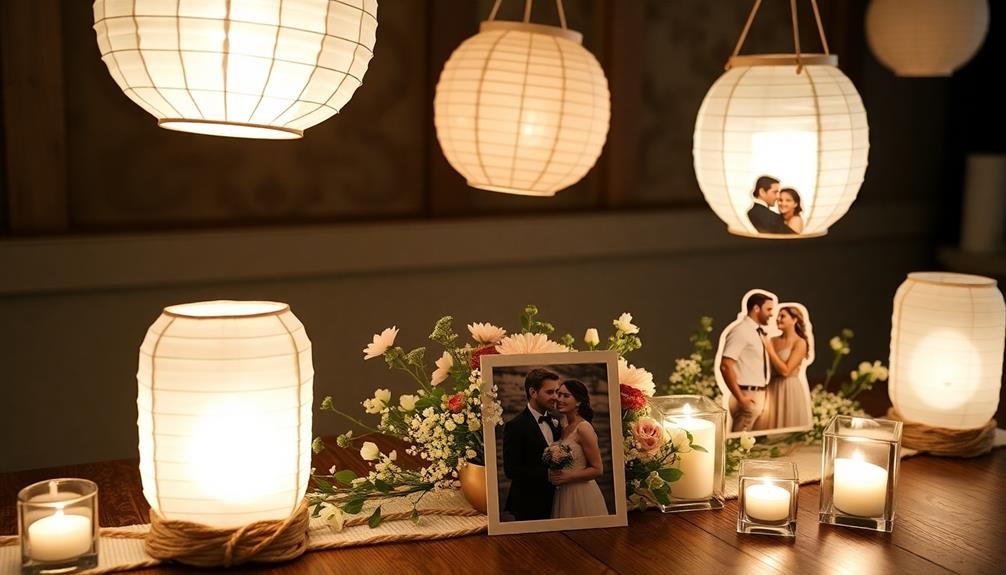
You'll need a few key items to create stunning personalized photo lanterns for your wedding centerpieces.
Gather glass or metal lanterns, printed photos, adhesive, and decorative elements like ribbons or flowers.
Follow a simple process to transform plain lanterns into unique, memory-filled centerpieces that'll captivate your guests.
Materials and Tools Needed
To create personalized photo lanterns as wedding centerpieces, you'll need a few essential materials and tools. First, gather plain white or colored paper lanterns in your desired size and shape. You'll also need printed photographs of the couple, their families, or meaningful moments. For a polished look, consider using photo-quality paper or having the images professionally printed.
Next, assemble the following items:
- Scissors or a precision cutting tool
- Double-sided tape or a strong adhesive
- A ruler or measuring tape
- Clear varnish or sealant spray
- Battery-operated LED lights or flameless candles
With these materials on hand, you're ready to begin crafting your unique centerpieces. Measure and cut the photos to fit the lantern panels, ensuring they're slightly smaller than the openings. Use double-sided tape to secure the images inside the lanterns, taking care to align them properly.
Once all photos are in place, apply a thin coat of clear varnish or sealant spray to protect them from moisture and enhance their durability. Finally, insert the LED lights or flameless candles to illuminate your personalized photo lanterns, creating a warm and inviting ambiance for your wedding reception.
Step-by-Step Creation Process
Creating personalized photo lanterns for your wedding centerpieces is a straightforward process that you can complete in just a few steps.
Begin by selecting your favorite photos of you and your partner. Print these images on vellum paper, ensuring they're sized to fit your chosen lanterns.
Next, carefully remove the glass panels from your lanterns. Clean them thoroughly and set them aside.
Cut the printed vellum photos to fit each panel, leaving a small border for adhesive. Apply double-sided tape or a thin layer of clear craft glue to the edges of the vellum, then carefully attach it to the inside of the glass panels.
Once the adhesive has dried, reinsert the glass panels into the lanterns. Place battery-operated LED candles inside each lantern to create a warm, romantic glow that'll highlight your photos.
For added personalization, tie ribbons in your wedding colors around the lantern's handle or base.
Video Projection Centerpiece Ideas
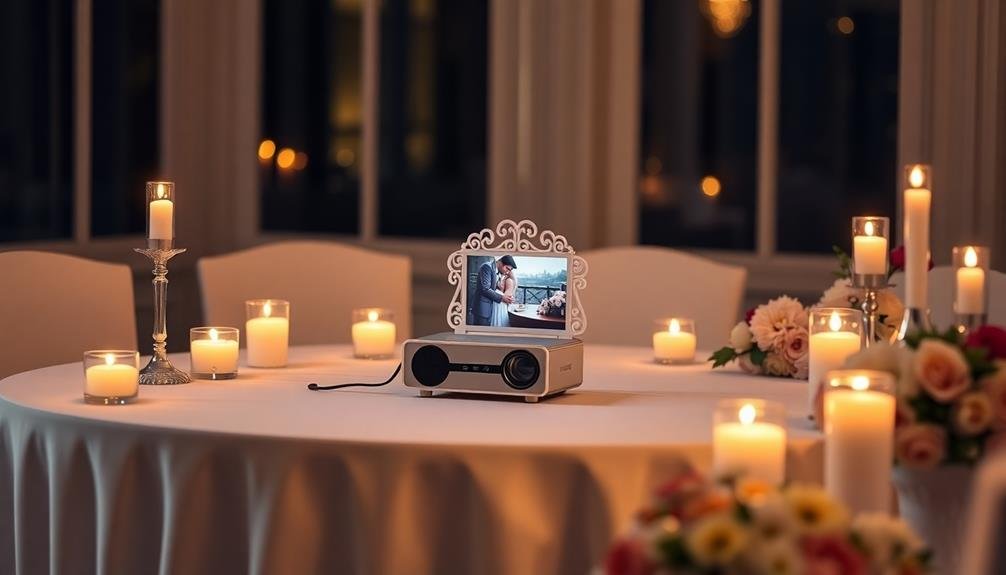
Three innovative video projection centerpiece ideas can transform your wedding reception tables into dynamic, eye-catching displays. These budget-friendly options use simple equipment to create stunning visual effects that'll wow your guests.
First, try projecting a looping video of flickering candles onto white tablecloths. This creates the illusion of multiple candles without the fire hazard or wax mess. Alternatively, project nature scenes like gentle waves or rustling leaves for a calming ambiance.
For a more personalized touch, create a slideshow of your favorite couple photos and project them onto glass vases or cylinders filled with water. The refraction will create a mesmerizing effect as the images dance across the table.
To make your centerpieces truly unique, consider these creative projection ideas:
- Animated floral patterns that "grow" across the table
- Starry night sky with twinkling constellations
- Underwater scenes with swimming fish
- Time-lapse videos of blooming flowers
- Custom monograms or wedding hashtags that change colors
Remember to test your projections beforehand to guarantee proper focus and brightness.
With a little creativity and some basic tech skills, you'll create unforgettable centerpieces that'll keep your guests talking long after the wedding.
Upcycled Window Frame Photo Displays
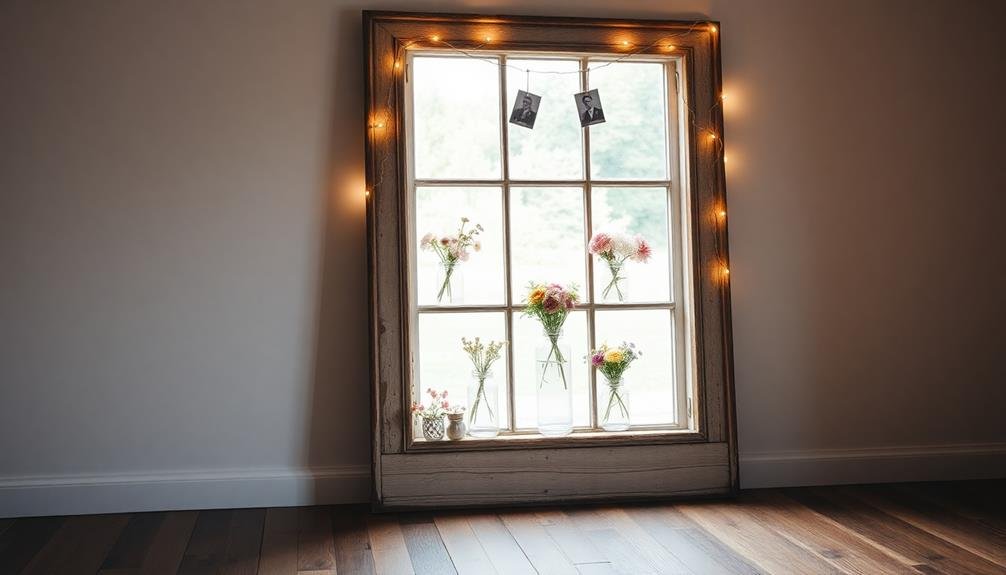
While video projections offer a high-tech approach, upcycled window frame photo displays bring a rustic, vintage charm to your wedding centerpieces. You can easily create these eye-catching displays using old window frames and your favorite photos.
Start by sourcing vintage window frames from flea markets, antique shops, or even your grandparents' attic. Clean and restore the frames, keeping their weathered look for added character.
Choose a selection of meaningful photos, such as snapshots of you and your partner, family members, or cherished memories. Print these images in sizes that fit within the window panes. You can opt for black and white prints for a timeless feel or stick with color photos to match your wedding palette. Secure the photos to the back of the frame using clear tape or removable adhesive.
To elevate your centerpiece, add some decorative elements like fairy lights, greenery, or small floral arrangements around the frame. You can also incorporate table numbers or love quotes by writing on the glass with chalk markers.
These upcycled window frame displays not only serve as unique centerpieces but also double as personalized decor that guests will admire throughout your reception.
Frequently Asked Questions
How Can I Protect My DIY Centerpieces From Weather Damage During Outdoor Weddings?
You can protect your DIY centerpieces from weather damage during outdoor weddings by using waterproof sealants, covering them with clear plastic domes, or placing them under small canopies. Consider using weather-resistant materials and have backup options ready.
What Lighting Techniques Enhance DIY Photo and Video Centerpieces in Dimly Lit Venues?
You'll enhance your centerpieces in dim venues by using battery-operated LED lights, candles, or fairy lights. Incorporate reflective elements like mirrors or metallic accents. Position spotlights strategically, and use warm-toned bulbs for a cozy ambiance.
Are There Eco-Friendly Alternatives for Creating Sustainable Wedding Photography Centerpieces?
You'll find plenty of eco-friendly options for sustainable wedding photo centerpieces. Try using potted plants, recycled glass jars, or repurposed picture frames. You can also incorporate LED lights, dried flowers, or biodegradable materials to create stunning, earth-friendly displays.
How Can I Incorporate Cultural Elements Into DIY Wedding Photography Centerpiece Designs?
You can incorporate cultural elements by using traditional fabrics, symbols, or artifacts in your centerpieces. Add native flowers, colorful textiles, or meaningful trinkets. Don't forget to include photos that showcase your heritage or family traditions.
What Are Some Tips for Editing Wedding Photos Specifically for Centerpiece Displays?
To edit wedding photos for centerpiece displays, you'll want to focus on enhancing colors, cropping for visual impact, and adjusting brightness. Don't forget to highlight details, remove distractions, and maintain consistency across all images in your display.
In Summary
You've now got plenty of creative ideas to incorporate photography and videography into your wedding centerpieces without breaking the bank. Whether you're using Polaroids, vintage cameras, or digital displays, these DIY options will add a personal touch to your tables. Don't be afraid to mix and match ideas or put your own spin on them. With a little creativity and effort, you'll create unique, memorable centerpieces that showcase your love story and delight your guests.

I’m Sarah, the creator and writer behind this site. I’m a wife and a mother of two wonderful kids who keep me on my toes and inspire me daily. My passion lies in creating and organizing memorable events and group activities, where people can come together and make lasting memories.

Leave a Reply