
DIY wedding invitation kits offer a budget-friendly way to create personalized invitations that reflect your unique love story. You'll enjoy benefits like cost-effectiveness, design control, and flexibility in quantity. Choose from options like rustic charm, elegant lace, or minimalist chic kits to match your wedding style. With the right tools and materials, you can assemble stunning invitations step-by-step. Add personal touches through custom stamps, calligraphy, or unique envelope liners. Don't forget to take into account addressing and mailing logistics, and manage your time effectively. For eco-conscious couples, sustainable alternatives are available. Discover how to craft invitations that set the perfect tone for your special day.
Key Takeaways
- DIY invitation kits offer cost-effectiveness, design control, and personal touch for budget-conscious couples.
- Top kit options include rustic charm, elegant lace, and minimalist chic designs to suit various wedding styles.
- Essential tools for DIY invitations include quality cardstock, a reliable printer, cutting tools, and adhesives.
- Step-by-step assembly guides ensure proper alignment and organization during the creation process.
- Personalization through unique elements, embellishments, and custom wording adds a special touch to invitations.
Benefits of DIY Invitation Kits
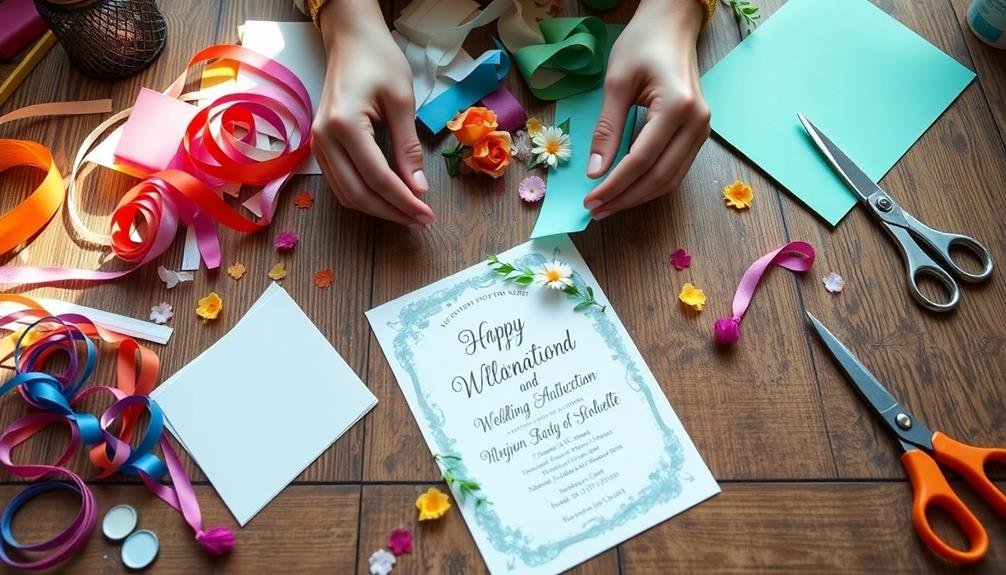
Couples planning their wedding often find themselves drawn to DIY invitation kits for several compelling reasons.
These kits offer a perfect blend of personalization and cost-effectiveness, allowing you to create unique invitations that reflect your style and budget.
First, you'll save money compared to custom-designed invitations. DIY kits provide high-quality materials at a fraction of the cost, letting you allocate more funds to other aspects of your wedding.
You'll also have complete control over the design process, ensuring your invitations perfectly match your wedding theme and color scheme.
DIY kits offer flexibility regarding quantity. You can order exactly what you need, avoiding waste and unnecessary expenses.
They're also time-efficient, as you can work on them at your own pace without waiting for a designer's revisions.
Another benefit is the sense of accomplishment you'll feel. Creating your own invitations adds a personal touch that guests will appreciate.
It's a fun project you can tackle together as a couple, strengthening your bond as you prepare for your big day.
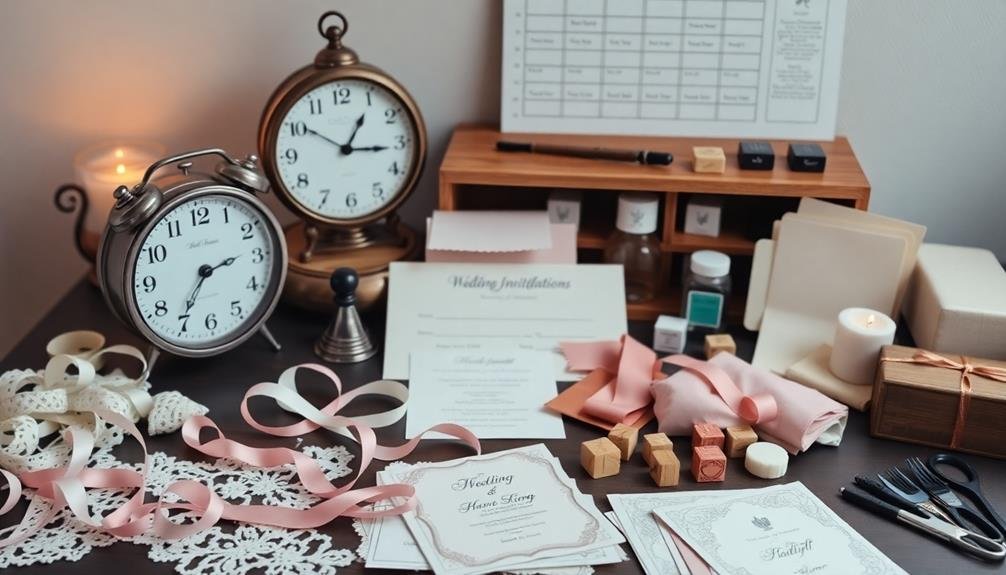
Top Budget-Friendly Kit Options
Five budget-friendly DIY wedding invitation kits stand out for their value and versatility. These kits offer you the perfect balance of affordability and customization, allowing you to create stunning invitations without breaking the bank.
First on the list is the Rustic Charm Kit, featuring kraft paper and twine for a charming countryside feel. Next, the Elegant Lace Kit provides delicate paper doilies and ribbon for a touch of sophistication. The Minimalist Chic Kit offers clean lines and modern fonts for couples seeking a contemporary look.
When choosing your kit, consider these factors:
- Paper quality and texture
- Printing method (inkjet or laser compatible)
- Included embellishments and their versatility
Don't forget to factor in additional costs like postage and envelopes when budgeting. Many kits come with templates for easy customization, but you'll need basic design skills or access to user-friendly software.
Choosing Your Perfect Kit
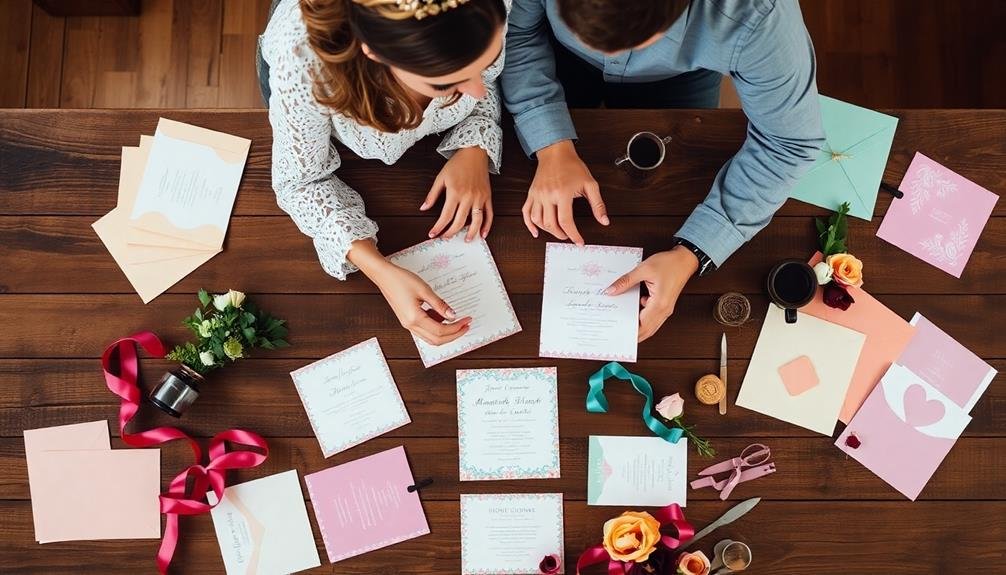
When selecting your DIY wedding invitation kit, it's essential to assess your wedding's style and theme to guarantee a cohesive look.
You'll want to take into account the printing options available with each kit, such as digital printing or letterpress.
Your choice of kit will ultimately set the tone for your wedding, so take your time to explore various options that align with your vision and budget.
Assess Style and Theme
Selecting the perfect DIY wedding invitation kit starts with evaluating your style and theme. Your invitations set the tone for your special day, so it's essential to choose a kit that aligns with your vision. Consider the overall aesthetic you're aiming for, whether it's rustic, modern, romantic, or minimalist.
Think about the colors, patterns, and textures that best represent your wedding's ambiance.
When reviewing style and theme, keep these key points in mind:
- Venue compatibility: Confirm your invitation design complements your wedding location, whether it's a beach, barn, or ballroom.
- Season reflection: Incorporate elements that reflect the time of year, such as autumnal hues for a fall wedding or pastel tones for a spring celebration.
- Personal touches: Look for kits that allow you to add unique details that represent you as a couple, like custom monograms or illustrations.
Don't be afraid to mix and match elements from different kits to create a truly personalized invitation.
Consider Printing Options
Printing options play an essential role in bringing your DIY wedding invitation vision to life. When selecting your kit, consider the various printing methods available:
Digital printing offers a cost-effective solution for full-color designs, allowing you to incorporate vibrant hues and intricate details. It's ideal for photo-heavy invitations or watercolor-style designs.
Letterpress printing creates a luxurious, tactile experience with deep impressions on thick paper. While more expensive, it's perfect for minimalist designs and traditional elegance.
Thermography produces raised lettering with a shiny finish, offering a balance between affordability and sophistication. For a metallic touch, foil stamping adds a glamorous element to your invitations.
If you're crafty, consider hand-printing options like screen printing or block printing for a truly unique, artisanal look.
Don't forget about paper quality. Matte, glossy, or textured finishes can dramatically impact the overall appearance of your invitations.
Some kits offer mix-and-match options, allowing you to combine different printing techniques for various elements of your invitation suite. By carefully weighing these printing options, you'll guarantee your DIY wedding invitations perfectly reflect your style and budget.
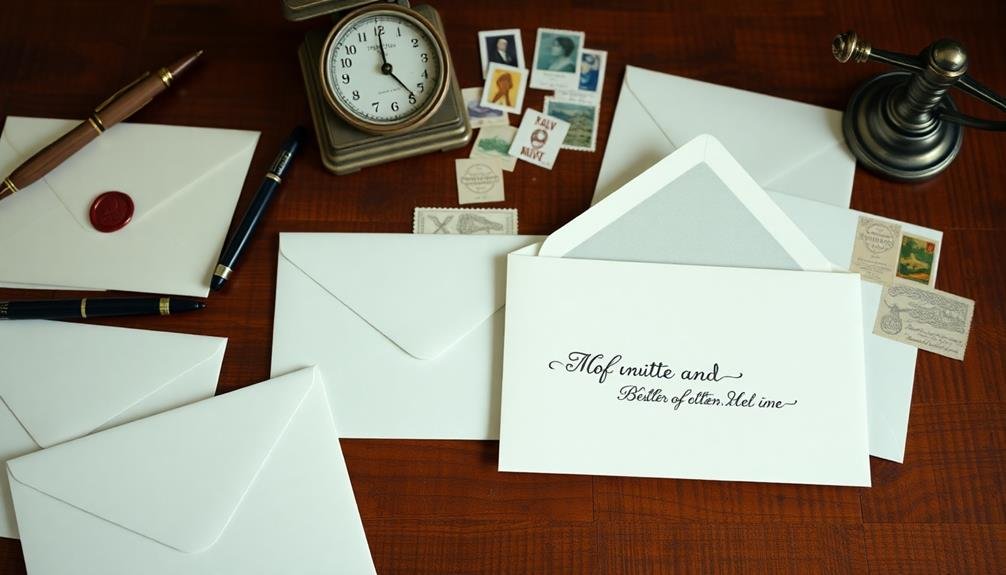
Essential Tools and Materials
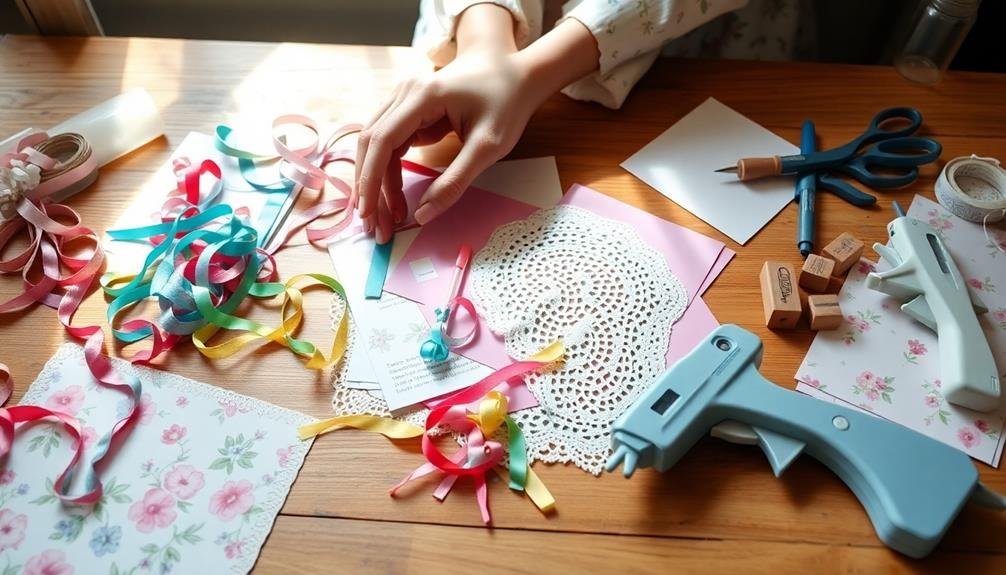
For your DIY wedding invitation kit project, you'll need a few essential tools and materials to get started. First, gather high-quality cardstock in your chosen colors for the invitations and envelopes. You'll also want to have a reliable printer with sufficient ink or toner cartridges.
Don't forget about embellishments like ribbons, lace, or decorative paper for layering.
Essential tools include a paper cutter or craft knife for precise cuts, a bone folder for crisp creases, and adhesives like double-sided tape or glue dots. You might also want to invest in specialty items like a corner rounder or embossing tool for added flair.
Here's a quick list of must-have items:
- Cardstock (invitations and envelopes)
- Printer and ink/toner
- Cutting tools (paper cutter or craft knife)
Remember to choose materials that align with your wedding theme and personal style. If you're incorporating calligraphy or hand-lettering, pick up some quality pens or markers.
For a vintage look, consider using a wax seal kit. By gathering these essential tools and materials, you'll be well-prepared to create stunning DIY wedding invitations that reflect your unique love story.
Step-by-Step Assembly Guide
Begin your DIY wedding invitation assembly by gathering all the necessary materials and tools you've prepared.
Carefully follow the step-by-step instructions provided in your invitation kit, ensuring each component is aligned and secured properly.
Once the basic structure is complete, add your personal touches like custom embellishments or hand-written details to make your invitations truly unique.
Gather Materials and Tools
Before diving into the assembly process, you'll need to gather all the necessary materials and tools for your DIY wedding invitation kits. Start by collecting high-quality cardstock for the invitation base, envelopes that match your chosen color scheme, and any decorative elements like ribbons, lace, or embellishments.
Don't forget to stock up on adhesives, such as double-sided tape or glue dots, to guarantee everything stays in place.
Next, gather the essential tools you'll need for assembly. These may include scissors, a paper cutter, a bone folder for crisp folds, and a ruler for precise measurements.
If you're planning to include any calligraphy or hand-lettering, make sure you have appropriate pens or markers on hand.
To make your DIY invitation kit assembly process smoother, consider these helpful tips:
- Create a designated workspace with ample lighting and a clean, flat surface
- Organize your materials in labeled containers for easy access
- Set up a sample invitation as a reference guide throughout the assembly process
With all your materials and tools at the ready, you'll be well-prepared to create stunning, personalized wedding invitations that reflect your unique style and love story.
Follow Assembly Instructions
Equipped with all your materials and tools, it's time to plunge into the step-by-step assembly process for your DIY wedding invitation kits. Begin by carefully following the instructions provided with your kit, as each design may have unique assembly requirements.
Start with the main invitation card, applying adhesive to attach decorative elements like ribbons or embellishments. Next, assemble any layered components, guaranteeing proper alignment. For pocket-style invitations, fold along pre-scored lines and secure with adhesive.
| Step | Action | Tips |
|---|---|---|
| 1 | Assemble main card | Use a bone folder for crisp folds |
| 2 | Add embellishments | Apply adhesive sparingly |
| 3 | Insert inserts | Check alignment before sealing |
Once the main invitation is complete, move on to the RSVP cards and additional inserts. Trim these to size if necessary and place them in the designated slots or pockets. Finally, stuff the assembled invitations into envelopes, paying attention to proper etiquette for addressing and sealing.
Remember to work in small batches to maintain consistency and take breaks to avoid fatigue. This methodical approach will guarantee your DIY wedding invitation kits are beautifully crafted and ready to impress your guests.
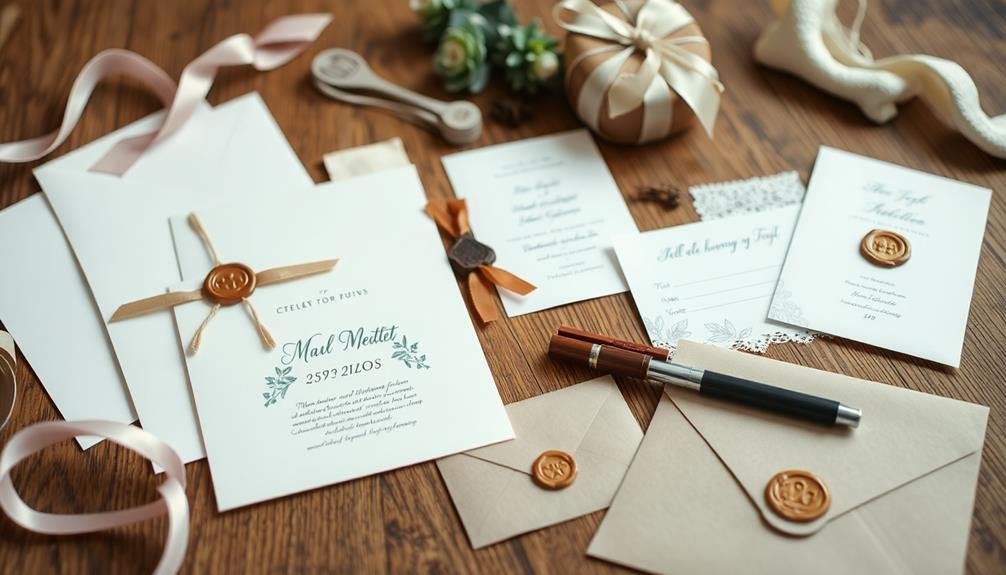
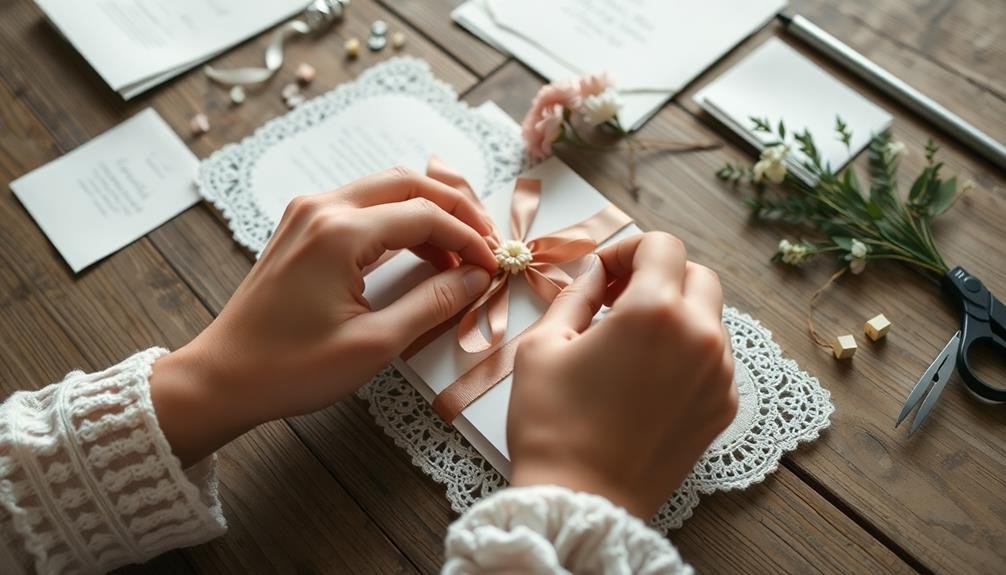
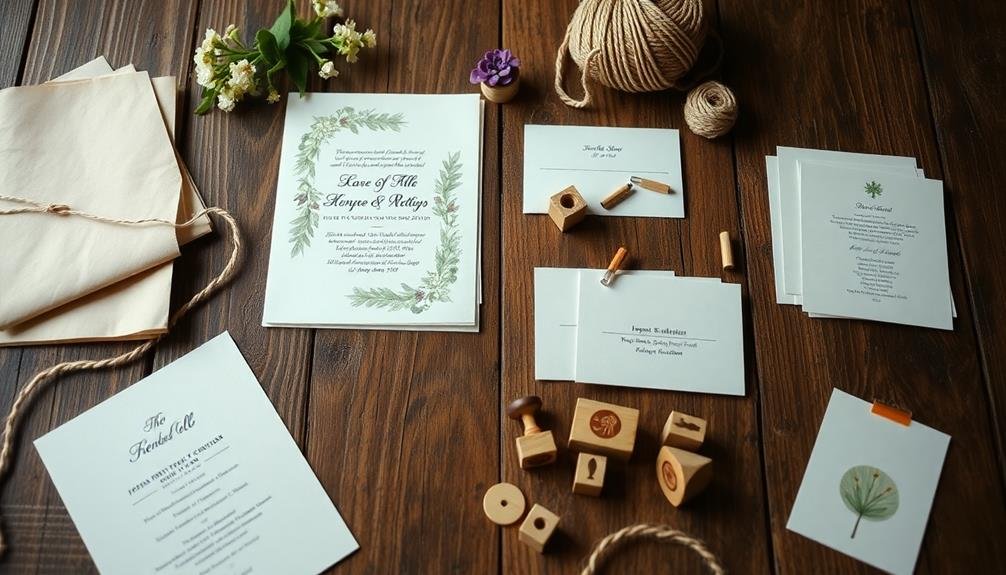
Add Personal Touches
Now that you've assembled the basic components of your invitation, it's time to infuse your personality into the design.
Consider incorporating elements that reflect your unique love story or wedding theme. You might add a custom wax seal, use a personalized rubber stamp, or tie everything together with a ribbon in your chosen color scheme.
Don't be afraid to get creative with embellishments. Here are three ideas to spark your imagination:
- Pressed flowers: Add a delicate, natural touch by including pressed flowers that hold special meaning for you and your partner.
- Metallic accents: Use gold or silver leaf to create elegant highlights on your invitations, adding a touch of luxury.
- Custom illustrations: Commission a small illustration of your venue or a meaningful symbol to make your invitations truly one-of-a-kind.
Customization Tips and Tricks
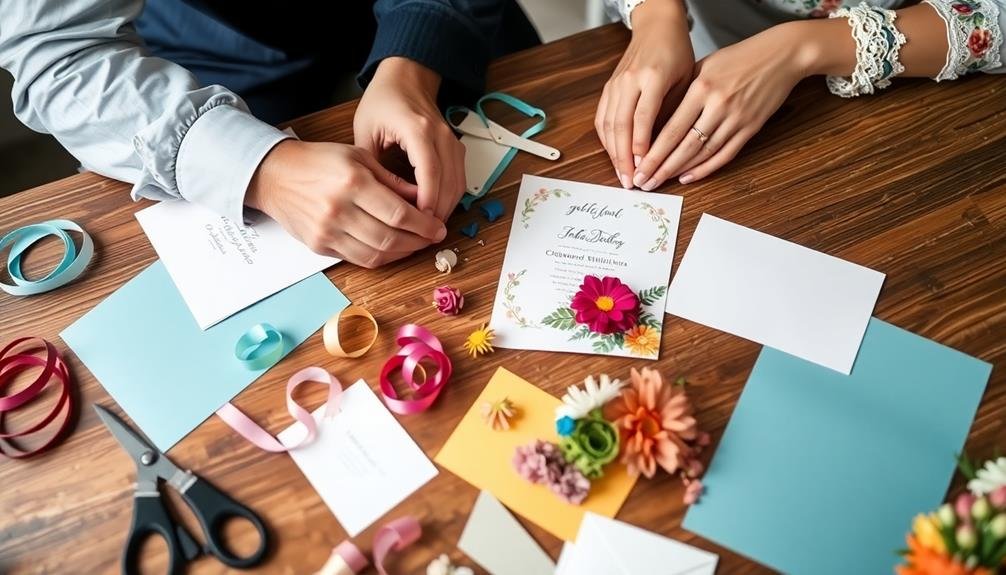
When it comes to customizing your DIY wedding invitation kits, the possibilities are endless. Start by selecting a color scheme that reflects your wedding theme and personal style. Mix and match different paper textures and weights to create visual interest. Consider using metallic accents, like gold foil or silver embossing, to add a touch of elegance.
Experiment with unique typography by combining fonts or trying hand-lettering techniques. You can also incorporate illustrations or graphics that represent your love story or shared interests. Don't forget to personalize the wording to capture your voice as a couple.
For a cohesive look, carry your chosen design elements across all components of the invitation suite, including RSVP cards and envelopes. Use washi tape, ribbons, or twine to bundle your invitations for an extra special touch. Consider creating a custom wax seal or rubber stamp with your initials or wedding logo.
To save time and guarantee consistency, create templates for recurring elements like addresses or decorative borders.
Common Pitfalls to Avoid
While customizing your DIY wedding invitations can be exciting, it's important to be aware of potential pitfalls that could derail your project. One common mistake is underestimating the time required to complete the invitations. Start early and factor in extra time for unexpected delays or revisions.
Another pitfall is neglecting to proofread thoroughly. Always double-check names, dates, and other vital details before printing or sending out your invitations.
Be cautious of overcomplicating your design. While it's tempting to add intricate elements, remember that simplicity often leads to more elegant and timeless results. Additionally, don't forget to take into account postage costs when choosing your invitation size and weight. Oversized or heavy invitations may require extra postage, which can quickly inflate your budget.
To avoid these common pitfalls, follow these tips:
- Create a detailed timeline and stick to it
- Enlist the help of friends or family for proofreading and assembly
- Test print a few invitations before committing to a full batch
Adding Personal Touches
You'll elevate your DIY wedding invitations by incorporating personal touches that reflect your unique style.
Consider using customized stamps and seals to add an official flair, or include handwritten calligraphy elements for a romantic touch.
For a surprising twist, create unique envelope liners that showcase your personality or complement your wedding theme.
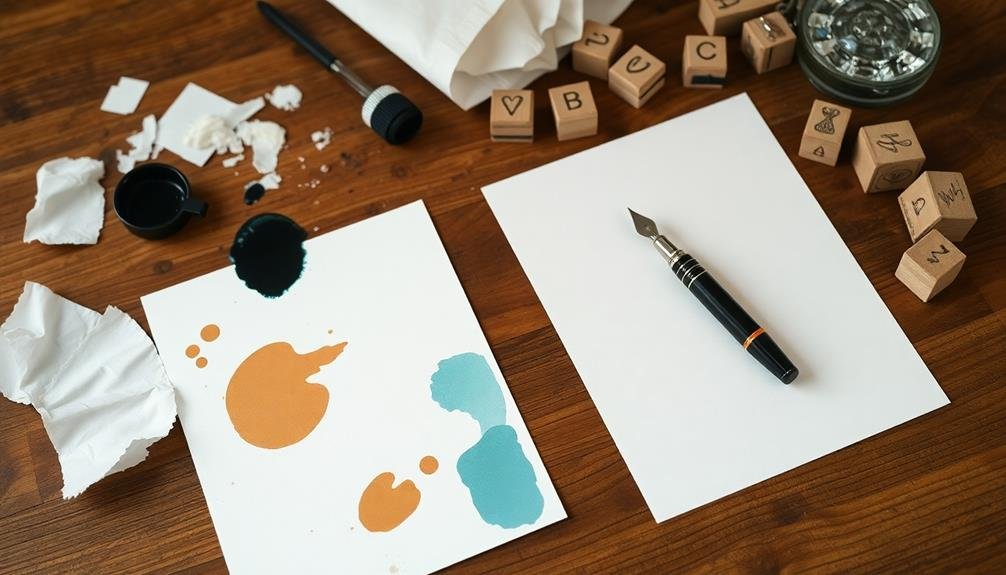
Customized Stamps and Seals
Countless couples are turning to customized stamps and seals to add a personal touch to their DIY wedding invitation kits.
These unique elements not only elevate the overall look of your invitations but also infuse them with your personality and style. You'll find a wide range of options to choose from, including monograms, custom designs, and even illustrations that reflect your love story.
When selecting customized stamps and seals, consider these key factors:
- Design consistency: Verify your chosen stamp or seal complements the overall theme and color scheme of your wedding invitations.
- Quality: Invest in high-quality materials to achieve crisp, clear impressions that won't smudge or fade.
- Versatility: Opt for designs that can be used on multiple elements of your invitation suite, such as envelopes, RSVP cards, and thank-you notes.
Don't be afraid to get creative with your stamps and seals.
You can use them to emboss paper, create wax seals, or even stamp custom designs onto ribbon or fabric. By incorporating these personalized touches, you'll create invitations that truly reflect your unique love story and set the tone for your special day.
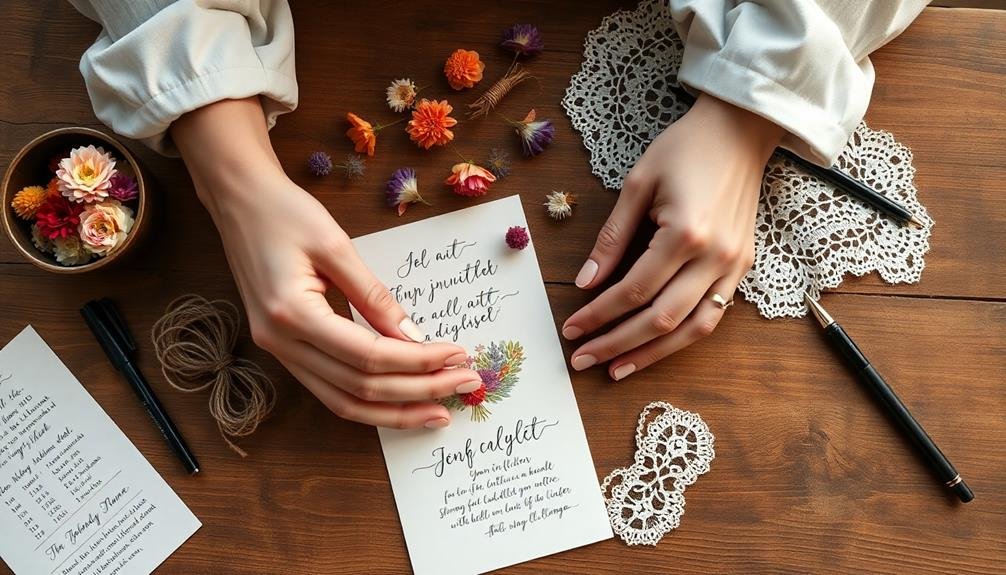
Handwritten Calligraphy Elements
A growing number of couples are embracing handwritten calligraphy elements to add a personal touch to their DIY wedding invitation kits. You can easily incorporate this trend into your own invitations, even if you're not a professional calligrapher. Start by practicing basic calligraphy techniques using online tutorials or local workshops. Focus on mastering a few key styles that complement your invitation design.
For a cohesive look, use calligraphy for your names, the date, or specific phrases throughout the invitation suite. You can write directly on the invitation or create separate calligraphy elements to be printed or adhered later. If you're not confident in your skills, consider enlisting a talented friend or hiring a professional for key pieces.
Don't limit calligraphy to just the invitations. Extend this personal touch to envelope addressing, place cards, and signage for a unified aesthetic. Experiment with different ink colors and metallic pens to add depth and interest.
Unique Envelope Liners
Envelope liners offer a fantastic opportunity to add a personal touch to your DIY wedding invitation kit. These often-overlooked elements can transform a simple envelope into a work of art that sets the tone for your entire invitation suite.
You can create unique liners using various materials, from patterned paper to fabric, or even custom-printed designs that reflect your wedding theme.
To craft your own envelope liners, you'll need:
- Envelope liner template
- Decorative paper or fabric of your choice
- Adhesive (glue stick or double-sided tape)
Start by selecting a material that complements your invitation design. Consider using maps of significant locations, sheet music of your first dance song, or photos from your engagement shoot.
You can also opt for metallic papers, watercolor prints, or bold patterns that match your color scheme. Cut your chosen material using the template, then carefully insert and adhere it to the inside of the envelope.
Don't forget to test the liner with your invitation to verify a proper fit before mass-producing. With a bit of creativity, you'll have stunning envelope liners that'll impress your guests from the moment they receive your invitations.
Addressing and Mailing Considerations
Mailing your DIY wedding invitations requires careful planning and attention to detail. Start by creating a thorough guest list with up-to-date addresses. Consider using an online address collector to streamline this process.
When addressing envelopes, you'll need to decide between handwritten or printed labels. Handwriting adds a personal touch but can be time-consuming, while printed labels are efficient but less formal.
Choose the right postage for your invitations. Weigh a completed invitation at the post office to determine the correct amount. Remember that square or unusually shaped envelopes may require additional postage. It's wise to purchase extra stamps in case of errors or last-minute additions.
Before mailing, assemble your invitations carefully. Stack inserts in size order, with the largest piece on the bottom. Use tissue paper between layers to prevent ink transfer.
When inserting into envelopes, place the front of the invitation against the back of the envelope.
Time Management Strategies
Effective time management is crucial when creating DIY wedding invitation kits. You'll need to allocate enough time for each step of the process, from designing to assembly and mailing.
Start by creating a detailed timeline, working backward from your desired mailing date. Allow extra time for unexpected delays or issues that may arise during the crafting process.
To streamline your DIY invitation journey, consider these time-saving strategies:
- Batch your tasks: Focus on one aspect of the invitation-making process at a time, such as cutting all the paper or addressing all the envelopes in one sitting.
- Enlist help: Recruit friends or family members to assist with assembly or addressing. This can notably reduce your workload and make the process more enjoyable.
- Use templates: Utilize pre-designed templates for your invitations to save time on the design phase.
Set realistic goals for each day or week, and don't forget to factor in time for breaks and self-care.
Eco-Friendly Kit Alternatives
Green-minded couples are increasingly seeking eco-friendly alternatives for their DIY wedding invitation kits. You can make your invitations more sustainable by opting for recycled paper or tree-free options like bamboo, cotton, or hemp paper. These materials reduce your environmental impact while still providing a luxurious feel.
Consider using soy-based or vegetable-based inks for printing, as they're less toxic and more biodegradable than traditional petroleum-based inks. You can also explore digital printing methods that use less ink overall.
For embellishments, choose natural elements like pressed flowers, leaves, or seeds instead of plastic sequins or glitter.
Eliminate excess packaging by designing all-in-one invitations that combine the invitation, RSVP card, and envelope into a single piece. This approach reduces waste and saves on postage. If you need separate components, use compostable glue or twine to bind them together.
Don't forget about the envelope! Look for options made from recycled materials or seed paper that recipients can plant after reading your invitation.
Frequently Asked Questions
Can I Mix Elements From Different DIY Invitation Kits?
Yes, you can mix elements from different DIY invitation kits. It's a great way to create a unique look. You'll want to guarantee the styles complement each other and that you have enough materials for all your invitations.
How Far in Advance Should I Start Making DIY Wedding Invitations?
You'll want to start your DIY wedding invitations 3-4 months before the wedding date. This gives you ample time to design, gather materials, create, and mail them. Don't forget to factor in time for potential mistakes or revisions.
Are DIY Invitation Kits Suitable for Large Weddings With Many Guests?
Yes, DIY invitation kits can work for large weddings. You'll need to plan ahead and allow extra time for assembly. Consider recruiting help from friends or family. It's cost-effective but requires more effort than pre-made invitations.
Can Professional Calligraphers Work With DIY Invitation Kits?
Yes, professional calligraphers can work with DIY invitation kits. You can hire them to add elegant handwriting to your invitations. They'll bring their expertise to personalize your DIY creations, elevating the overall look while maintaining your budget-friendly approach.
What's the Best Way to Store Completed DIY Invitations Before Mailing?
You'll want to store your completed DIY invitations flat in a cool, dry place. Use archival boxes or large, sturdy envelopes. Don't stack heavy items on top. Keep them away from direct sunlight and humidity to prevent warping or fading.
In Summary
You've now got all the tools to create stunning, personalized wedding invitations without breaking the bank. Remember, DIY kits offer flexibility, savings, and a chance to infuse your personality into every detail. Don't be afraid to get creative and add your unique touches. With proper planning and these tips, you'll craft invitations that set the perfect tone for your special day. So roll up your sleeves, gather your supplies, and let your love story unfold through beautiful, handmade invitations.

I’m Sarah, the creator and writer behind this site. I’m a wife and a mother of two wonderful kids who keep me on my toes and inspire me daily. My passion lies in creating and organizing memorable events and group activities, where people can come together and make lasting memories.
Leave a Reply