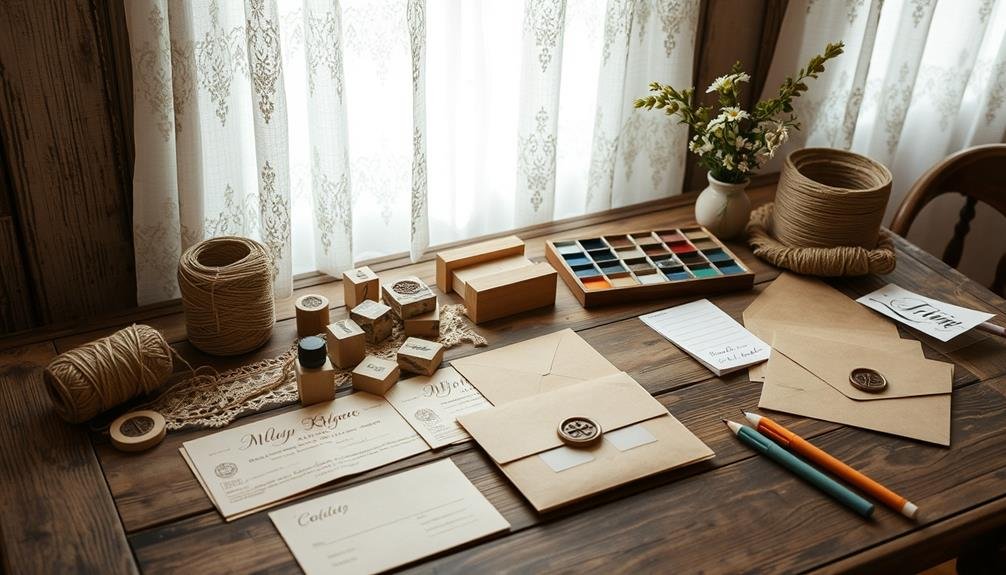
Rustic romance in wedding stationery brings charm and personality to your big day. You'll fall in love with DIY ideas like kraft paper invitations adorned with elegant calligraphy, twine-wrapped suites with custom tags, and pressed flower designs that capture nature's beauty. Add vintage flair with lace accents or woodgrain-inspired patterns. For a touch of whimsy, try burlap and doily combinations or create botanical stamp masterpieces. Don't forget the finishing touches – deckled edges and wax seals add sophistication to your handcrafted creations. These heartfelt details will set the tone for your celebration and leave your guests swooning over your craftsmanship.
Key Takeaways
- Incorporate natural materials like kraft paper, twine, and woodgrain textures for a rustic charm.
- Use pressed flowers or botanical stamps to add elegant floral elements to invitations and place cards.
- Create watercolor backgrounds with soft, dreamy palettes to enhance the romantic atmosphere.
- Add vintage lace accents or wax seals for sophisticated and personalized finishing touches.
- Experiment with deckled edges and burlap-doily combinations for a handcrafted, rustic-elegant look.
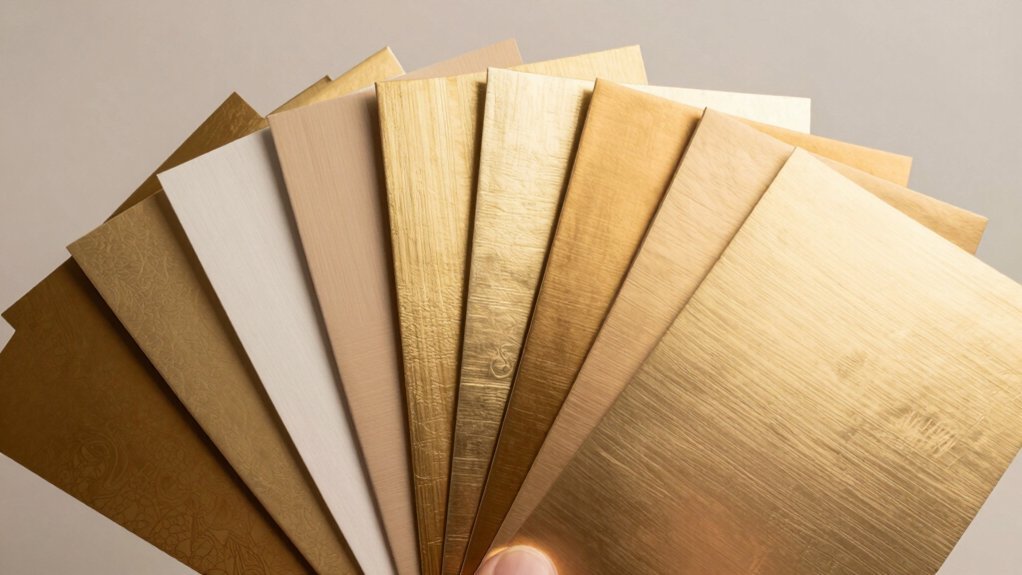
Kraft Paper Elegance
With its rustic charm and versatile appeal, kraft paper has become a popular choice for DIY wedding stationery. You'll find that this eco-friendly material offers a perfect canvas for your creative ideas, allowing you to craft unique invitations, save-the-dates, and programs that reflect your personal style.
To elevate your kraft paper designs, consider incorporating elegant calligraphy or hand-lettering. You can use white or metallic ink to create a stunning contrast against the warm brown background. For a touch of sophistication, add delicate lace or burlap accents to your stationery.
Don't forget to experiment with different textures and finishes. Try embossing your kraft paper for a raised, tactile effect, or use a letterpress technique for a more vintage look. You can also play with die-cut shapes to add visual interest to your designs.
For a cohesive look, carry the kraft paper theme throughout your wedding day. Create matching place cards, menu cards, and thank-you notes to tie everything together.
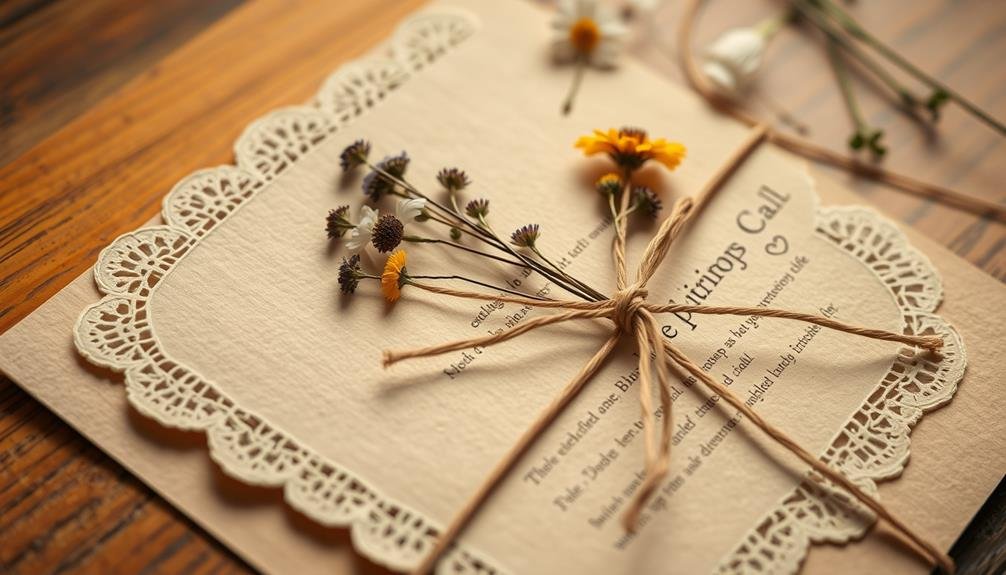
Twine and Tag Charm
Twine and tags offer a charming, rustic complement to kraft paper stationery. You'll love how these simple elements can elevate your wedding invitations and add a personal touch.
Start by selecting a natural jute twine or a colored baker's twine that matches your wedding palette. Cut small lengths of twine to wrap around your invitations or envelopes, securing them with a simple bow or knot.
Next, create custom tags using cardstock or thick paper. Cut them into various shapes like hearts, circles, or rectangles. Punch a small hole in each tag for the twine to pass through. On these tags, you can write guests' names, table numbers, or short messages. For a cohesive look, use the same font and ink color as your main stationery.
To add extra flair, consider embellishing your tags with stamps, embossing, or even pressed flowers. You can also use mini clothespins instead of tying the twine, which adds a playful touch.
Don't forget to incorporate this twine and tag theme into other wedding elements like favor boxes, place cards, or even your guestbook for a unified look.
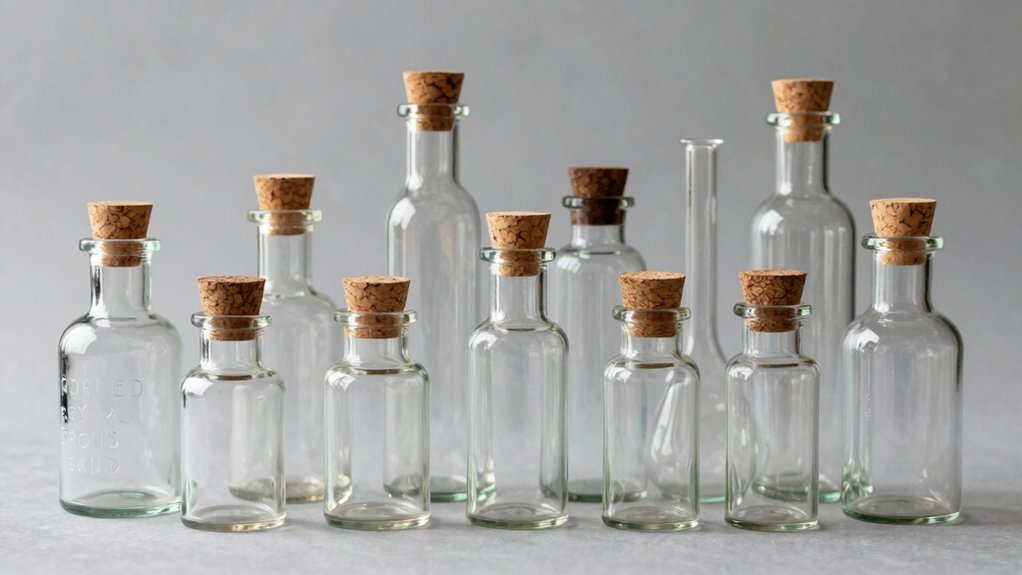
Pressed Flower Perfection
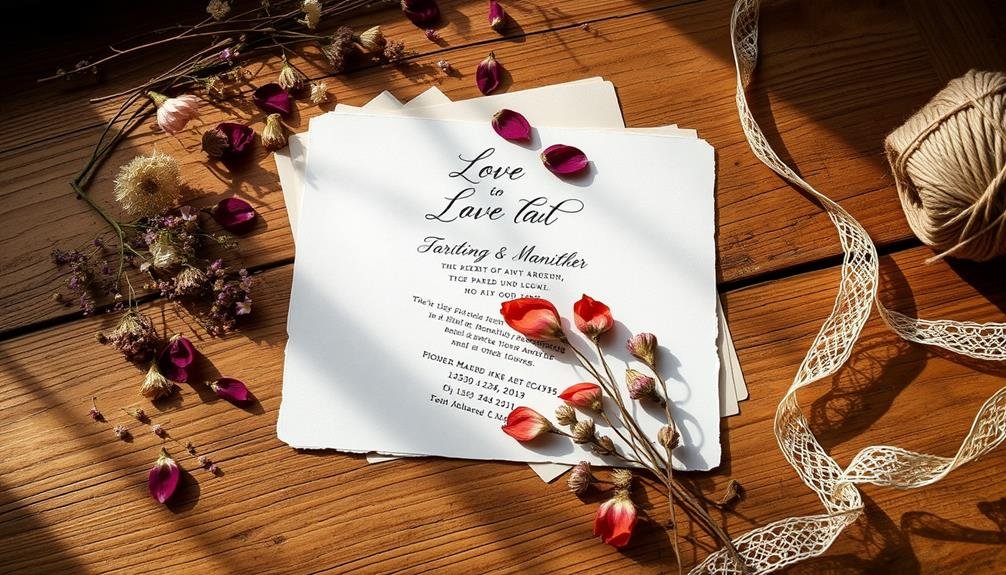
Delicate petals and leaves bring a touch of natural elegance to your wedding stationery. Pressed flower designs offer a timeless, romantic aesthetic that's perfect for nature-loving couples.
To create this look, you'll need to press flowers and leaves several weeks in advance. Choose blooms that complement your wedding colors and flatten them between heavy books or a flower press.
Once your flowers are ready, carefully arrange them on your invitation paper. Use a small amount of craft glue to secure them in place. For a cohesive look, incorporate the same flowers throughout your suite, including save-the-dates, RSVP cards, and place cards. You can also add pressed flowers to envelope liners for an extra special touch.
To protect your delicate designs, consider using vellum overlays or clear acrylic invitations. This will prevent the flowers from shedding or getting damaged during mailing.
For a modern twist, scan your pressed flower arrangements and create digital versions to print on high-quality paper. This method allows for easy replication and guarantees consistency across all your stationery pieces.
Don't forget to seal your envelopes with a pressed flower wax seal for the perfect finishing touch.
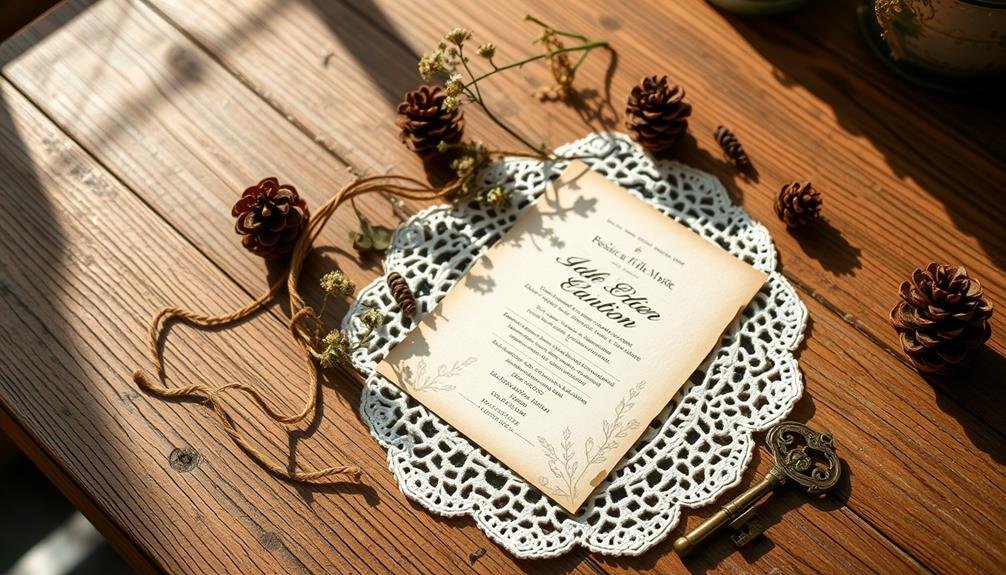
Vintage Lace Accents
Elegant and timeless, vintage lace accents add a romantic touch to your wedding stationery. You'll find this delicate material perfect for creating a soft, classic look that'll impress your guests.
Start by sourcing lace trim or doilies from craft stores or online retailers. Choose colors that complement your wedding palette, such as ivory, blush, or champagne.
To incorporate lace into your invitations, wrap a thin strip around the card or use it as a belly band to hold multiple pieces together. For a subtle effect, adhere small lace corners to your stationery. You can also create lace pockets to hold your invitation suite.
Don't limit yourself to paper applications. Consider using actual lace fabric as an overlay for your invitations or as a backdrop for your design. For a modern twist, scan lace patterns and use them as digital elements in your stationery design.
Remember to pair lace with complementary textures like kraft paper or vellum for a balanced look. When applying lace, use acid-free glue or double-sided tape to guarantee longevity.
With these vintage lace accents, you'll create stunning wedding stationery that reflects your romantic style.
Woodgrain Wonder
Rustic charm takes center stage with woodgrain-inspired wedding stationery. This natural, earthy design element brings warmth and texture to your invitations, save-the-dates, and other wedding paper goods.
You'll love how the organic patterns evoke a sense of timeless elegance while maintaining a down-to-earth vibe.
To create your woodgrain wonder, start with high-quality cardstock in neutral tones like cream, beige, or light brown. Use woodgrain-patterned paper, stamps, or digital designs to incorporate the distinctive look.
For a tactile experience, consider embossing techniques to add depth and dimension to your stationery.
Here are four ways to incorporate woodgrain into your wedding stationery:
- Laser-cut wood veneer overlays for invitations
- Woodgrain-textured envelope liners
- Custom rubber stamps with woodgrain patterns
- Digital woodgrain backgrounds for printed pieces
Don't forget to complement your woodgrain designs with other rustic elements like twine, kraft paper accents, or pressed leaves.
Watercolor Wash Wonders
Transform your wedding stationery into ethereal works of art with watercolor wash techniques.
You'll create dreamy pastel palettes that evoke a sense of romance and whimsy.
These soft, fluid designs can be applied to invitations, place cards, and even envelope liners, giving your wedding suite a cohesive and enchanting look.
Dreamy Pastel Palettes
[TEXT]:
Why settle for plain wedding stationery when you can create a dreamy, watercolor masterpiece? Embrace the softness of pastel hues to infuse your wedding invitations with a romantic, ethereal quality.
Dreamy pastel palettes offer a versatile and timeless approach to your DIY wedding stationery, allowing you to set the tone for your special day with delicate colors and subtle gradients.
To achieve this look, you'll want to experiment with various watercolor techniques. Start by selecting a palette of complementary pastel shades that reflect your wedding theme. Blend these colors seamlessly to create a soft, dreamlike background for your text.
Don't be afraid to add touches of metallic accents or floral elements to enhance the overall aesthetic.
Here are four ideas to inspire your dreamy pastel palette:
- Blush pink and lavender with gold accents
- Mint green and peach with silver detailing
- Pale blue and coral with rose gold highlights
- Lilac and butter yellow with pearl white embellishments
Remember to take into account your wedding venue and season when choosing your palette.
Ethereal Invitation Designs
Enchanting guests from the moment they open the envelope, ethereal invitation designs featuring watercolor washes can set the tone for a magical wedding day.
To create these dreamy invitations, start with high-quality watercolor paper and a set of soft, pastel-hued watercolors. Experiment with different techniques, such as wet-on-wet or gradient washes, to achieve a fluid, ethereal effect.
For a subtle touch, try incorporating delicate floral elements or abstract shapes into your watercolor design. You can also add a hint of sparkle with metallic accents or gold leaf details.
Once your watercolor background is complete, allow it to dry completely before printing your wedding details.
Choose an elegant, script font for your text to complement the ethereal design. Consider using vellum overlays or translucent paper to enhance the ethereal feel.
To tie everything together, create matching RSVP cards, envelopes, and other stationery items using the same watercolor technique.
Don't forget to seal your invitations with a custom wax stamp or a personalized sticker for that extra special touch. Your guests will be captivated by these unique, handcrafted invitations that perfectly capture the romance of your special day.
Burlap and Doily Delights
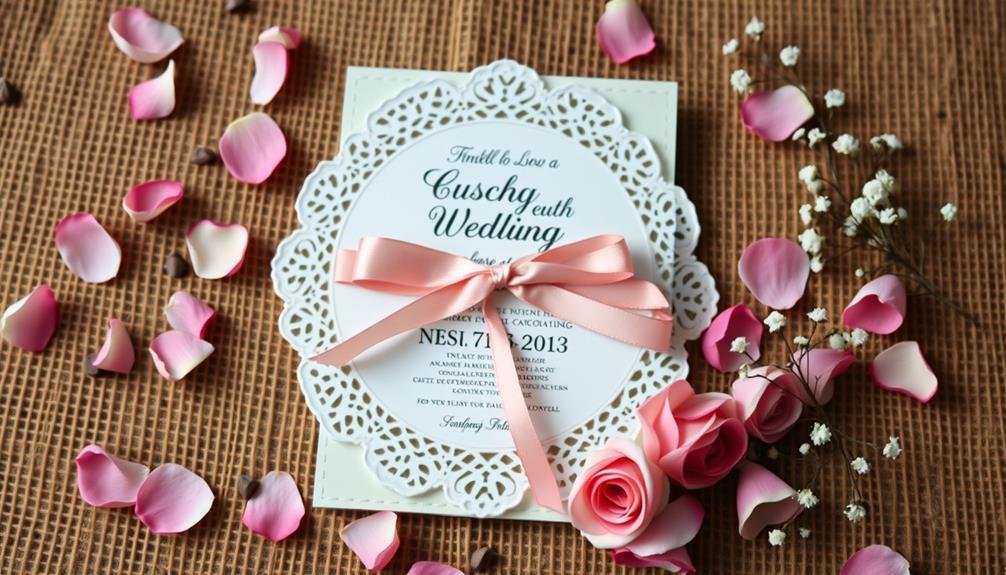
For a charming rustic-meets-elegant aesthetic, burlap and doily combinations offer a perfect blend of textures and styles.
You'll love how these contrasting materials create a unique and inviting look for your wedding stationery. Burlap's rough texture paired with delicate doilies adds depth and visual interest to your invitations, place cards, and table numbers.
To incorporate this delightful duo into your DIY wedding stationery, consider these ideas:
- Wrap burlap around your invitation card and secure it with a doily-adorned belly band.
- Create envelope liners using burlap fabric and add a doily accent to the flap.
- Craft rustic place cards by gluing mini doilies onto burlap-covered cardstock.
- Design table numbers using burlap-covered frames with doily backgrounds.
When working with burlap, you'll want to seal the edges to prevent fraying. Use fabric glue or a hot glue gun for best results.
For doilies, opt for paper versions if you're on a budget, or splurge on delicate lace doilies for a more luxurious feel.
Don't forget to incorporate other natural elements like twine, kraft paper, or wooden accents to complete your rustic-chic stationery suite.
Botanical Stamp Beauty
Leaves, flowers, and delicate stems come to life on your wedding stationery with botanical stamps. This charming technique adds a touch of nature-inspired elegance to your invitations, RSVP cards, and place settings.
You'll find a variety of botanical stamps at craft stores or online, featuring everything from dainty wildflowers to majestic trees.
To create your botanical masterpieces, start with high-quality cardstock in your chosen color. Select ink that complements your wedding palette – metallic gold or silver can add a luxurious touch.
Experiment with different stamping techniques, such as overlapping designs or creating borders. Don't forget to practice on scrap paper first to perfect your technique.
For a more personalized touch, consider carving your own stamps from linoleum blocks. This allows you to create custom designs that reflect your unique style or incorporate elements specific to your wedding theme.
You can even combine botanical stamps with other DIY techniques like watercolor washes or calligraphy for a truly one-of-a-kind look.
Remember to seal your stamped creations with a fixative spray to prevent smudging, especially if you're using metallic inks.
With botanical stamps, you'll create stunning wedding stationery that captures the beauty of nature and sets the tone for your special day.
Wax Seal Sophistication
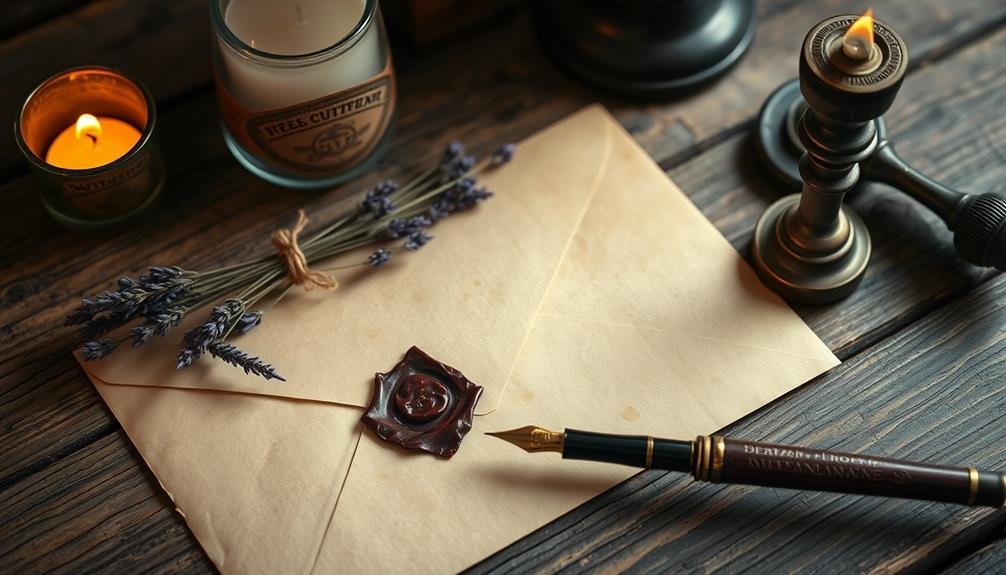
You'll want to start by selecting the perfect wax seal design that complements your wedding theme and stationery.
Once you've chosen your seal, mastering the application technique is essential for achieving a polished, professional look.
With a few tips and some practice, you'll be creating elegant wax seals that add a touch of sophistication to your wedding invitations and correspondence.
Choosing the Right Seal
When it comes to adding a touch of elegance to your wedding stationery, wax seals are a timeless choice. Selecting the right seal can elevate your invitations and set the tone for your special day.
Consider your wedding theme, color palette, and personal style when choosing a seal design. Custom seals offer a unique opportunity to personalize your stationery. You can opt for your initials, wedding date, or a symbol that represents your love story.
Alternatively, traditional designs like floral motifs, crests, or romantic symbols can complement various wedding styles. The size of your seal matters too. A smaller seal works well for place cards or RSVP envelopes, while larger seals make a statement on invitation envelopes.
Don't forget to match your seal color to your stationery for a cohesive look.
Here's a quick guide to choosing the perfect seal:
- Determine your wedding style (rustic, modern, classic, etc.)
- Select a design that reflects your theme
- Choose an appropriate size for each stationery item
- Pick a wax color that complements your color scheme
With the right seal, you'll add a touch of sophistication to your DIY wedding stationery that's sure to impress your guests.
Application Techniques and Tips
Mastering wax seal application techniques is essential for achieving a polished, professional look on your DIY wedding stationery.
Begin by lighting your sealing wax stick and holding it at a 45-degree angle above your chosen spot. Allow the wax to drip slowly, forming a neat circular puddle about the size of a nickel. Once you've created the puddle, let it cool for 5-10 seconds until it's slightly tacky.
Next, press your seal firmly into the wax, holding it steady for 10-15 seconds. Gently rock the seal back and forth to release it, revealing your beautifully embossed design. For best results, practice on scrap paper before sealing your actual invitations.
To avoid common mishaps, keep these tips in mind: Use a non-stick craft mat to protect your work surface, and have a damp cloth nearby to clean your seal between impressions.
If you're sealing multiple invitations, let each one cool completely before stacking to prevent sticking. For a unique touch, experiment with mixing wax colors or adding metallic powders to the molten wax.
With patience and practice, you'll soon be creating stunning wax seals that elevate your wedding stationery to new heights of rustic elegance.
Deckled Edge Allure
The delicate charm of deckled edges adds a touch of elegance to wedding stationery. This handcrafted look, reminiscent of centuries-old paper-making techniques, can elevate your invitations and other wedding paper goods.
To create deckled edges, you'll need to master the art of tearing paper carefully along a dampened edge. It's a skill that requires practice, but the results are worth it.
You can incorporate deckled edges into various elements of your wedding stationery suite:
- Invitation cards
- RSVP cards
- Save-the-date announcements
- Table place cards
When working with deckled-edge paper, choose a high-quality, thick stock that won't easily tear or fray.
You'll want to use a ruler or straight edge to guide your tearing process, ensuring a relatively straight line while maintaining that organic, feathered look.
Don't forget to contemplate the overall design of your stationery when deciding which edges to deckle. Sometimes, a single deckled edge can create a striking asymmetrical effect, while fully deckled borders offer a more rustic, vintage feel.
Frequently Asked Questions
How Far in Advance Should DIY Wedding Stationery Be Started?
You should start your DIY wedding stationery 6-8 months before the big day. This gives you ample time to design, gather materials, create prototypes, and make adjustments. Don't forget to factor in time for addressing and mailing invitations.
What Tools Are Essential for Creating Rustic DIY Wedding Stationery?
You'll need scissors, a paper cutter, adhesive, stamps, ink pads, and quality cardstock for your DIY wedding stationery. Don't forget a printer, calligraphy pens, and twine or ribbon for that rustic touch. Craft punches are handy too.
How Can Couples Ensure Consistency Across Different Stationery Pieces?
To guarantee consistency across your stationery pieces, you'll want to stick to a cohesive color palette, use the same fonts, and repeat design elements. Create templates and keep samples handy for reference as you craft each item.
Are There Eco-Friendly Options for Rustic DIY Wedding Stationery?
You'll find plenty of eco-friendly options for rustic DIY wedding stationery. Use recycled paper, seed paper, or even plantable invitations. Opt for soy-based inks and natural fibers like jute or hemp for a sustainable, earth-friendly approach to your wedding announcements.
What Are Cost-Effective Alternatives to Expensive Materials for Rustic Stationery?
You'll find plenty of cost-effective alternatives for rustic stationery. Try using kraft paper, recycled cardstock, or even tree-free paper. You can also opt for digital invitations, use twine instead of ribbons, and incorporate natural elements like pressed flowers.
In Summary
You've explored a world of rustic charm for your wedding stationery. From kraft paper to wax seals, these DIY ideas will infuse your invitations with personality and warmth. Don't be afraid to mix and match elements or add your own creative twist. Remember, your stationery sets the tone for your special day, so let it reflect your love story. With these ideas, you'll create unforgettable invitations that'll have your guests excited long before the big day arrives.

I’m Sarah, the creator and writer behind this site. I’m a wife and a mother of two wonderful kids who keep me on my toes and inspire me daily. My passion lies in creating and organizing memorable events and group activities, where people can come together and make lasting memories.

Leave a Reply