You can achieve elegant wedding invitations with engraved details without breaking the bank. Consider combining techniques like thermography or letterpress with digital printing to create a luxurious look at a lower cost. Opt for affordable paper choices like cardstock or textured papers, and add DIY embellishments such as wax seals or metallic accents. Customize pre-made designs or use online invitation services to save money while maintaining style. Experiment with DIY embossing methods or faux foil techniques for a touch of sophistication. By strategically mixing printing styles and focusing on key elements, you'll create stunning invitations that won't empty your wallet. Discover how to make your wedding stationery dreams a reality.
Key Takeaways
- Combine thermography with traditional printing to mimic engraved details affordably.
- Use letterpress for key elements like names, paired with digital printing for other text.
- Incorporate DIY embossing techniques with metallic powders for a luxurious, engraved-like effect.
- Choose textured cardstock or recycled paper to enhance visual interest without increasing costs.
- Utilize online customization services to personalize pre-made designs with engraved-style elements.
Understanding Engraving Techniques
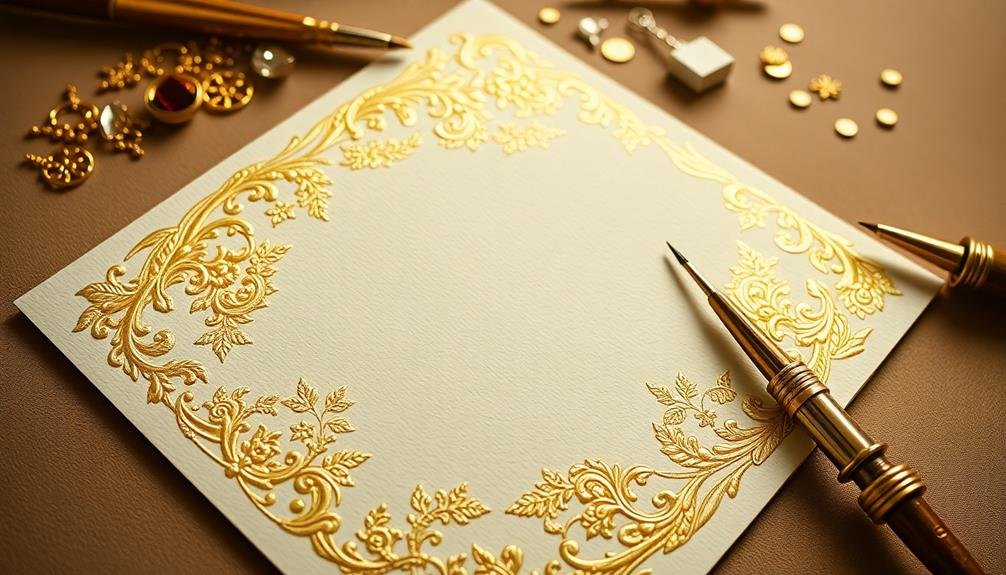
When it comes to engraving techniques for wedding invitations, you'll find a variety of options to suit your style and budget. Traditional engraving involves etching designs into metal plates, creating raised lettering on the paper. This method offers a luxurious feel but can be costly.
Thermography is a more affordable alternative that mimics engraving by using heat to create raised lettering. For a modern twist, consider letterpress printing. This technique presses inked metal type into paper, leaving a tactile impression. It's less expensive than engraving but still creates a high-end look.
Digital printing is the most budget-friendly option, offering crisp results without raised lettering. If you're set on engraving but want to save money, consider using it sparingly. Engrave only the couple's names or a small design element, then use less expensive printing methods for the rest of the text.
Alternatively, opt for flat printing with metallic inks to achieve a similar elegant effect. Remember, the key to affordable engraved invitations is balancing your desired aesthetic with cost-effective techniques. Don't be afraid to mix and match methods to create a unique, beautiful invitation that fits your budget.
Digital Printing Alternatives
Several digital printing alternatives offer budget-friendly options for couples seeking affordable wedding invitations. Digital printing uses advanced technology to produce high-quality results at a fraction of the cost of traditional engraving. You'll find that these methods can closely mimic the look of engraved invitations while keeping your budget intact.
Here's a comparison of popular digital printing alternatives:
| Method | Cost | Quality | Customization |
|---|---|---|---|
| Flat Printing | Low | Good | High |
| Thermography | Medium | Very Good | Medium |
| Foil Stamping | Medium-High | Excellent | Medium |
| Letterpress | High | Excellent | High |
Flat printing is the most economical option, offering crisp text and vibrant colors. Thermography creates raised text that resembles engraving, while foil stamping adds a metallic sheen to your invitations. For a more tactile experience, letterpress printing produces an embossed effect by pressing the design into thick paper.
When choosing a digital alternative, consider your design preferences, budget constraints, and desired level of customization. Many online retailers offer samples, allowing you to compare different printing methods before making your final decision.
DIY Embossing Methods

Embossing your own wedding invitations can add an elegant touch without breaking the bank.
You'll find various DIY methods, including heat embossing techniques that use special powders and a heat tool, and dry embossing that relies on embossing folders or stylus tools.
Experiment with different embossing powder options, such as metallic, glitter, or pearlescent finishes, to achieve the perfect look for your invitations.
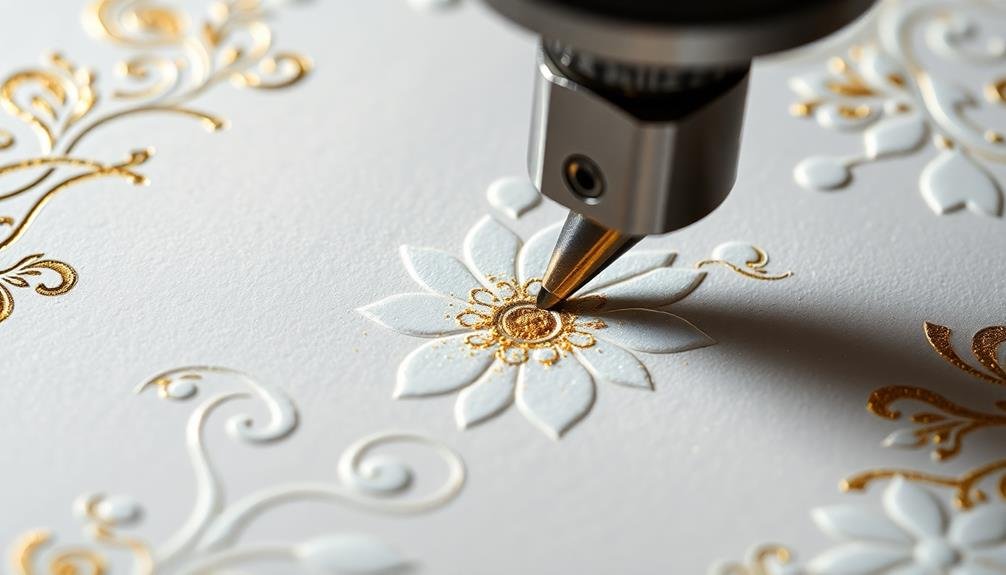
Heat Embossing Techniques
With heat embossing, you can create elegant, raised designs on your DIY wedding invitations. This technique involves using special powders and a heat tool to create a glossy, dimensional effect.
Start by choosing an embossing ink pad and stamps with your desired design. Stamp the image onto your invitation paper, then quickly sprinkle embossing powder over the wet ink. Shake off excess powder and use a heat tool to melt it, creating a smooth, raised surface.
For best results, use a powder that contrasts with your paper color. Metallic powders like gold, silver, or rose gold add a luxurious touch. You can also layer different colors for unique effects. To avoid smudging, let the embossed area cool completely before handling.
Consider using embossing for key elements like your names, wedding date, or decorative borders. You can even create custom designs using embossing pens to draw freehand.
For a subtle look, try clear embossing powder on colored paper. With practice, you'll master this technique and create professional-looking invitations that rival expensive engraved versions, all while staying within your budget.
Dry Embossing Tools
While heat embossing adds dimension with powder and heat, dry embossing creates texture through pressure alone. You'll need a few basic tools to achieve this elegant effect on your wedding invitations. Start with an embossing folder, which contains a raised design on one side and a recessed pattern on the other. Place your paper inside the folder and run it through an embossing machine to transfer the design.
If you don't have a machine, you can use a light box and embossing stylus for more intricate designs. Tape your invitation to the light box, place your stencil on top, and trace the pattern with the stylus. For a budget-friendly option, try using common household items like spoons or rolling pins with textured surfaces.
Experiment with different paper types to achieve varying effects. Thicker cardstock will produce more pronounced textures, while thinner paper creates subtler results.
Don't forget to test your designs on scrap paper before working on your actual invitations. With practice, you'll master the art of dry embossing and create stunning, personalized wedding invitations that rival professional designs at a fraction of the cost.
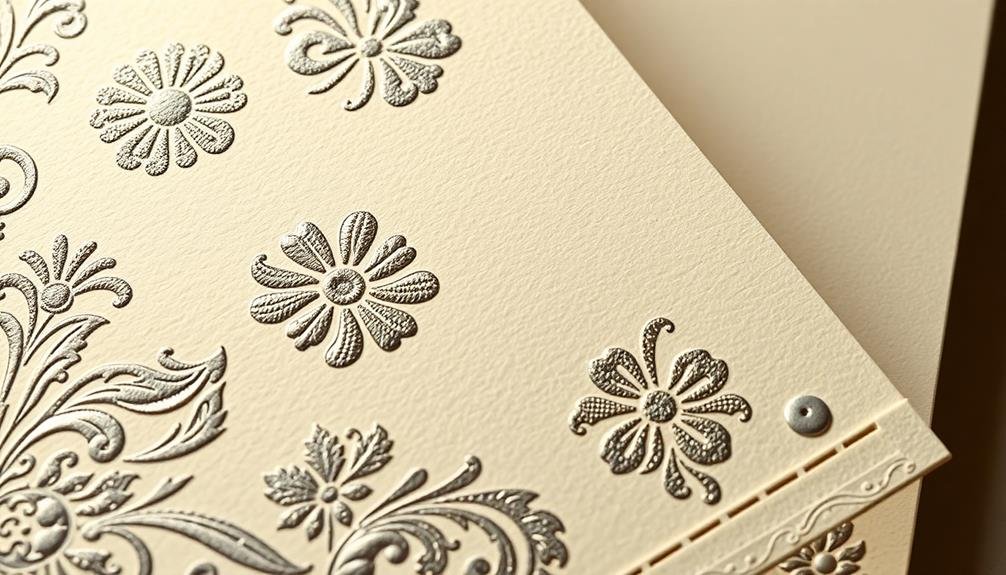
Embossing Powder Options
A multitude of embossing powder options await you for DIY wedding invitation creation. These fine, heat-activated powders come in various colors, finishes, and textures, allowing you to customize your invitations to match your wedding theme perfectly.
For a classic look, opt for metallic embossing powders in gold, silver, or rose gold. These create a luxurious, shimmering effect that's perfect for formal weddings.
If you're after a more subtle appearance, choose clear embossing powder, which adds texture and shine without altering the color of your design.
For a unique touch, try glitter embossing powders that add sparkle and dimension to your invitations. You can also experiment with opaque colors to create bold, eye-catching designs.
Don't forget about specialty powders like pearlescent or holographic options for a truly distinctive look.
When selecting embossing powders, consider the color of your invitation paper and ink. Some powders work better on dark papers, while others shine on lighter backgrounds.
Always test your chosen powder on a sample piece before committing to your entire invitation set. With the right embossing powder, you'll create stunning, professional-looking invitations that won't break the bank.
Affordable Paper Choices
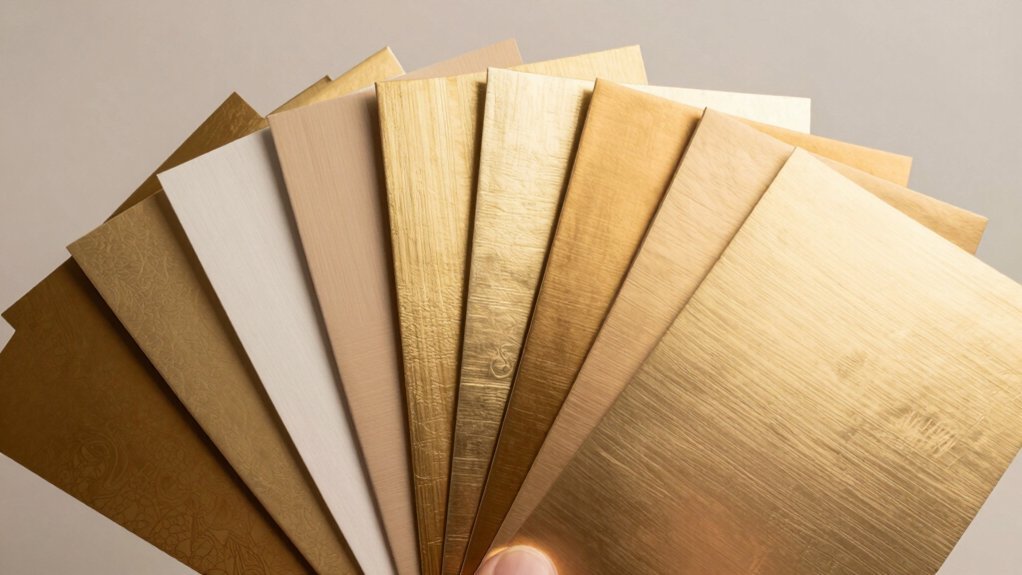
Paper selection plays an essential role in keeping your wedding invitations affordable. When choosing paper for your invitations, consider options like cardstock, matte paper, or recycled paper. These cost-effective choices can still look elegant without breaking the bank.
Cardstock offers durability and a professional finish, while matte paper provides a soft, sophisticated look. Recycled paper adds an eco-friendly touch to your invitations.
Don't overlook the potential of textured papers, which can add visual interest without increasing costs considerably. Linen or felt-finish papers create a luxurious feel at a fraction of the price of premium options.
You'll also find that lighter-weight papers are generally less expensive than heavier ones. Consider using white or off-white paper, as these are often more affordable than colored options.
If you want to add color, use colored ink or envelope liners instead of colored paper. Buying paper in bulk can lead to substantial savings, so consider purchasing more than you need for invitations and using the excess for other wedding stationery.
Mixing Printing Styles
You can create stunning invitations by mixing printing styles without breaking the bank.
Consider combining letterpress for key elements with digital printing for the main text, or add engraved accents to printed invitations for a touch of luxury.
These hybrid approaches allow you to incorporate high-end techniques while keeping costs manageable.
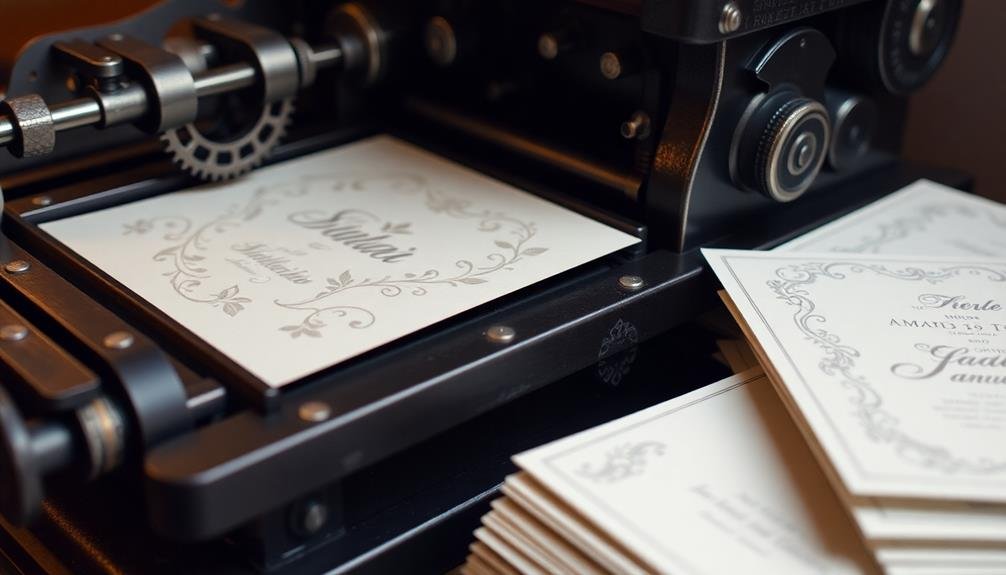
Letterpress and Digital Combo
While letterpress invitations exude elegance, they can be costly when used for an entire suite. To achieve a luxurious look without breaking the bank, consider combining letterpress and digital printing techniques. This hybrid approach allows you to showcase the tactile beauty of letterpress on key elements while utilizing cost-effective digital printing for the rest.
For your letterpress and digital combo, focus on:
- Letterpress printing for the main invitation card
- Digital printing for RSVP cards and enclosures
- Embossing or foil stamping for names or monograms
- Digitally printed envelope liners with letterpress accents
- Mix of letterpress and digital elements on information cards
Engraved Accents, Printed Text
Another way to strike a balance between luxury and affordability is by combining engraved accents with printed text. This approach allows you to incorporate the elegance of engraving without the high cost of fully engraved invitations.
You'll typically choose a key element, such as your names or a decorative motif, to be engraved while the rest of the text is printed using a more cost-effective method like digital or offset printing.
The engraved portion will have that distinctive raised feel and shimmering appearance, adding a touch of sophistication to your invitations. Meanwhile, the printed text maintains clarity and readability. This combination works well for various invitation styles, from traditional to modern designs.
When selecting this option, you'll want to carefully consider which elements to engrave. It's often most impactful to engrave larger text or design elements that will showcase the technique's unique qualities.
You can also explore different paper types that complement both printing methods. Remember, while this approach is more budget-friendly than full engraving, it's still pricier than all-printed invitations. However, it offers a luxurious compromise that can elevate your wedding stationery without breaking the bank.
Letterpress on a Budget
Letterpress invitations don't have to break the bank. You can achieve this luxurious look without emptying your wallet by exploring budget-friendly options. Consider using a single-color design, which reduces the cost considerably compared to multi-color prints. Opt for standard-sized cards to avoid custom cutting fees and choose a thinner paper stock that's still high-quality but more affordable.
To further cut costs while maintaining elegance, consider these tips:
- DIY some elements, like assembling and addressing envelopes
- Order in bulk to take advantage of quantity discounts
- Choose a simple design with minimal ink coverage
- Use digital printing for accompanying pieces like RSVP cards
- Select a local printer to save on shipping costs
You can also mix letterpress with other printing methods. For example, use letterpress for your main invitation and digital printing for inserts. This approach allows you to enjoy the tactile beauty of letterpress without the expense of applying it to every piece.
Foil Stamping Shortcuts
You don't need to break the bank for stunning foil-stamped invitations.
Try DIY foil transfer techniques or add metallic accents with paint pens for a touch of shimmer.
If you're short on time, explore faux foil printing options that mimic the look of real foil at a fraction of the cost.
DIY Foil Transfer Techniques
Metallic accents can elevate your wedding invitations without breaking the bank. DIY foil transfer techniques offer an affordable alternative to professional foil stamping. You'll need a few basic supplies: foil sheets, a laminator or household iron, and a laser printer.
Start by designing your invitation and printing it using a laser printer. The toner acts as an adhesive for the foil.
To apply the foil, follow these steps:
- Cut a piece of foil slightly larger than your design
- Place the foil, shiny side up, on top of your printed invitation
- Sandwich the invitation and foil between two pieces of parchment paper
- Run the sandwich through a laminator or apply heat with an iron
- Peel away the foil sheet to reveal your metallic design
Experiment with different colors and patterns of foil to create unique effects. You can even layer multiple foils for a more complex look.
Remember to practice on scrap paper before working on your final invitations. With a little patience and practice, you'll be creating stunning, professional-looking invitations at a fraction of the cost.
Metallic Paint Pen Accents
For those seeking a quick and easy alternative to foil stamping, metallic paint pens offer a brilliant solution.
These versatile tools allow you to add shimmering accents to your wedding invitations without the need for specialized equipment or complex techniques.
To get started, choose high-quality metallic paint pens in colors that complement your invitation design. Gold, silver, and rose gold are popular choices for adding an elegant touch.
Before applying the paint to your invitations, practice on scrap paper to get a feel for the pen's flow and pressure.
When you're ready, carefully outline text or design elements with the metallic pen. You can also use it to create delicate patterns or borders.
For a more subtle effect, try adding small dots or highlights to specific areas of your invitation.
To guarantee the best results, allow the paint to dry completely before handling the invitations.
If you make a mistake, don't panic – most metallic paint pens can be easily removed with a damp cloth while still wet.
With metallic paint pens, you'll achieve a professional-looking finish that rivals expensive foil stamping, all while staying within your budget.
Faux Foil Printing Options
Several cost-effective alternatives exist for achieving the look of foil stamping without breaking the bank.
You can create stunning faux foil effects on your wedding invitations using techniques that mimic the shimmering elegance of traditional foil stamping. These methods allow you to add a touch of luxury to your stationery while keeping costs down.
One popular option is using metallic heat transfer foil. You'll apply it to your printed invitations using a laminator or household iron, creating a shiny, foil-like finish.
Another technique involves printing your design with a laser printer and then applying foil adhesive sheets. When you run the invitation through a laminator, the foil adheres only to the printed areas.
Consider these additional faux foil printing options:
- Metallic inkjet printing on specialty paper
- Embossing powder and heat gun technique
- Glitter cardstock or paper for a sparkly effect
- Metallic vinyl cut with a craft cutter
- Metallic spray paint with stencils
Thermography for Elegant Textures
With thermography, you can add an elegant, raised texture to your wedding invitations without breaking the bank. This printing technique uses heat to create a raised effect on your invitations, mimicking the look of engraving at a fraction of the cost. Thermography ink is mixed with a special powder that melts when heated, resulting in a glossy, textured finish.
You'll find thermography particularly effective for text and simple designs. It works best on smooth paper stocks, allowing the raised elements to stand out. When choosing colors, opt for darker shades as they tend to produce more pronounced results.
Keep in mind that thermography isn't suitable for intricate details or photographic images.
To incorporate thermography into your invitations, consider using it for your names, wedding date, or key phrases. You can also combine it with flat printing for a multi-dimensional effect.
Many online retailers and local print shops offer thermography services, so shop around for the best prices. When ordering samples, be sure to feel the texture to verify it meets your expectations.
With thermography, you'll achieve a luxurious look for your wedding invitations while staying within your budget.
Customizing Pre-Made Designs
Pre-made wedding invitation designs offer a budget-friendly shortcut to beautiful stationery. You'll find a wide variety of templates online that you can easily customize to match your wedding theme.
Start by choosing a design that resonates with your style, then personalize it with your own text, colors, and images.
Many websites provide user-friendly tools to modify pre-made designs. You can:
- Adjust fonts and text sizes
- Change color schemes
- Add your own photos or graphics
- Modify layouts and arrangements
- Include custom embellishments or borders
Don't be afraid to mix and match elements from different templates to create a unique invitation. You might combine the floral border from one design with the elegant typography of another.
Remember to maintain consistency with your overall wedding aesthetic.
If you're feeling creative, consider adding hand-drawn elements or watercolor effects to give your invitations a personal touch. You can also experiment with different paper types and finishes to enhance the final look.
Maximizing Online Invitation Services

Online invitation services have revolutionized the way couples create and send wedding invitations. These platforms offer a wide range of customizable templates, allowing you to achieve an elegant look without breaking the bank. To optimize these services, start by exploring all available options and comparing prices across different websites.
When selecting a design, choose one that aligns with your wedding theme and can be easily modified. Many services offer free trials or sample kits, so take advantage of these to test the quality before committing. Don't forget to take into account the following features:
| Feature | Benefit |
|---|---|
| RSVP tracking | Simplifies guest management |
| Address collection | Streamlines mailing process |
| Digital proofs | Guarantees accuracy before printing |
| Matching stationery | Creates a cohesive look |
To save money, look for bundle deals that include save-the-dates, invitations, and thank-you cards. Opt for digital proofs instead of physical samples, and think about sending digital invitations to some guests while reserving printed ones for close family and friends. By carefully utilizing these online services, you'll create beautiful, affordable invitations that set the tone for your special day.
Cost-Effective Embellishments

Adding elegance to your wedding invitations doesn't have to break the bank. With a little creativity and some DIY spirit, you can elevate your invitations using cost-effective embellishments. Reflect on incorporating these affordable elements to add a touch of sophistication:
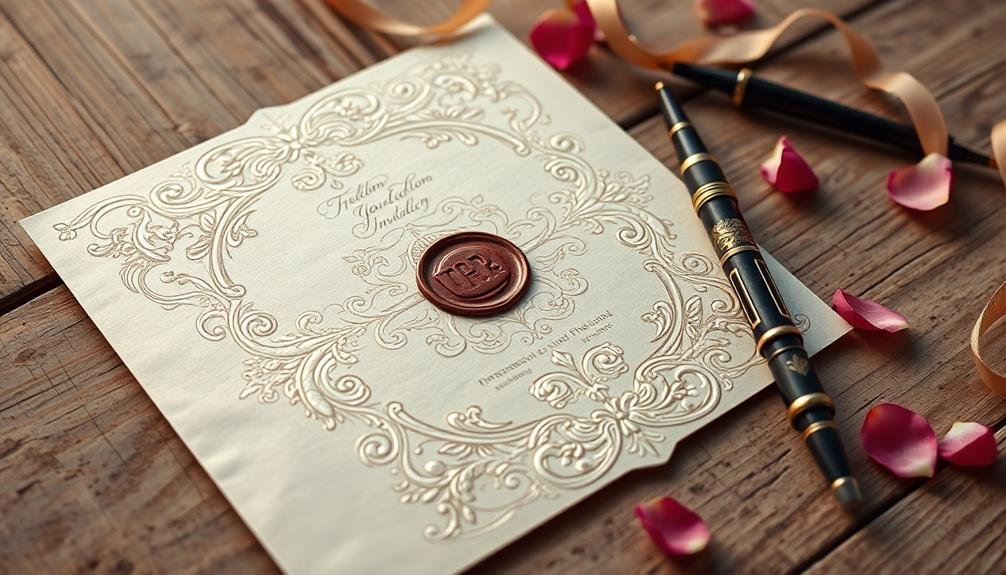
- Ribbon or twine: Wrap your invitations with a delicate ribbon or rustic twine for a charming finish.
- Wax seals: Create a regal look with custom wax seals featuring your initials or wedding motif.
- Pressed flowers: Add a romantic touch by including dried, pressed flowers in your invitation suite.
- Embossing powder: Use embossing powder and a heat tool to create raised designs on your invitations.
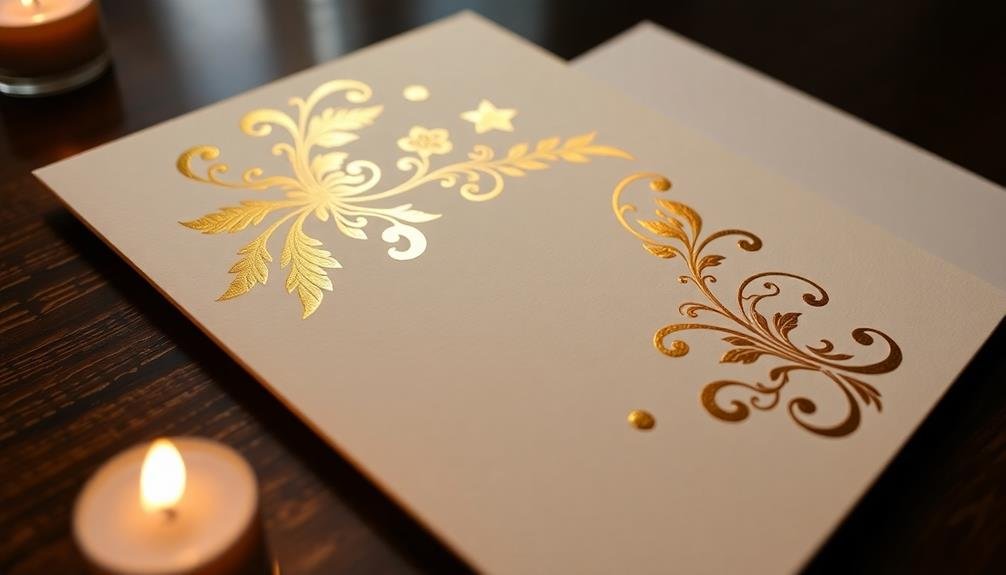
- Metallic accents: Apply gold or silver leaf to select areas for a luxurious appearance.
When choosing embellishments, focus on one or two key elements to avoid overwhelming the design.
You can also repurpose materials you already have, such as lace from a family heirloom or beads from an old necklace.
Don't forget to reflect on the weight of your embellishments, as heavier invitations may require additional postage.
Frequently Asked Questions
How Far in Advance Should I Order My Wedding Invitations?
You should order your wedding invitations 4-6 months before your big day. This gives you ample time for design, printing, and addressing. It also guarantees you'll have them ready to mail 6-8 weeks before the wedding.
Can I Include Registry Information on My Wedding Invitations?
Generally, you shouldn't include registry information on your wedding invitations. It's considered impolite. Instead, you can share registry details on your wedding website or through word of mouth. Save the invitations for essential ceremony and reception information.
What's the Etiquette for Addressing Wedding Invitations to Families With Children?
When addressing families with children, you'll want to be clear about who's invited. If you're including kids, list their names on the outer envelope. If not, address it only to the parents or adults.
How Do I Politely Indicate That Our Wedding Is Adults-Only?
You can tactfully indicate an adults-only wedding by adding a note on your invitation or wedding website. Use phrases like "Adult reception to follow" or "We've reserved __ seats in your honor." Don't mention children directly.
Should I Send Invitations to Guests Who Already Declined a Save-The-Date?
You should still send invitations to guests who declined your save-the-date. It's polite and gives them another chance to attend if their circumstances have changed. Plus, they'll appreciate being included and might send a gift anyway.
In Summary
You've now discovered numerous ways to create elegant wedding invitations without breaking the bank. By mixing printing techniques, exploring DIY options, and leveraging online services, you'll achieve a luxurious look for less. Don't be afraid to get creative with paper choices and embellishments. Remember, it's the thoughtful details that matter most. With these tips, you're well-equipped to craft invitations that'll impress your guests and set the tone for your special day.

I’m Sarah, the creator and writer behind this site. I’m a wife and a mother of two wonderful kids who keep me on my toes and inspire me daily. My passion lies in creating and organizing memorable events and group activities, where people can come together and make lasting memories.

Leave a Reply