
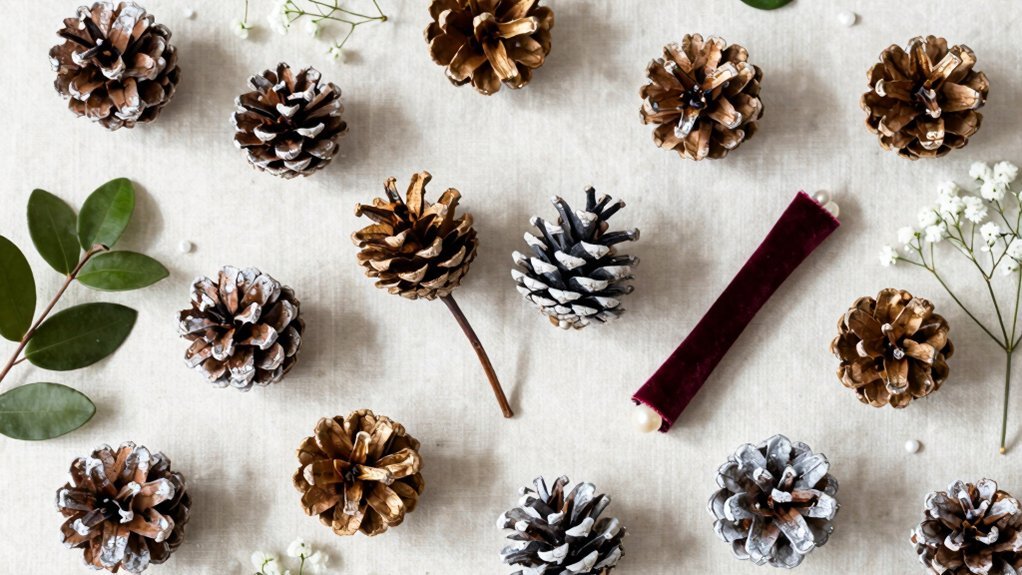
You can easily dress up your invites with affordable envelopes and liners that impress. Try metallic envelopes in gold or silver for a touch of elegance, or opt for patterned paper envelopes to add visual interest. DIY envelope liners using decorative paper are a budget-friendly way to customize your look. For a sophisticated touch, consider vellum overlays or fabric-lined envelopes. Washi tape and rubber stamps offer simple yet effective embellishments, while watercolor washes create dreamy backgrounds. Embossed designs add texture and depth without breaking the bank. With these creative options, you'll discover countless ways to make your invitations stand out.
Key Takeaways
- DIY envelope liners using decorative paper offer a cost-effective way to add elegance and personalization.
- Washi tape embellishments provide affordable, versatile designs for envelope decoration without special skills.
- Watercolor wash techniques create dreamy backgrounds on plain envelopes, adding sophistication at minimal cost.
- Patterned paper envelopes offer a budget-friendly alternative to custom printing for visual impact.
- Rubber stamps allow for affordable, customizable designs that can match various themes and styles.
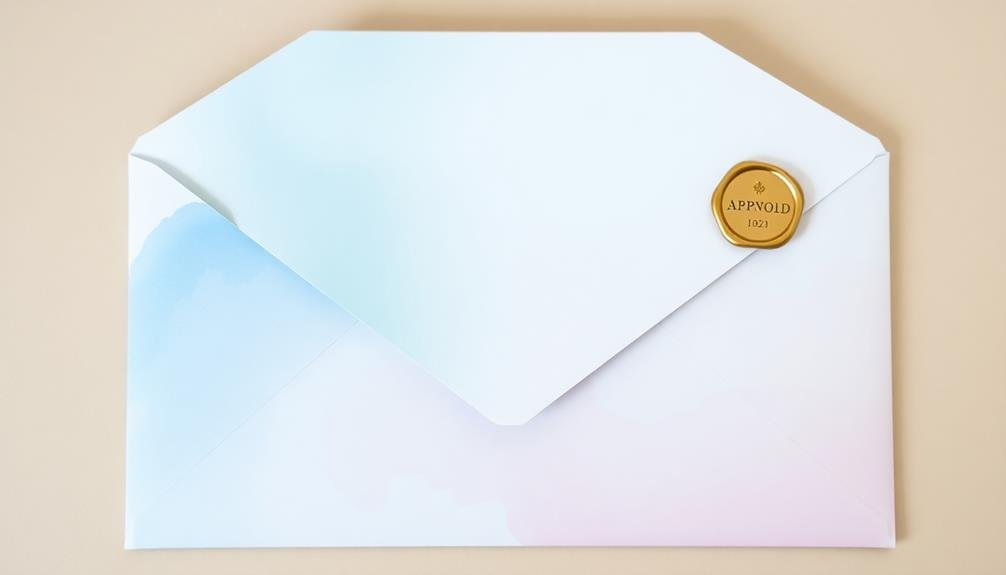
Metallic Envelope Options

With a touch of glamour, metallic envelopes can elevate your correspondence. These eye-catching options come in various shades, including gold, silver, rose gold, and bronze. You'll find them in different sizes, from standard letter envelopes to larger invitation sizes.
When choosing metallic envelopes, consider the occasion and your overall design theme. Gold envelopes work well for formal events like weddings or galas, while silver can add a modern touch to corporate invitations. Rose gold offers a trendy, romantic feel, perfect for bridal showers or anniversary celebrations.
Don't overlook the importance of paper quality. Opt for envelopes with a smooth finish to guarantee your address labels adhere properly. Some metallic envelopes feature a pearlescent sheen, adding depth to the color.
To make your envelopes stand out even more, pair them with contrasting ink colors for addressing. Black ink pops against lighter metallic shades, while white ink can create a stunning effect on darker metallic tones.
Remember to check postal regulations when using metallic envelopes, as some finishes may require additional postage.
With careful selection, you'll create a memorable first impression before your recipients even open their invitations.
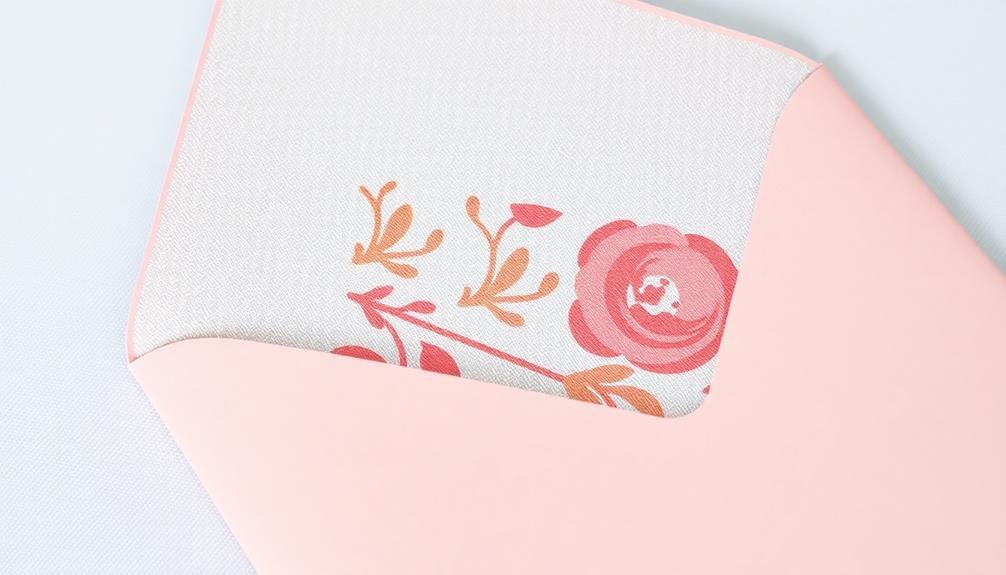
DIY Envelope Liners

Creating your own envelope liners is a fun and cost-effective way to personalize your stationery. You'll need just a few supplies: decorative paper, a pencil, scissors, and adhesive.
Start by carefully opening an envelope and tracing its shape onto your chosen paper. Cut out the liner, leaving a small margin to allow for folding. Trim the top edge at an angle for easier insertion into the envelope.
To install your DIY liner, apply adhesive to the back of the envelope flap and press the liner into place. Smooth out any wrinkles and let it dry completely before using.
Get creative with your liner designs – try patterned scrapbook paper, maps, sheet music, or even photos printed on lightweight paper. For a cohesive look, match your liners to your invitation design or wedding colors.
If you're making many liners, create a template from cardstock for quicker tracing. You can also use a cutting machine for precise, repetitive cuts.
Remember to test your liner with the envelope to guarantee a proper fit before making a whole batch. With these simple steps, you'll elevate your envelopes without breaking the bank.
Patterned Paper Envelopes
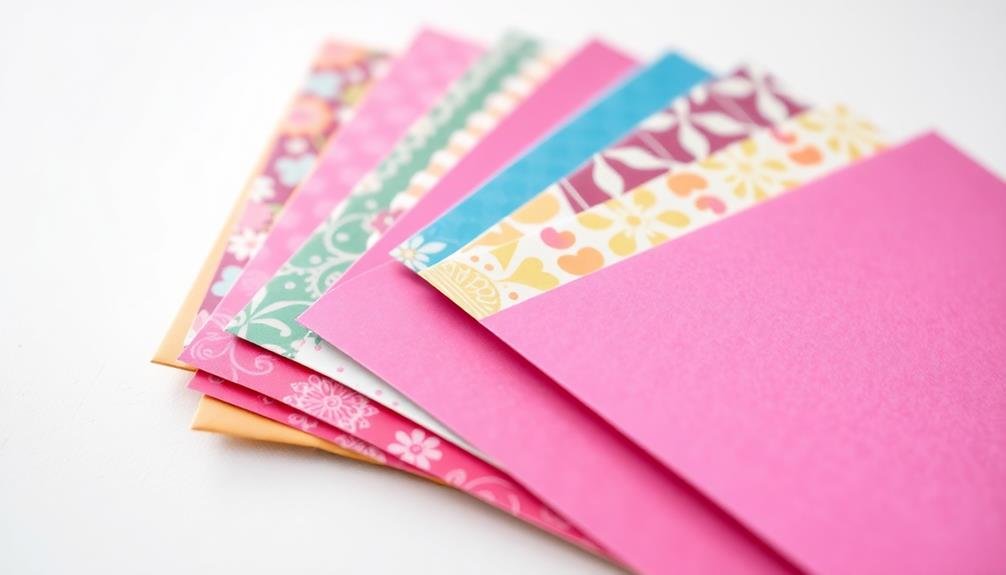
Patterned paper envelopes offer another avenue for adding flair to your correspondence without the need for separate liners. These ready-made options come in a variety of designs, from subtle textures to bold prints, allowing you to match your envelope to your invitation's theme or personal style.
You'll find patterned envelopes available at craft stores, stationery shops, and online retailers, often at prices comparable to plain envelopes.
When selecting patterned paper envelopes, consider:
- Paper weight: Verify it's sturdy enough to protect your contents
- Envelope size: Match it to your invitation or card dimensions
- Ink compatibility: Choose patterns that won't interfere with address readability
To make the most of patterned envelopes, pair them with solid-colored invitations or cards for a striking contrast. Alternatively, select a pattern that complements your invitation's design for a cohesive look.
Don't forget to test your writing instrument on the envelope to verify the ink doesn't bleed or become illegible against the pattern. By choosing patterned paper envelopes, you're adding a touch of personality to your correspondence before it's even opened, making a memorable impression on your recipients.
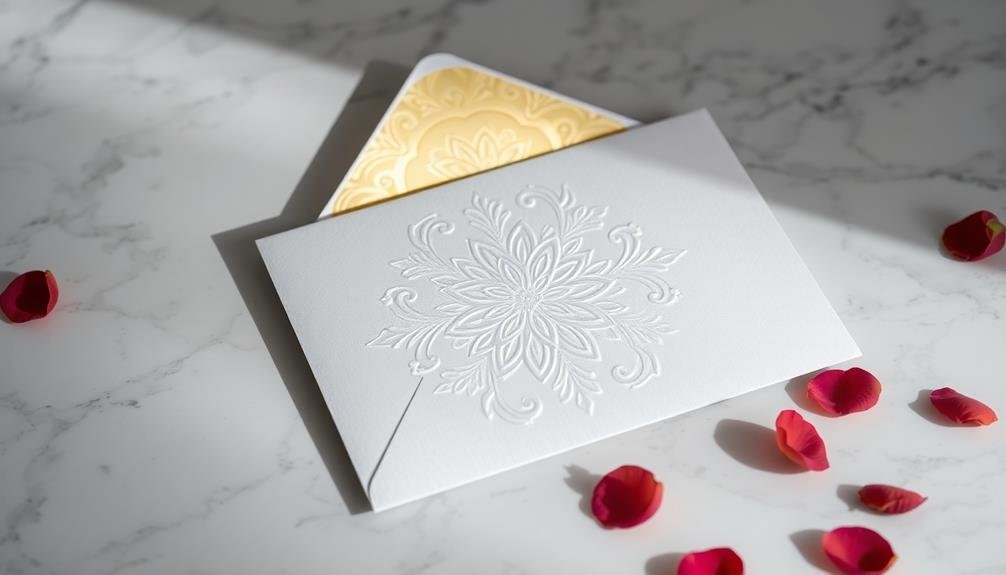
Vellum Overlays for Elegance
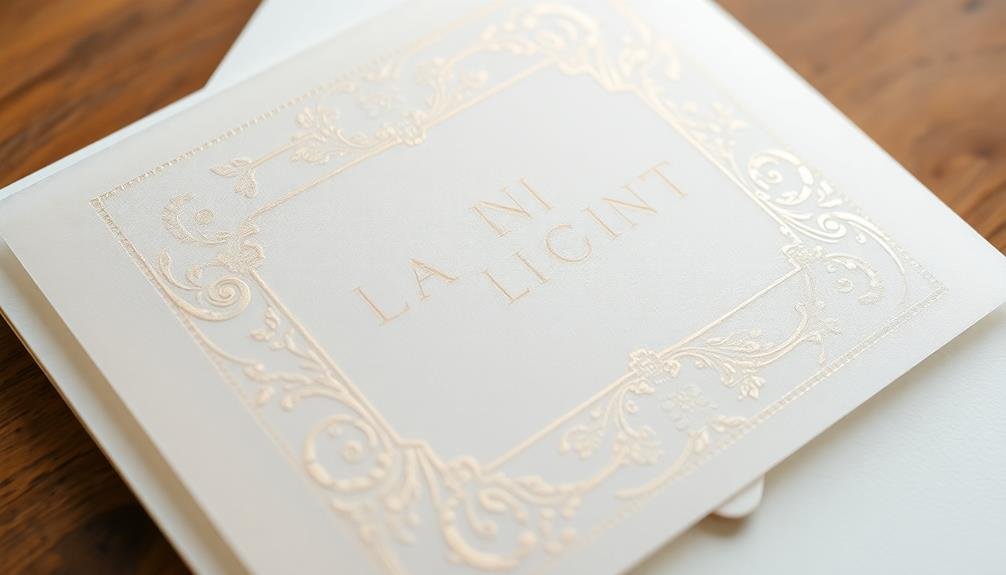
You'll love the translucent beauty vellum overlays bring to your envelopes, adding a touch of elegance without breaking the bank.
Try creating your own vellum overlays at home with simple DIY techniques that'll give your stationery a professional look.
For a stunning effect, pair your vellum overlay with a colorful or patterned paper insert to create depth and visual interest in your envelope design.
Translucent Beauty in Envelopes
Translucence adds a touch of mystery and sophistication to envelopes, making them stand out from the ordinary.
You'll find that translucent envelopes create a stunning visual effect, allowing a glimpse of the contents within while maintaining an air of elegance. These envelopes are perfect for wedding invitations, special announcements, or any occasion where you want to make a lasting impression.
When choosing translucent envelopes, consider these options:
- Vellum envelopes: Made from thin, semi-transparent paper that's both durable and beautiful.
- Glassine envelopes: Smooth, glossy, and highly transparent, offering a modern look.
- Translucent colored envelopes: Available in various hues to complement your invitation design.
To enhance the translucent effect, pair your envelopes with matching or contrasting liners.
This combination creates depth and visual interest, elevating your invitation's overall appearance. You can also experiment with printing directly on the translucent material for a unique, layered look.
Remember to test your chosen ink and printing method to guarantee clarity and avoid smudging.
With translucent envelopes, you'll create a memorable first impression that sets the tone for your event before your guests even open the invitation.
DIY Vellum Overlay Tips
Vellum overlays offer a sophisticated way to elevate your invitations and stationery. You'll love how this translucent paper adds depth and elegance to your designs. To create stunning vellum overlays, start by selecting high-quality vellum paper that complements your main invitation.
Here are some DIY tips to help you perfect your vellum overlays:
| Technique | Materials Needed | Difficulty Level |
|---|---|---|
| Printing | Inkjet printer, vellum | Easy |
| Embossing | Heat tool, embossing powder | Moderate |
| Die-cutting | Die-cutting machine, dies | Moderate |
| Hand-lettering | Calligraphy pens, markers | Advanced |
When printing on vellum, use a light touch with ink to prevent smudging. Allow ample drying time before handling. For embossing, apply embossing powder to your design and heat it until it melts, creating a raised effect. Die-cutting vellum adds intricate patterns and shapes to your overlay. If you're skilled in calligraphy, hand-lettering on vellum creates a truly personalized touch.
To attach your vellum overlay, use small dots of adhesive in inconspicuous areas or create a belly band to hold it in place. Remember, less is more when working with vellum – its subtle beauty speaks volumes.
Pairing With Paper Inserts
Pairing vellum overlays with paper inserts creates a stunning layered effect that adds depth and sophistication to your invitations. This combination allows you to showcase your design elements while maintaining an air of elegance.
When selecting paper inserts to complement your vellum overlay, consider the weight, texture, and color of both materials to guarantee they work harmoniously.
To achieve the perfect pairing, follow these tips:
- Choose a paper insert that's slightly smaller than your vellum overlay to create a border effect.
- Experiment with contrasting colors or patterns between the vellum and paper to add visual interest.
- Use a heavier weight paper for the insert to provide structure and support for the delicate vellum.
You can attach the vellum overlay to the paper insert using small dots of adhesive or by sewing them together with a sewing machine for a unique look.
Don't be afraid to mix and match different textures, such as a smooth vellum with a textured paper insert, to create a multi-dimensional effect.
Washi Tape Envelope Embellishments
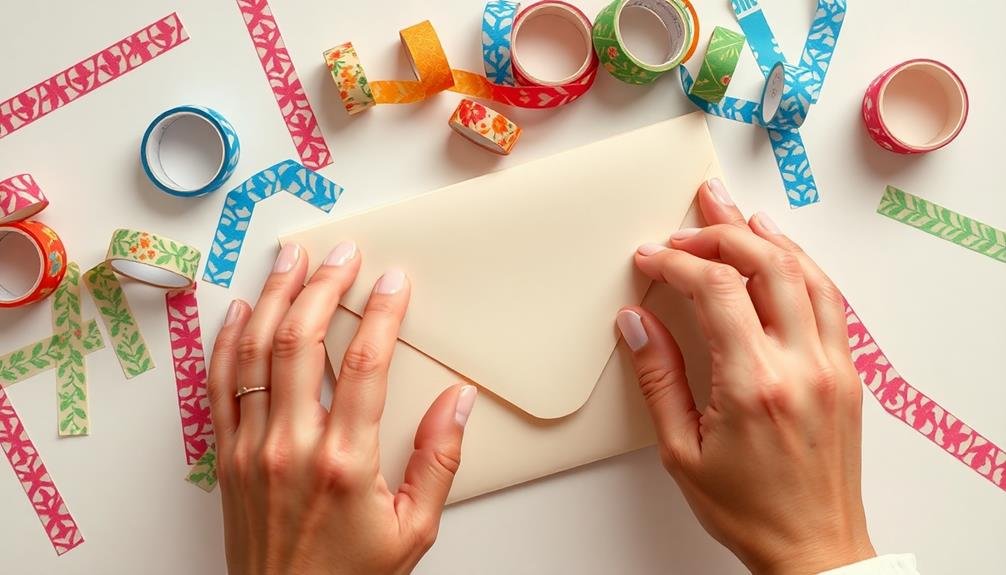
Washi tape offers a world of colorful patterns and designs to enhance your envelopes.
You'll find an array of options, from floral motifs to geometric shapes, allowing you to personalize your stationery with ease.
Applying washi tape is straightforward: simply tear off a strip, align it on your envelope, and press it down for a quick and stylish embellishment.
Colorful Patterns and Designs
Transform your plain envelopes into eye-catching works of art with colorful patterns and designs using washi tape embellishments. This versatile crafting tool allows you to create stunning effects without breaking the bank. With an array of patterns, colors, and widths available, you'll find endless possibilities to customize your envelopes.
To get started with washi tape envelope embellishments, consider these ideas:
- Create geometric patterns by layering strips of tape at different angles.
- Use coordinating colors to form a cohesive border around the envelope's edges.
- Cut intricate shapes from wider washi tape to form unique designs or motifs.
Don't be afraid to mix and match patterns and colors for a bold, eclectic look. You can easily create stripes, chevrons, or even floral designs by combining different tapes.
For a more subtle approach, opt for delicate patterns or metallic accents that add a touch of elegance without overwhelming the envelope.
Remember to leave space for the address and postage when applying your washi tape designs. With a little creativity and some well-chosen washi tape, you'll transform ordinary envelopes into personalized works of art that are sure to impress your recipients.
Easy Application Techniques
Crafters of all skill levels can easily master washi tape envelope embellishments with a few simple techniques. Start by selecting washi tape that complements your envelope's color and design. Clean the envelope surface to guarantee proper adhesion.
For straight lines, use a ruler as a guide. Place the tape along the ruler's edge and press it down firmly. Trim excess tape with scissors or a craft knife.
To create diagonal stripes, measure and mark points on opposite corners, then connect them with tape. For a border effect, apply tape along the envelope's edges, overlapping at the corners for a clean finish.
Create patterns by layering different tapes or cutting shapes from wider washi tape varieties. To add a unique touch, try wrapping washi tape around the envelope's flap or creating a decorative seal.
For precise application, use tweezers to position small tape pieces. Remember to smooth out air bubbles as you go. If you make a mistake, gently peel off the tape and reposition it.
With practice, you'll develop your own creative washi tape techniques to make your envelopes stand out.
Rubber Stamp Decorations
Rubber stamps offer a versatile and budget-friendly way to decorate your envelopes and liners. With a wide variety of designs available, you'll find stamps that match your invitation theme perfectly. To get started, choose a stamp with a pattern or image that complements your event's style. You can use traditional ink pads or experiment with embossing powders for a raised, textured effect.
When applying rubber stamp decorations, consider these tips:
- Practice on scrap paper first to perfect your technique.
- Use a light touch to avoid smudging or over-inking.
- Allow the ink to dry completely before handling.
For a cohesive look, stamp a pattern along the envelope's edges or create a border on the liner. You can also use smaller stamps to add accents or embellishments to specific areas. Don't be afraid to mix and match different stamps for a unique, personalized design.
If you're feeling creative, try carving your own custom stamps from rubber blocks. This allows you to create one-of-a-kind designs tailored to your event.
With rubber stamp decorations, you'll add a charming, handmade touch to your invitations without breaking the bank.
Watercolor Wash Envelopes
Watercolor wash envelopes offer another beautiful and affordable option for invitation decoration. You'll love how these soft, dreamy backgrounds add a touch of elegance to your invites without breaking the bank.
To create this effect, you'll need watercolor paints, brushes, and plain white envelopes.
Start by lightly wetting the envelope with a large brush. Then, mix your chosen colors with plenty of water to create a diluted wash. Apply the paint in gentle strokes, allowing the colors to blend naturally. You can create ombré effects by gradually shifting between shades or opt for a more abstract look with random splotches of color.
For added dimension, try sprinkling salt on the wet paint or using a spray bottle to create interesting textures.
Once dry, you can enhance your design with metallic accents or calligraphy. Remember to test your technique on scrap paper first, and always use waterproof ink when addressing the envelopes to prevent smudging.
With a little practice, you'll be creating stunning, one-of-a-kind envelopes that perfectly complement your invitations and impress your guests.
Fabric-Lined Envelopes
While watercolor washes create a soft, dreamy look, fabric-lined envelopes offer a tactile and visually striking alternative. You'll love the unique texture and depth fabric linings bring to your invitations. Choose fabrics that complement your event's theme or color scheme for a cohesive look.
To create fabric-lined envelopes on a budget:
- Use remnant fabric pieces or repurpose old clothing
- Opt for iron-on fusible interfacing instead of glue
- Create a template for easy cutting and consistent results
Start by selecting a lightweight fabric that won't add too much bulk to your envelopes. Cut the fabric slightly smaller than the envelope's interior, leaving space for the adhesive flap. Iron the fusible interfacing onto the fabric's wrong side, then trim any excess.
Carefully insert the fabric lining into the envelope and press it in place with a warm iron. For a polished finish, fold the top edge of the fabric under before inserting it into the envelope. This creates a clean line and prevents fraying.
You can also experiment with different fabric patterns or textures to add visual interest to your invitations.
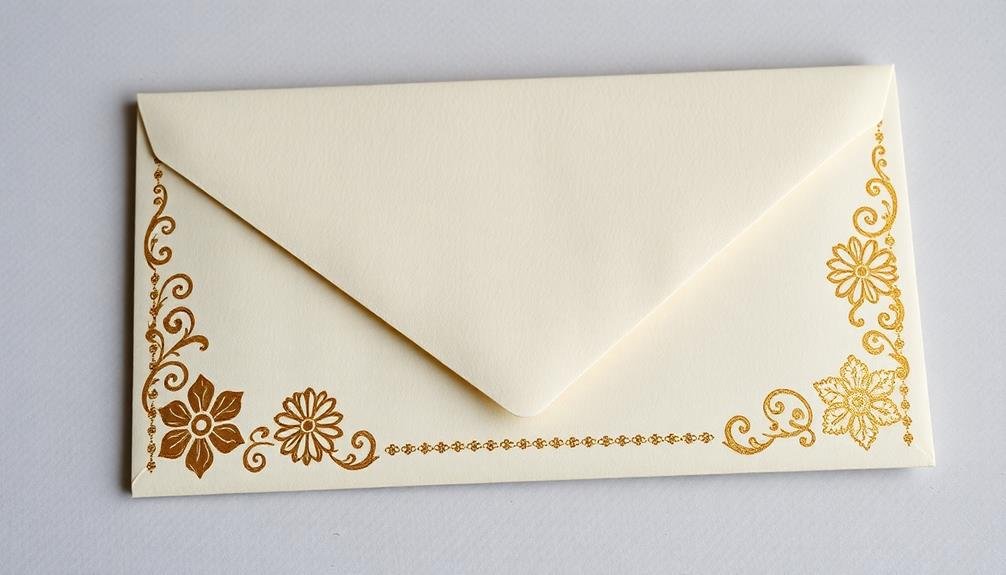
Embossed Envelope Designs
Texture enthusiasts will love embossed envelope designs for their affordable elegance. These envelopes feature raised patterns that add depth and sophistication to your invitations without breaking the bank. You'll find a wide variety of embossed designs, from delicate floral motifs to bold geometric shapes.
To help you choose the perfect embossed envelope, consider the following options:
| Design Style | Formality Level | Best for | Color Options | Price Range |
|---|---|---|---|---|
| Floral | Moderate | Weddings, Showers | Pastels, White | $0.50-$1.00 |
| Geometric | Modern | Corporate Events | Neutrals | $0.60-$1.20 |
| Damask | Formal | Galas, Ceremonies | Metallics | $0.70-$1.50 |
| Linen | Versatile | All Occasions | Any | $0.40-$0.80 |
| Custom | Varies | Unique Invitations | Custom | $1.00-$2.50 |
When selecting embossed envelopes, consider the tone of your event and the invitation design. You'll want to choose a pattern that complements your overall theme without overshadowing the contents. Don't forget to factor in the weight of your invitation when selecting envelope thickness. With these tips, you'll create a lasting first impression that sets the stage for your special event.
Frequently Asked Questions
How Do I Properly Address Formal Invitations on Decorated Envelopes?
To properly address formal invitations on decorated envelopes, you'll want to use clear, legible handwriting or printing. Write the recipient's full name on the first line, their street address on the second, and city, state, and ZIP code on the third.
Can I Use Custom-Sized Envelopes for Standard Postal Delivery?
You can use custom-sized envelopes for standard postal delivery, but you'll need to guarantee they meet the postal service's minimum and maximum size requirements. If they're non-standard, you may incur additional postage costs or face delivery issues.
What's the Best Way to Seal Embellished Envelopes Without Damaging Decorations?
You'll want to use adhesive seals or wax stamps to protect embellishments. Don't lick or moisten decorative envelopes. For extra care, apply a thin line of clear glue with a small brush along the flap's edge.
Are There Eco-Friendly Options for Decorative Envelopes and Liners?
Yes, you'll find eco-friendly options for decorative envelopes and liners. Look for recycled paper products, seed paper that can be planted, or biodegradable materials. You can also create your own using sustainable paper and natural dyes or inks.
How Far in Advance Should I Mail Decorated Invitations to Ensure Timely Delivery?
You'll want to mail your decorated invitations 6-8 weeks before the event. If it's a destination event or during peak seasons, consider sending them 10-12 weeks in advance. Don't forget to factor in time for addressing and assembly.
In Summary
You've now got a fantastic array of options to elevate your invitations. Whether you're opting for metallic glamour, DIY liners, or artistic watercolor washes, you'll make a lasting impression before your guests even open the envelope. Don't be afraid to mix and match techniques for truly unique results. Remember, it's the little details that count. With these affordable ideas, you're well-equipped to create invites that'll have everyone talking long after the event's over.

I’m Sarah, the creator and writer behind this site. I’m a wife and a mother of two wonderful kids who keep me on my toes and inspire me daily. My passion lies in creating and organizing memorable events and group activities, where people can come together and make lasting memories.
Leave a Reply