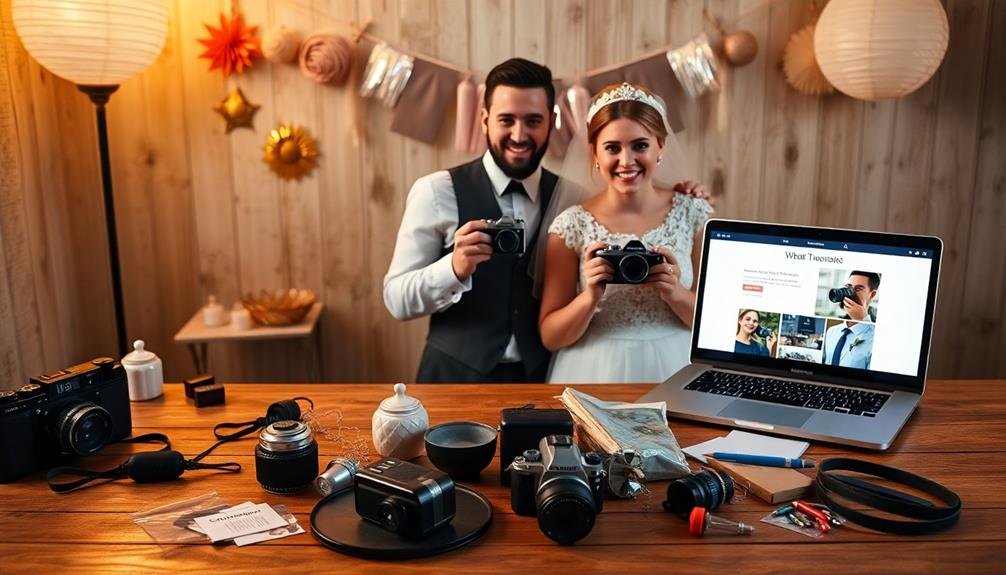
You can create beautiful wedding memories and a stunning online presence without breaking the bank by combining DIY photography and videography with affordable website templates. Invest in essential equipment like a DSLR camera, versatile lenses, and lighting gear. Master basic photography techniques and explore budget-friendly videography tips. Use free or low-cost editing software to enhance your photos and videos. Choose affordable wedding website platforms that offer customizable templates to showcase your work. Organize your digital assets efficiently and implement robust backup strategies. With the right approach, you'll capture and share your special day in a way that's uniquely yours. Discover how to make your DIY wedding dreams a reality.
Key Takeaways
- Invest in essential equipment like a DSLR camera, versatile lenses, and affordable lighting solutions for quality DIY wedding photography and videography.
- Master basic photography and videography techniques, including composition, lighting, and exposure, to capture professional-looking wedding memories.
- Utilize free editing software like DaVinci Resolve or GIMP to enhance photos and videos without breaking the budget.
- Choose affordable wedding website platforms like The Knot or Wix to showcase your DIY photography and manage RSVPs effortlessly.
- Implement a multi-layered backup strategy, using external hard drives and cloud services, to safeguard your precious wedding media.
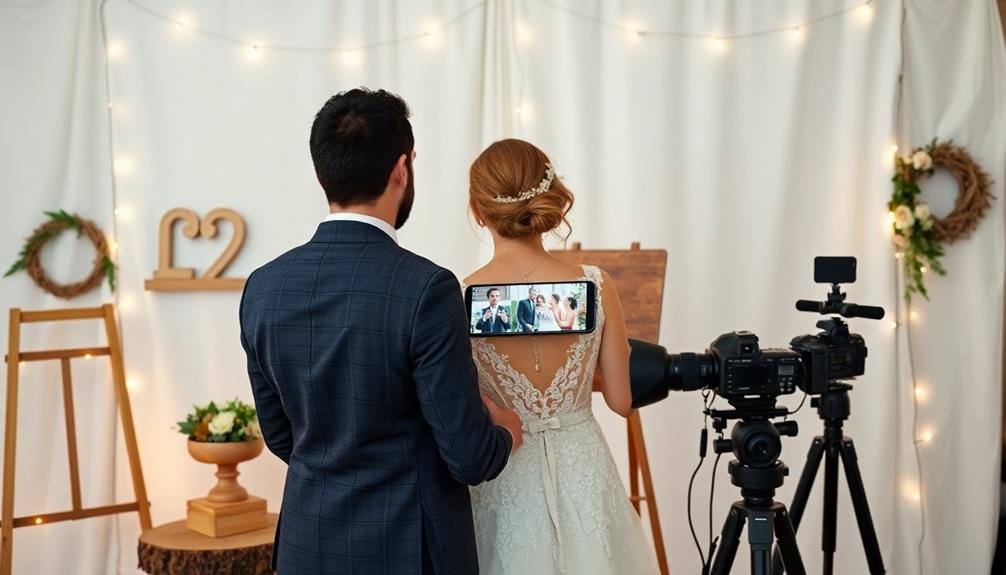
Essential Equipment for DIY Photography
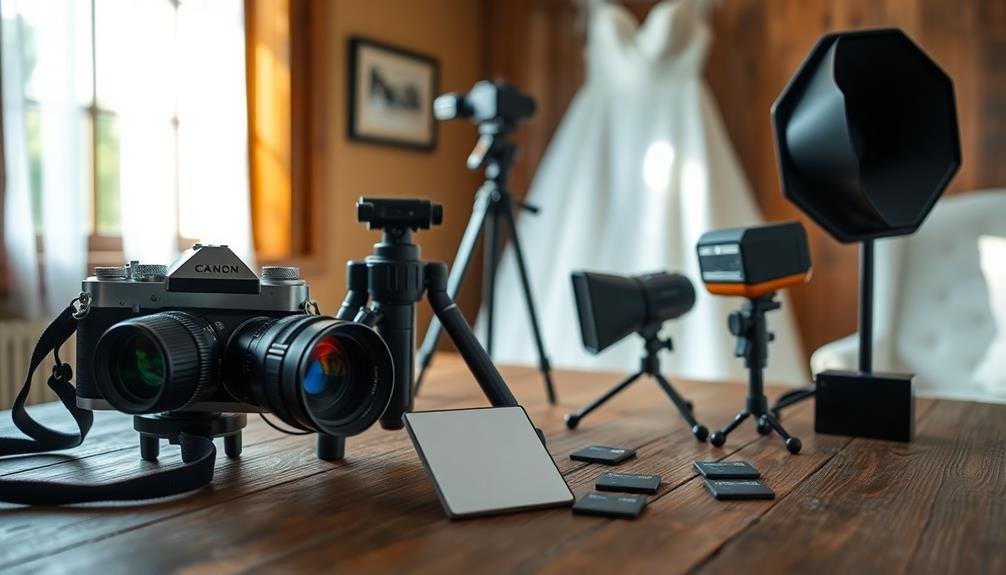
The right equipment can make or break your DIY wedding photography. While you don't need top-of-the-line gear, investing in a few key items will greatly improve your results.
Start with a DSLR or mirrorless camera that offers manual controls and interchangeable lenses. Opt for a versatile zoom lens, like a 24-70mm, which covers a range of focal lengths suitable for most wedding scenarios.
Don't forget about lighting. A speedlight flash will help you combat challenging indoor lighting conditions. Consider renting or borrowing additional flashes for more complex setups.
To stabilize your shots, especially in low light, invest in a sturdy tripod.
Memory cards are essential; bring plenty of high-capacity, fast-writing cards to guarantee you don't miss any moments. Pack extra batteries and a charger to keep your camera powered throughout the day.
For creative shots, consider adding a prime lens with a wide aperture, like a 50mm f/1.8. This will allow you to capture beautiful bokeh and perform well in low light.
Mastering Basic Photography Techniques
To capture stunning wedding photos, you'll need to master key photography techniques.
Start by focusing on composition and framing fundamentals, which will help you create visually appealing and balanced images.
Next, familiarize yourself with lighting and exposure basics to guarantee your photos are properly illuminated and have the right level of brightness and contrast.
Composition and Framing Fundamentals
Photography's cornerstone lies in mastering composition and framing fundamentals. These principles will elevate your wedding photos from amateur snapshots to professional-looking imagery.
Start by applying the rule of thirds: imagine a 3×3 grid over your viewfinder and place key elements along these lines or at their intersections. This creates balance and visual interest in your shots.
Pay attention to leading lines, natural elements that guide the viewer's eye through the image. Use architectural features, pathways, or even the bride's veil to draw attention to your subjects.
Don't forget about symmetry and patterns, which can add a sense of harmony to your compositions.
Frame your subjects using natural elements like doorways, arches, or tree branches to add depth and context. Experiment with different angles and perspectives to capture unique views of the wedding. Get low for dramatic shots or shoot from above for an interesting overview.
Consider the background carefully, ensuring it complements rather than distracts from your subjects. Use depth of field to blur backgrounds when necessary, keeping the focus on the couple or important details.
Lighting and Exposure Basics
Three key elements form the foundation of lighting and exposure in wedding photography: aperture, shutter speed, and ISO. These settings work together to control how much light enters your camera and how it's captured.
Aperture determines the depth of field and how much light enters the lens. A wider aperture (smaller f-number) lets in more light and creates a shallower depth of field, ideal for portraits. A narrower aperture (larger f-number) allows less light but increases the depth of field, perfect for group shots.
Shutter speed controls how long your camera's sensor is exposed to light. Faster speeds freeze motion, while slower speeds can create artistic blur. For most wedding shots, you'll want to keep it above 1/60th of a second to avoid camera shake.
ISO adjusts your camera's sensitivity to light. Higher ISO values brighten your image but can introduce noise, so use the lowest setting possible for the situation.
| Setting | Low Value | Medium Value | High Value | Effect |
|---|---|---|---|---|
| Aperture | f/16 | f/8 | f/2.8 | Depth of field |
| Shutter | 1/15 | 1/250 | 1/1000 | Motion blur/freeze |
| ISO | 100 | 800 | 3200 | Brightness and noise |
Budget-Friendly Videography Tips
You don't need to break the bank to capture your wedding on video.
Consider affordable equipment rentals for high-quality cameras and stabilizers, while mastering DIY lighting techniques can dramatically improve your footage.
To polish your final video, explore free editing software options that offer professional-grade features without the hefty price tag.
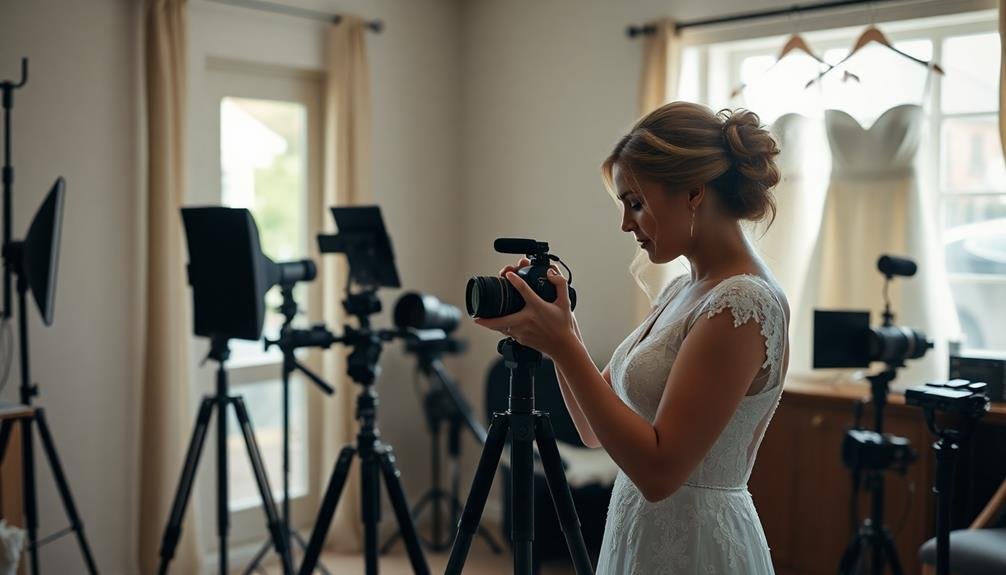
Affordable Equipment Rentals
When planning a DIY wedding video on a budget, renting equipment can be a game-changer. You'll have access to high-quality gear without the hefty price tag of purchasing outright.
Start by researching local camera rental shops or online platforms that offer equipment rentals. Look for packages that include essential items like a DSLR camera, lenses, tripod, and audio equipment.
Don't forget to evaluate lighting options, as proper illumination can dramatically improve your video quality. Many rental companies offer LED panel lights or softboxes that are easy to set up and use.
If you're filming outdoors, reflectors can be a cost-effective way to control natural light.
When renting, always inspect the equipment before leaving the shop and test it thoroughly. Familiarize yourself with the gear's functions before the big day to avoid any last-minute hiccups.
Remember to factor in the rental period – some companies offer weekend rates, which can be more economical for weddings.
Lastly, contemplate renting stabilization equipment like gimbals or sliders to add a professional touch to your footage. These tools can help create smooth, cinematic shots that elevate your DIY wedding video.
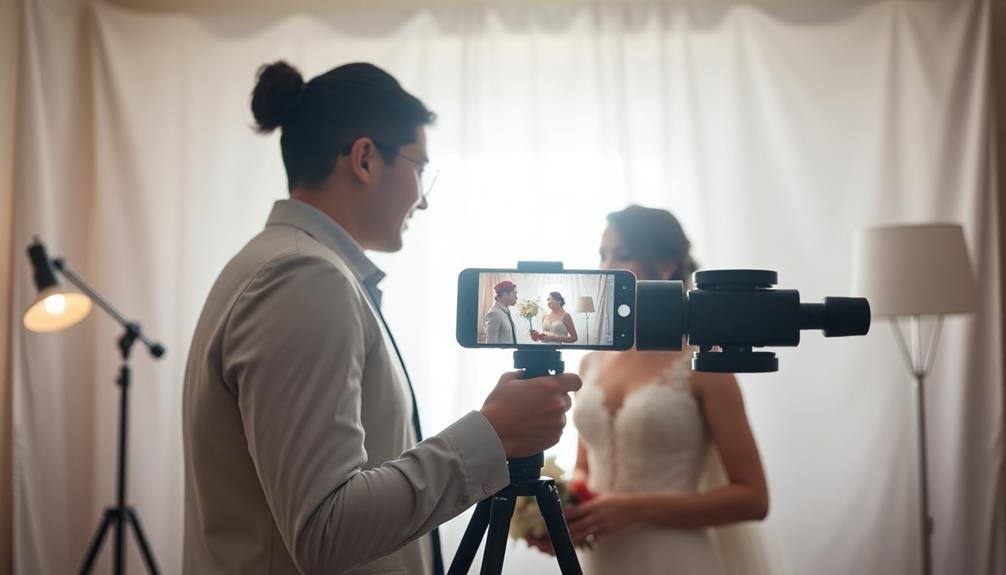
DIY Lighting Techniques
Lighting is the unsung hero of great videography, and you don't need a Hollywood budget to achieve stunning results. Start by maximizing natural light whenever possible. Position your subjects near windows or in outdoor settings during the golden hour for a warm, flattering glow.
When natural light isn't enough, invest in a few affordable LED panel lights. These versatile tools can be easily mounted on stands or handheld for flexibility.
For a soft, diffused look, create a DIY softbox using a cardboard box and white fabric. This will help eliminate harsh shadows and create a more professional appearance.
Don't forget about practical lights already present in your venue, such as lamps or string lights. These can add depth and ambiance to your shots.
Experiment with different lighting angles to create drama and dimension. Use a three-point lighting setup for interviews, placing your key light at a 45-degree angle to your subject, a fill light on the opposite side, and a backlight behind them.
For dynamic scenes, try bouncing light off walls or ceilings using reflectors made from foam board or aluminum foil.
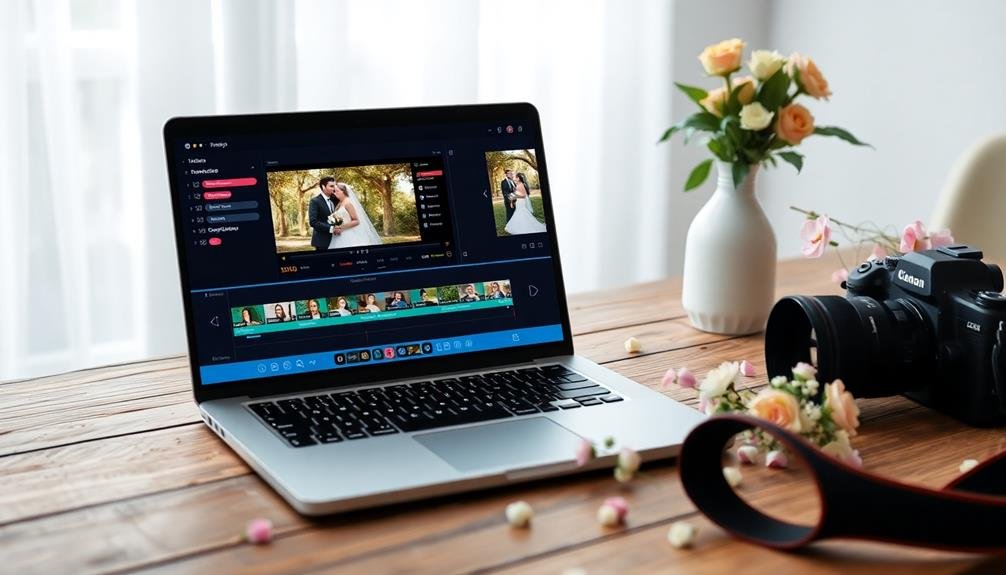
Free Editing Software
Despite the misconception that professional-quality video editing requires expensive software, numerous free options are available for budget-conscious videographers.
DaVinci Resolve stands out as a powerful, feature-rich editing suite that rivals paid alternatives. It offers advanced color grading tools, multi-track audio editing, and visual effects capabilities.
For simpler projects, you can't go wrong with OpenShot or Kdenlive. These user-friendly editors provide essential features like trimming, changes, and basic effects. They're perfect for beginners or those working on straightforward wedding videos.
If you're a Mac user, don't overlook iMovie. It comes pre-installed on most Apple devices and offers an intuitive interface with surprisingly robust editing tools.
For Windows users, the built-in Photos app now includes basic video editing features that can handle simple cuts and changes.
Online options like WeVideo and Clipchamp offer cloud-based editing, allowing you to work from any device with an internet connection.
These platforms often include stock footage and music libraries, which can enhance your wedding videos without additional cost.
Editing Software for Beginners
Many beginner photographers feel overwhelmed when it comes to editing their wedding photos. Don't worry – there are several user-friendly editing software options designed specifically for novices.
Adobe Lightroom is an excellent choice, offering a straightforward interface and powerful tools for adjusting exposure, color, and overall image quality. It also provides presets that can give your photos a professional look with just one click.
Another great option is Canva, which offers a web-based platform with intuitive drag-and-drop features. You'll find templates and design elements perfect for creating wedding albums or enhancing individual photos.
For those on a tight budget, GIMP is a free, open-source alternative that mimics many of Photoshop's capabilities.
If you're mainly working with smartphone photos, consider apps like Snapseed or VSCO. These mobile-friendly editors offer a range of filters and adjustment tools that can transform your images quickly.
Remember, the key to successful editing is subtlety. Start with small adjustments to brightness, contrast, and saturation. As you gain confidence, experiment with more advanced techniques like selective editing and color grading.
With practice, you'll develop your own unique editing style that enhances the beauty of your wedding photos.
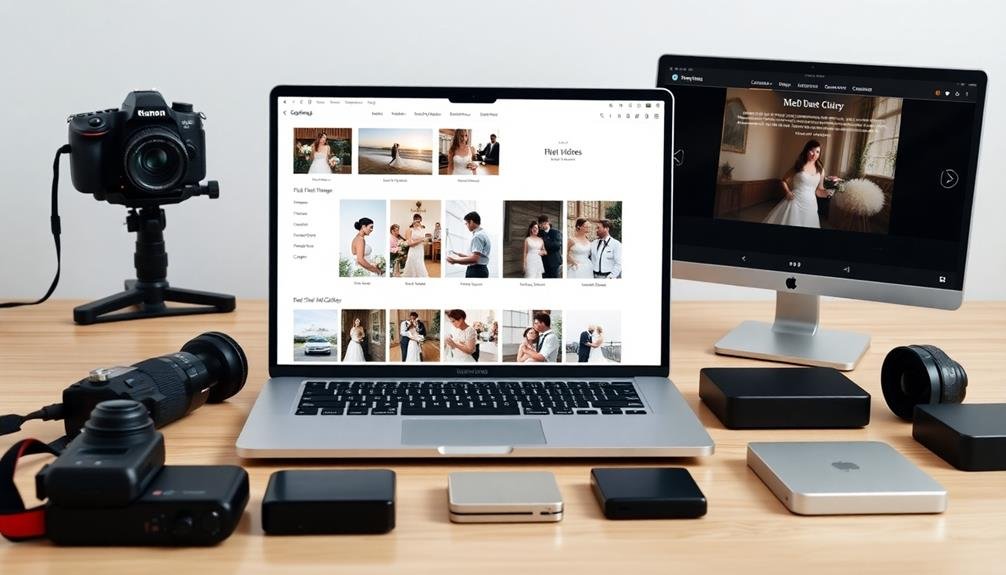
Affordable Wedding Website Platforms

With the rise of digital wedding planning, affordable wedding website platforms have become essential for couples on a budget. These platforms offer user-friendly tools to create stunning wedding websites without breaking the bank.
Popular options include The Knot, Zola, and WeddingWire, which provide free basic templates and customization features. You'll find easy-to-use drag-and-drop editors, RSVP management systems, and guest list organizers.
These platforms also offer premium upgrades for additional features like custom domains and advanced design options.
For more creative control, consider Squarespace or Wix. While they're not specifically designed for weddings, they offer more flexibility in design and functionality. You can choose from a variety of templates and customize them to fit your wedding theme.
If you're tech-savvy, WordPress is an excellent option. It's free to use, but you'll need to pay for hosting and potentially a theme. However, this route gives you complete control over your website's design and features.
Remember to choose a platform that aligns with your technical skills and budget. Most importantly, select one that allows you to showcase your DIY wedding photography and videography effectively.
Customizing Templates With Personal Touches

Once you've chosen a template for your DIY wedding photography website, it's time to make it uniquely yours. Start by selecting a color scheme that matches your wedding theme or personal style. Most templates allow you to adjust colors easily, so experiment with different combinations until you find the perfect match.
Next, upload your own high-quality images to replace the stock photos. Include a mix of your engagement photos, candid shots, and professional portraits to showcase your personality as a couple.
Don't forget to add an enchanting header image that sets the tone for your site.
Customize the text to reflect your voice and story. Write a brief "About Us" section, sharing how you met and your journey together. Update the wedding details, including date, time, and venue information.
Consider adding a personalized timeline of your relationship or a fun FAQ section.
Incorporate unique elements that represent you as a couple, such as custom icons, favorite quotes, or even a playlist of meaningful songs.
Remember to keep the design clean and user-friendly, ensuring that your personal touches enhance rather than overwhelm the template's structure.
Organizing Digital Assets Efficiently
How can you keep your digital wedding assets from becoming a chaotic mess? Start by creating a clear folder structure on your computer or cloud storage. Organize your files by date, event type, and file format. Use descriptive file names that include the date and subject for easy searching later.
Implement a consistent tagging system for your photos and videos. This allows you to quickly filter and find specific images or clips when needed. Consider using software like Adobe Lightroom or Google Photos to manage your digital assets more efficiently.
Here's a table to help you organize your wedding digital assets:
| Asset Type | Folder Name | Naming Convention | Tags | Backup Location |
|---|---|---|---|---|
| Photos | Wedding_Photos | YYYYMMDD_Location_Subject | Ceremony, Reception, Family | External HDD, Cloud |
| Videos | Wedding_Videos | YYYYMMDD_Event_Scene | Vows, First Dance, Speeches | External SSD, Cloud |
| Templates | Wedding_Templates | TemplateName_Version | Save the Date, Invitation, Thank You | Cloud, USB Drive |
| Music | Wedding_Music | Artist_SongTitle | First Dance, Processional, Reception | Cloud, Smartphone |
| Documents | Wedding_Docs | DocType_Version | Contract, Timeline, Vendor List | Cloud, Email |
Regularly back up your files to multiple locations, including an external hard drive and a cloud storage service. This guarantees your precious memories are safe and easily accessible for years to come.
Backup Strategies for Wedding Media

Backing up your wedding media is a critical step in preserving those once-in-a-lifetime moments. Don't risk losing your precious memories due to equipment failure or human error. Implement a multi-layered backup strategy to guarantee your photos and videos remain safe.
Start by creating at least three copies of your wedding media. Store one copy on your computer's hard drive, another on an external hard drive, and a third in cloud storage. Use reliable cloud services like Google Drive, Dropbox, or iCloud for easy access and automatic syncing.
Consider using a RAID (Redundant Array of Independent Disks) system for added protection. This setup spreads data across multiple drives, safeguarding against individual drive failures.
For physical backups, invest in high-quality, durable external hard drives and store them in separate locations to protect against theft or natural disasters.
Regularly test your backups to guarantee they're working correctly. Set reminders to check your storage systems every few months.
When sharing files with clients or family members, use secure file transfer services that offer encryption and password protection.
Sharing and Displaying Your Memories
After preserving your wedding memories, it's time to share and showcase them with friends and family. Your wedding website is the perfect platform to display your favorite photos and videos. Create a dedicated gallery page where guests can relive the special moments. You'll want to organize your media into categories for easy browsing.
Consider these popular options for sharing and displaying your memories:
| Method | Pros | Cons |
|---|---|---|
| Digital Album | Easy to share | Limited interactivity |
| Slideshow | Engaging presentation | Requires more setup |
| Interactive Map | Unique experience | Technical complexity |
| Timeline | Tells your love story | Time-consuming to create |
Don't forget to include high-resolution downloads for those who want to print photos. You can also embed your wedding video highlights directly on the website. For a personal touch, add captions or short stories to accompany key images. Consider creating a password-protected area for more intimate photos or videos you'd like to share with close friends and family only. Finally, make sure your chosen template is mobile-responsive, allowing guests to easily view your memories on any device.
Frequently Asked Questions
How Can I Handle Low-Light Situations During Indoor Wedding Ceremonies?
You can handle low-light indoor ceremonies by using fast lenses, increasing ISO, utilizing external flashes, and adjusting white balance. Don't forget to bring a tripod, experiment with slower shutter speeds, and consider noise reduction in post-processing.
What's the Best Way to Coordinate With Other Guests Taking Photos?
To coordinate with other guests taking photos, you'll want to communicate clearly. Let them know when you're capturing key moments. Suggest designated photo times. Be polite and flexible. Don't block others' views. Consider appointing a photo coordinator.
How Do I Create a Shot List for Must-Have Wedding Moments?
Start by listing key moments like the first kiss and cake cutting. Include family portraits and special details. Consult with the couple to incorporate their preferences. Prioritize shots and create a timeline. Don't forget candid moments throughout the day.
Are There Legal Considerations for Using Music in Wedding Videos?
Yes, there are legal considerations for using music in wedding videos. You'll need to obtain proper licenses or permissions for copyrighted songs. Consider using royalty-free music or purchasing licenses from music licensing platforms to avoid copyright infringement issues.
How Can I Ensure Consistent Color Grading Across Photos and Videos?
To guarantee consistent color grading, you'll want to use preset filters or create custom LUTs. Apply these uniformly across your photos and videos during post-processing. You can also shoot in RAW for more flexibility in color adjustments.
In Summary
You've now got the tools to capture your special day beautifully and share it with loved ones, all while staying on budget. Remember, practice makes perfect, so don't wait until the big day to start experimenting. With your newfound skills in photography, videography, and website design, you'll create lasting memories that you can cherish for years to come. Embrace the DIY spirit, and you'll be amazed at what you can achieve for your wedding.

I’m Sarah, the creator and writer behind this site. I’m a wife and a mother of two wonderful kids who keep me on my toes and inspire me daily. My passion lies in creating and organizing memorable events and group activities, where people can come together and make lasting memories.


Leave a Reply