You can create beautiful wedding memories and personalized favors on a budget with DIY techniques. Enlist friends as photographers, set up disposable camera stations, and use smartphone photography tips to capture your special day. Create a DIY photo booth with props and backdrops for fun guest snapshots. For video coverage, recruit tech-savvy friends and use free editing software. Craft personalized favors like photo magnets, coasters, or mini frames to give guests a lasting memento. Don't forget to share digital memories creatively through custom albums or online platforms. With these budget-friendly ideas, you'll preserve your wedding day while adding unique, personal touches throughout the celebration.
Key Takeaways
- Set up disposable camera stations for guests to capture candid moments throughout the wedding.
- Enlist friends as photographers, providing them with basic training and a shot list for thorough coverage.
- Create a DIY photo booth with a themed backdrop, props, and proper lighting for memorable guest photos.
- Use smartphones or borrowed cameras for video coverage, with free editing software for post-production.
- Make personalized photo album magnets as budget-friendly wedding favors that double as keepsakes.
Disposable Camera Photo Stations
Set up disposable camera stations throughout your wedding venue for a fun and interactive way to capture candid moments. Place these cameras on tables, near the dance floor, or in other high-traffic areas where guests are likely to gather. You'll get unique perspectives and authentic shots that your professional photographer might miss.
To create an effective camera station, use decorative baskets or boxes to hold the cameras, and include clear instructions on how to use them. Encourage guests to snap photos of anything they find interesting or memorable. You can even create a scavenger hunt-style list of shots you'd like them to capture, adding an element of excitement to the activity.
After the wedding, collect all the cameras and have them developed. You'll end up with a diverse collection of images that showcases your special day from your guests' viewpoints. This approach not only provides you with additional photos but also serves as an entertaining activity for your guests.
Remember to factor in the cost of purchasing and developing the disposable cameras when budgeting for this DIY option. While it's generally more affordable than hiring additional photographers, it's still an expense to take into account.
Enlisting Friends as Photographers
When enlisting friends as photographers for your wedding, it's essential to assign clear roles and responsibilities.
You'll want to designate specific areas or moments for each friend to capture, ensuring thorough coverage of your special day.
To improve the quality of their shots, consider providing basic photography training or tips before the event, focusing on composition, lighting, and camera settings.
Assign Roles and Responsibilities
For successful DIY wedding photography, assigning roles and responsibilities is essential. Start by identifying your friends' strengths and interests. Assign a main photographer to capture key moments like the ceremony and first dance. This person should have the best camera and most experience.
Designate a second shooter to capture candid moments and guest interactions. They'll provide a different perspective and guarantee no important moments are missed.
Assign someone to handle group photos, coordinating family members and friends for formal shots. Choose a dedicated videographer to record the ceremony and speeches. If possible, have a second person assist with additional video footage throughout the day.
Assign someone to manage equipment, making sure batteries are charged and memory cards are available. Create a shot list and timeline for your team, detailing specific photos and videos you want. Include locations and times for each shot.
Brief your team on your expectations and vision for the day. Encourage them to communicate and work together to capture your wedding thoroughly.
Provide Basic Photography Training
After assigning roles, it's time to equip your team with basic photography skills. Organize a training session a few weeks before the wedding to cover essential techniques. Focus on teaching composition, lighting, and camera settings. Encourage your friends to practice with their equipment beforehand to build confidence.
During the training, cover these key points:
- Proper camera handling and stability
- Understanding exposure and white balance
- Using different focal lengths for various shots
- Capturing candid moments and emotions
Provide a shot list to guide your amateur photographers, including must-have moments like the first kiss and cake cutting. Teach them how to work with natural light and use flash when necessary.
Demonstrate how to frame shots and use the rule of thirds for more appealing compositions. Encourage your team to experiment with different angles and perspectives. Show them how to capture details like rings, flowers, and decorations.
Emphasize the importance of taking multiple shots of each moment to guarantee you have options later. Finally, remind them to be discreet and respectful during the ceremony, avoiding disruptions while capturing precious memories.
Smartphone Photography Tips
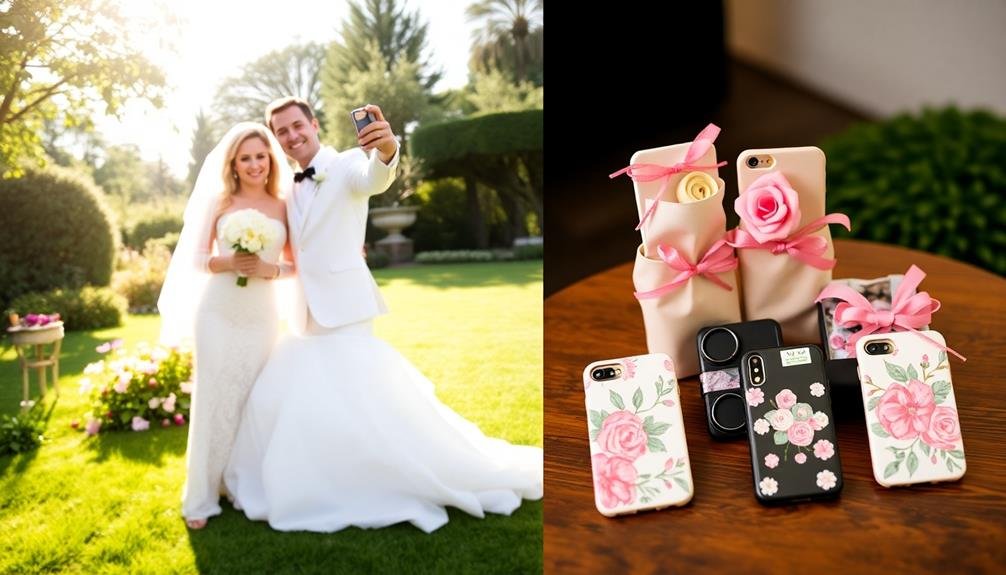
In recent years, smartphone cameras have evolved dramatically, making them a viable option for capturing stunning wedding photos. To make the most of your smartphone's capabilities, start by cleaning the lens to guarantee clear, crisp images.
Enable the grid feature to help you compose shots using the rule of thirds. Experiment with different angles and perspectives to add visual interest to your photos.
Take advantage of your phone's HDR mode for well-balanced exposures, especially in high-contrast situations. Use the AE/AF lock feature by tapping and holding on the screen to set focus and exposure for tricky lighting conditions.
Don't rely on digital zoom; instead, move closer to your subject for better quality. For group shots, use the timer or voice commands to avoid camera shake.
Pay attention to lighting and try to position subjects facing natural light sources. In low-light situations, use a tripod or stabilize your phone against a solid surface.
Edit your photos using built-in tools or third-party apps to enhance colors, adjust brightness, and crop images. Finally, back up your photos regularly to avoid losing precious memories.
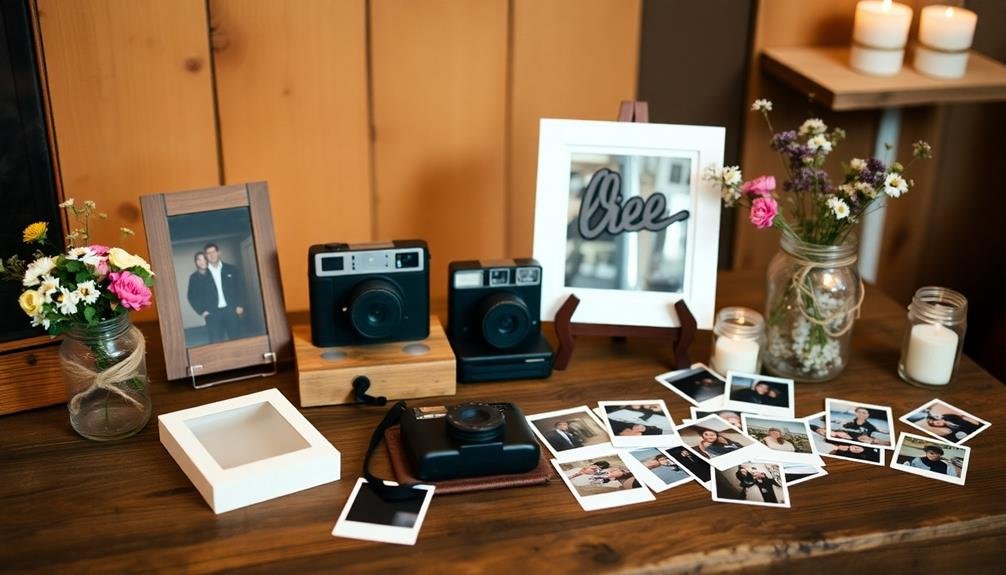
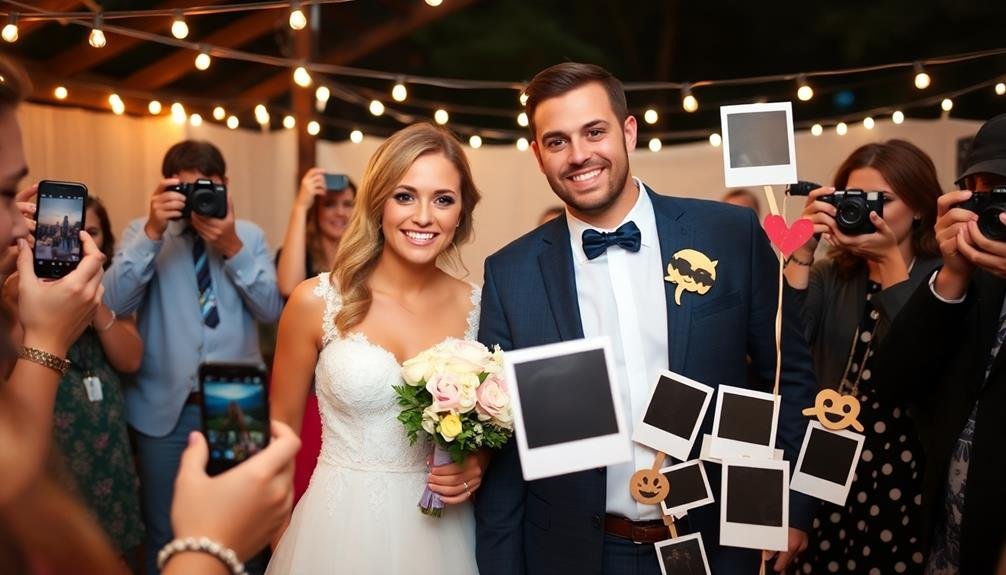
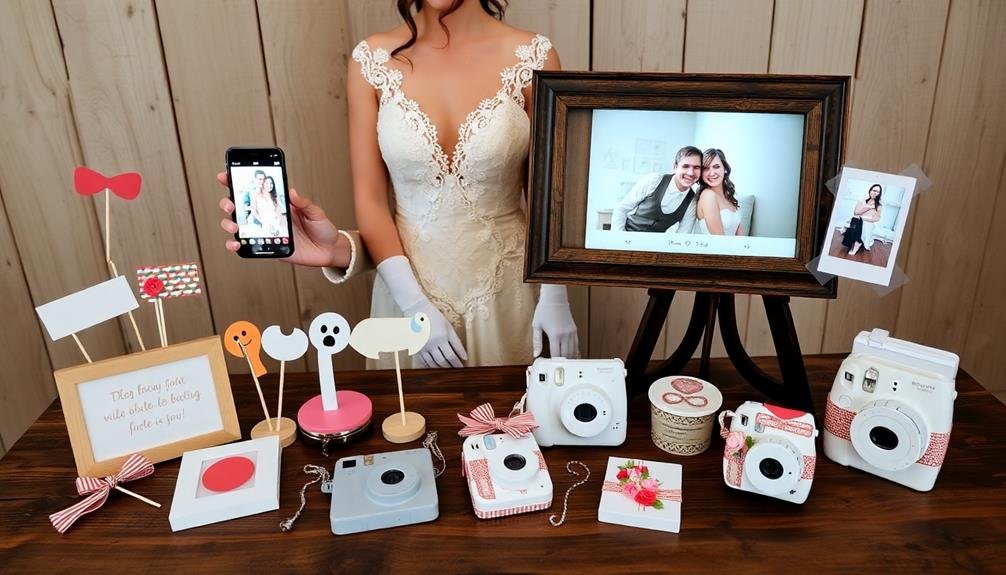
DIY Photo Booth Ideas
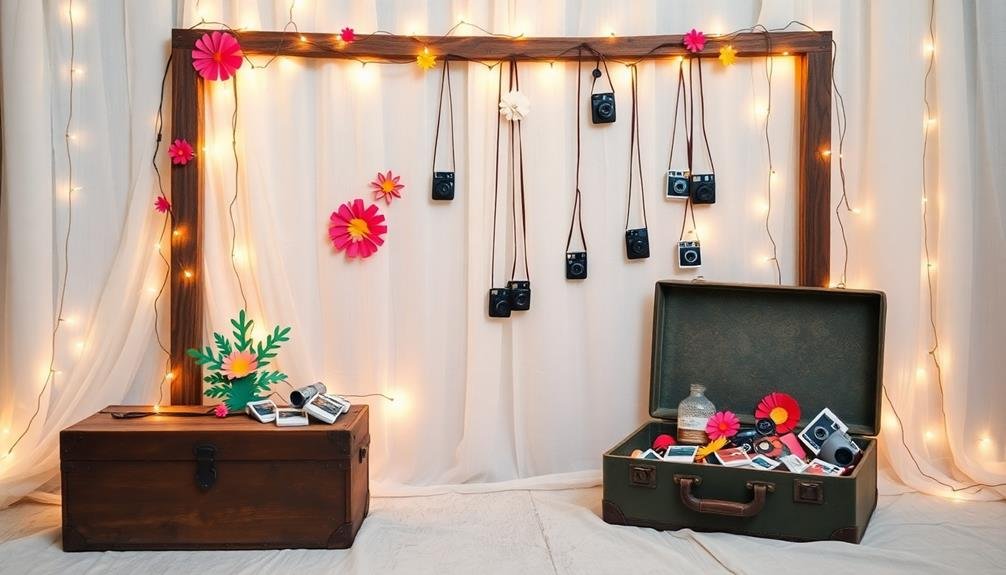
Your DIY photo booth can be a hit with the right setup.
Start by creating an eye-catching backdrop and assembling fun props that match your wedding theme.
Next, focus on proper lighting and camera placement to guarantee high-quality shots, and decide whether you'll offer digital sharing or instant printing for your guests' photos.
Backdrop and Props Setup
Photo booths frequently add an extra layer of fun and interactivity to weddings. Setting up an eye-catching backdrop and selecting the right props can make your DIY photo booth a hit among guests.
For the backdrop, consider using a large piece of fabric, a decorated wall, or even a natural outdoor setting. Verify it's wide enough to accommodate group shots and tall enough to frame your guests properly.
When it comes to props, creativity is key. You can easily create or purchase a variety of items to suit your wedding theme. Some popular prop ideas include:
- Funny signs and speech bubbles
- Oversized glasses and mustaches
- Themed hats and accessories
- Custom-made frames with your wedding date
Arrange your props on a table near the photo booth area, making them easily accessible to guests. Don't forget to provide a mirror so people can adjust their props and check their appearance before posing.
To save money, consider making some props yourself using cardboard, paint, and craft supplies. Remember to test your backdrop and props setup before the big day to verify everything looks great in photos and is sturdy enough to withstand frequent use throughout the event.
Lighting and Camera Placement
Proper lighting and camera placement are essential elements for a successful DIY photo booth. To achieve the best results, position your main light source at a 45-degree angle to your subjects, about eye level. This creates flattering shadows and highlights facial features. Use a fill light on the opposite side to soften shadows and provide even illumination.
For camera placement, mount your device at eye level or slightly above, angled slightly downward. This guarantees the most flattering angle for your guests. If you're using a smartphone, invest in a sturdy tripod and phone mount to keep it steady. Set your camera to a wide aperture (low f-number) to create a pleasing background blur.
Consider the background when placing your camera. Confirm there's enough space between subjects and the backdrop to avoid casting shadows. If possible, use a remote shutter or timer to allow guests to take their own photos.
Test your setup thoroughly before the event, adjusting lighting and camera settings as needed. Remember, good lighting and proper camera placement will greatly improve the quality of your DIY photo booth images, creating lasting memories for the newlyweds and their guests.
Digital vs. Instant Printing
When setting up your DIY photo booth, you'll need to decide between digital and instant printing options. Digital setups typically involve a camera connected to a laptop or tablet, allowing guests to view and select their favorite shots before printing. This method offers more flexibility and control over image quality but requires additional equipment and setup time.
Instant printing, on the other hand, provides immediate physical copies using devices like Polaroid cameras or portable photo printers. While these options offer instant gratification, they may have limited image quality and customization options.
Consider the following factors when choosing between digital and instant printing:
- Budget: Digital setups can be more cost-effective for large print volumes.
- Space: Instant printing requires less equipment and setup area.
- Guest experience: Digital allows for retakes and selections, while instant provides immediate keepsakes.
- Image quality: Digital generally offers higher resolution and editing capabilities.
Ultimately, your choice will depend on your priorities and wedding style. You can also consider a hybrid approach, offering both digital and instant options to cater to different preferences.
Whichever method you choose, make sure you have enough supplies and a backup plan to keep your photo booth running smoothly throughout the event.
Budget-Friendly Video Coverage Options
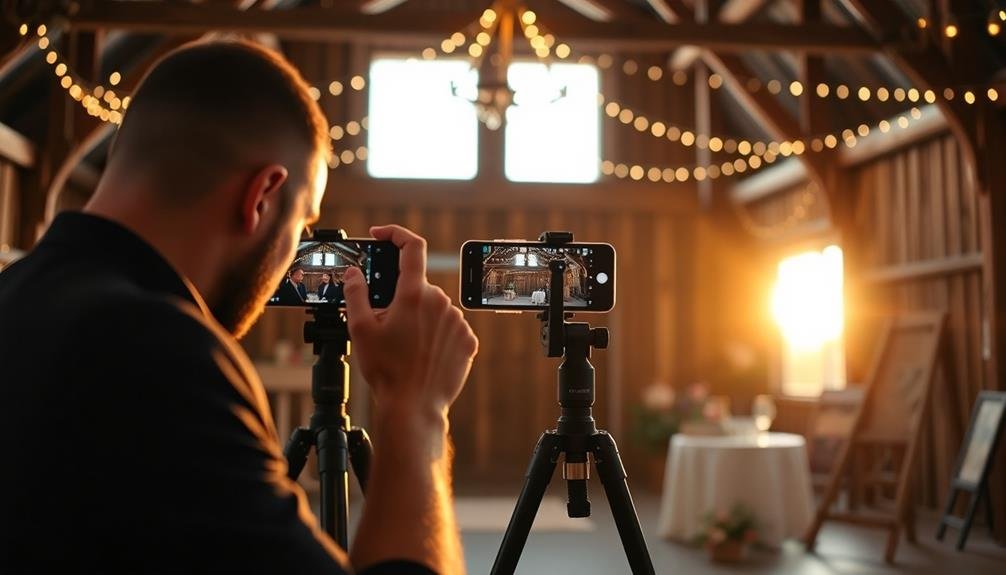
As you plan your DIY wedding videography, exploring budget-friendly options can help you capture precious moments without breaking the bank.
Consider using your smartphone or borrowing high-quality cameras from friends and family. Many modern smartphones offer excellent video capabilities, and you can enhance their performance with affordable accessories like stabilizers and external microphones.
Recruit tech-savvy friends or family members to help with filming. Assign different areas of coverage to guarantee you don't miss important moments.
You can also set up stationary cameras at key locations, like the altar or dance floor, to capture wide-angle shots throughout the day.
For editing, utilize free or low-cost software options like DaVinci Resolve or iMovie. These programs offer powerful features without the hefty price tag of professional editing suites.
To add a professional touch, incorporate royalty-free music from websites like Bensound or Free Music Archive.
Consider live-streaming your ceremony for guests who can't attend in person. Platforms like YouTube or Facebook Live offer free streaming services, allowing distant loved ones to share in your special day without additional costs.
Editing Software for Beginners
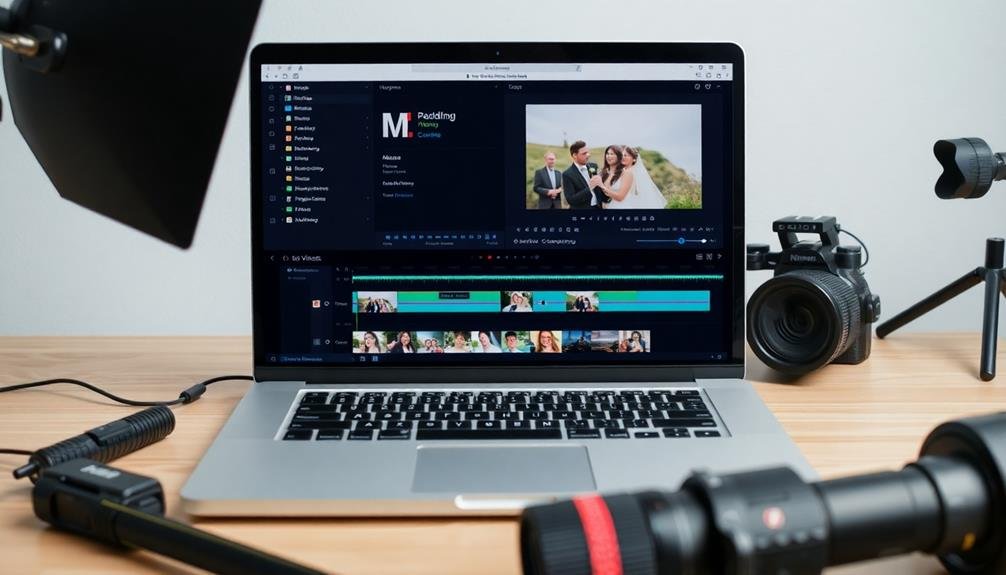
Editing software can be a game-changer for beginners tackling DIY wedding videos. With user-friendly interfaces and powerful features, these programs allow you to transform raw footage into polished masterpieces. Adobe Premiere Elements and iMovie are excellent choices for novices, offering intuitive tools and guided tutorials to help you get started.
When selecting editing software, consider your skill level, budget, and computer's capabilities. Many programs offer free trials, so you can test them before committing.
As you begin editing, focus on these key aspects:
- Trimming and arranging clips
- Adding connections between scenes
- Incorporating music and sound effects
- Adjusting color and lighting
Don't be afraid to experiment with different effects and techniques, but remember that simplicity often yields the best results. Start with basic edits and gradually introduce more complex elements as you gain confidence.
Utilize online resources like YouTube tutorials and editing forums for tips and troubleshooting. With practice and patience, you'll develop the skills to create a memorable wedding video that captures the essence of the special day, all while staying within your budget.
Creating Custom Photo Albums
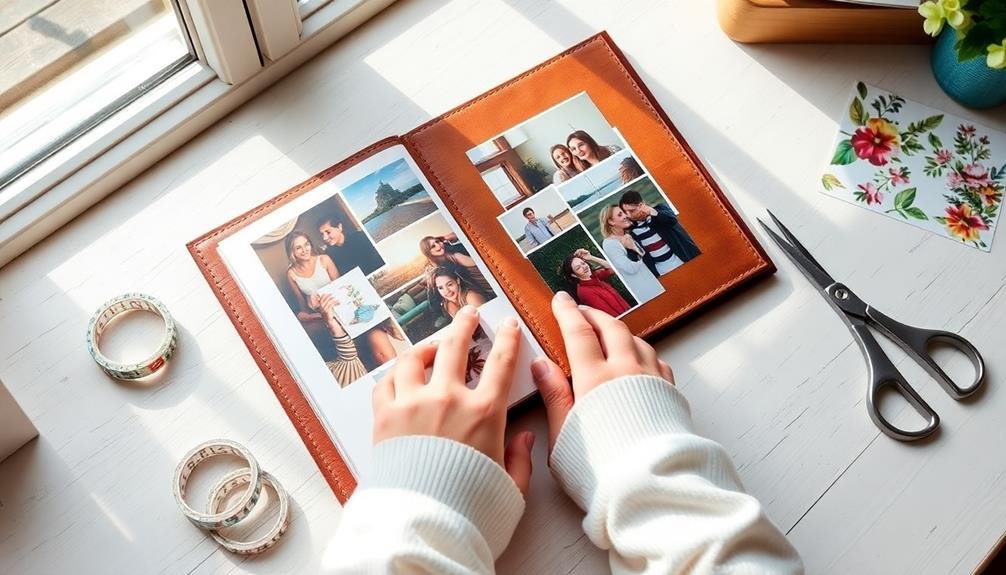
When creating your wedding photo album, you'll want to select a design theme that complements your wedding style and personal taste.
Consider classic, modern, rustic, or even whimsical themes to showcase your special day.
For a truly unique touch, explore personalized cover art ideas like embossed initials, a custom illustration, or a favorite photo from your wedding day.
Choosing Album Design Themes
Custom photo albums serve as timeless keepsakes of your special day. When choosing album design themes, consider the overall style and atmosphere of your wedding. Your theme should complement your wedding's color scheme, location, and personal aesthetic.
Start by browsing through various design options, from classic and elegant to modern and minimalist. You'll want to select a theme that resonates with your taste and reflects the emotions of your special day. Consider these popular album design themes:
- Rustic and vintage
- Romantic and floral
- Sleek and contemporary
- Beach or destination-inspired
Once you've chosen a theme, focus on consistency throughout the album. Use cohesive fonts, colors, and design elements to tie everything together.
Don't be afraid to mix and match styles, but verify they blend harmoniously. Incorporate meaningful details like your wedding invitation design, quotes, or song lyrics to personalize your album further.
Remember to leave enough white space to allow your photos to shine. Balance is key – aim for a design that enhances your images without overshadowing them.
Lastly, consider the album's cover design. Choose materials and colors that complement your theme and will stand the test of time.
With careful planning, your custom photo album will become a cherished memento for years to come.
Personalized Cover Art Ideas
For your custom photo album, personalized cover art can make a lasting first impression. Consider incorporating elements that reflect your wedding's theme, color scheme, or unique aspects of your relationship. You can use your favorite wedding photo, a stylized monogram, or a custom illustration as the centerpiece.
Digital design software like Canva or Adobe Spark offers templates and tools to create professional-looking covers. Experiment with different fonts, layouts, and embellishments to achieve the perfect look. Don't forget to include your names and wedding date for a timeless touch.
Here are some ideas for personalized cover art:
| Style | Elements | Mood |
|---|---|---|
| Minimalist | Single photo, clean typography | Modern, elegant |
| Rustic | Wood texture, floral accents | Warm, natural |
| Vintage | Sepia tones, ornate frames | Nostalgic, romantic |
If you're feeling crafty, consider adding physical elements like embossing, foil stamping, or fabric overlays to your cover. These tactile additions can elevate your album's appearance and make it truly one-of-a-kind. Remember, your cover art should reflect your personal style and set the tone for the memories within.
Personalized Wedding Favor Magnets
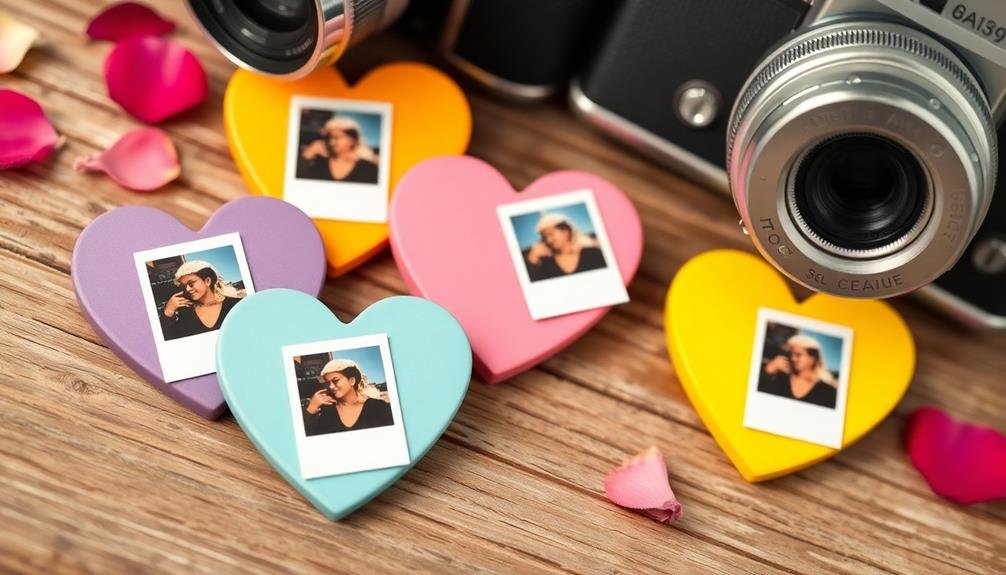
Personalized wedding favor magnets serve as charming mementos from your special day. They're not only practical but also a creative way to thank your guests. You can easily make these magnets yourself, saving money while adding a personal touch to your wedding favors.
To create your own wedding favor magnets, you'll need a few supplies: small wooden discs, magnetic strips, photos or designs, and a strong adhesive. Print your chosen images or designs on high-quality photo paper, cut them to size, and glue them onto the wooden discs. Then, attach the magnetic strips to the back of the discs.
Consider these ideas for your personalized magnets:
- A photo of the happy couple
- Your wedding date and initials
- A custom illustration or logo
- A meaningful quote or phrase
When designing your magnets, keep them simple and visually appealing. Choose colors that complement your wedding theme and guarantee the text is legible.
Package each magnet in a small organza bag or box for a polished presentation. Your guests will appreciate these thoughtful, handmade favors that they can display on their refrigerators, reminding them of your special day for years to come.
Photo Coasters as Keepsakes
Another creative DIY wedding favor that doubles as a practical keepsake is the photo coaster. You can easily create these personalized mementos using your engagement photos or other meaningful images.
Start by selecting 4-inch ceramic tiles from your local hardware store. Print your chosen photos on high-quality photo paper, sizing them to fit the tiles.
To assemble the coasters, apply a thin layer of Mod Podge to the tile's surface and carefully place the photo on top. Smooth out any air bubbles and let it dry completely.
Once dry, apply several coats of Mod Podge over the photo, allowing each layer to dry before adding the next. This will protect the image and create a glossy finish.
To prevent scratches on surfaces, attach felt pads to the bottom of each tile. For added durability, you can spray the coasters with a clear acrylic sealer.
Package your photo coasters in sets of four, tying them together with ribbon or twine. Add a personalized tag with your names and wedding date for a final touch.
Your guests will appreciate these functional and sentimental favors that'll remind them of your special day for years to come.
Crafting Mini Photo Frames
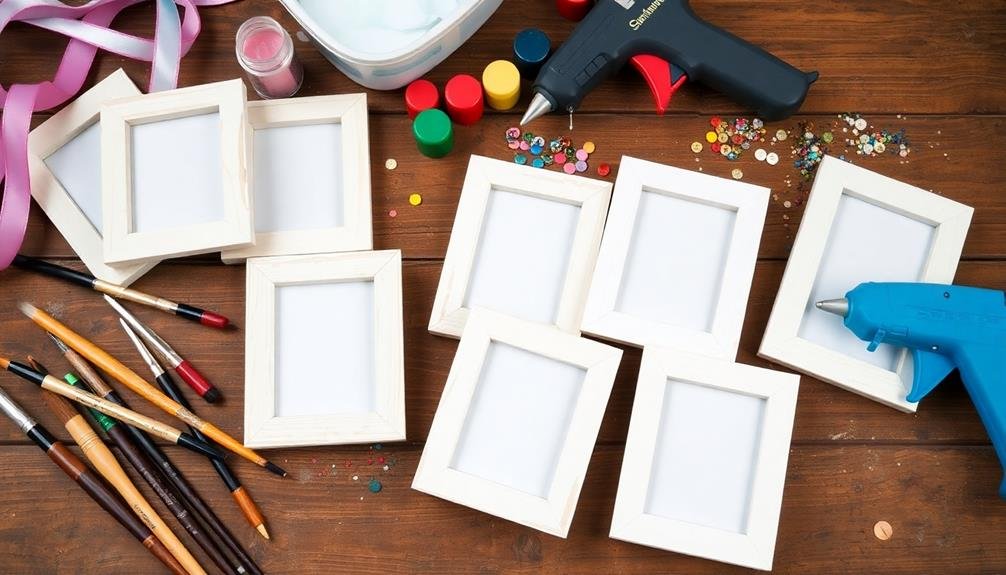
Miniature photo frames offer a charming way to showcase your wedding memories while doubling as DIY favors or decorations. You can create these petite frames using various materials like cardboard, popsicle sticks, or even repurposed items like small picture books or vintage tins.
To craft mini photo frames, start by choosing a base material and cutting it to size. Next, paint or decorate the frame to match your wedding theme. Consider using:
- Glitter or metallic paint for a glamorous touch
- Pressed flowers for a rustic or bohemian feel
- Lace or ribbon for a romantic aesthetic
- Small seashells or sand for a beach wedding theme
Once your frames are decorated, insert small prints of your favorite wedding photos. You can use instant camera pictures or print miniature versions of your professional shots.
Add a stand or hanging mechanism to make the frames versatile for display.
These mini photo frames make excellent place card holders, table centerpieces, or take-home favors. They're not only budget-friendly but also offer a personal touch that your guests will cherish long after the wedding day.
Sharing Digital Memories Creatively
In the digital age, sharing your wedding memories doesn't have to be limited to traditional photo albums or social media posts. Get creative with digital sharing to give your guests unique ways to relive your special day.
Create a wedding website or blog where you can upload photos and videos, allowing guests to view and download their favorites. Use QR codes on thank-you cards that link to specific galleries or highlights. Design a custom mobile app for your wedding, featuring photos, videos, and interactive elements like guest books or photo submission options.
Consider creating a digital time capsule with select photos and videos, which you can share with guests on future anniversaries. Compile a highlight reel set to your favorite music and share it via email or cloud storage. Use augmented reality to bring printed photos to life, allowing guests to scan images and watch related video clips.
For a personal touch, create individual digital photo books for close family members, featuring their specific moments from the wedding.
Frequently Asked Questions
How Can I Ensure Consistent Lighting for Indoor and Outdoor Wedding Photos?
You'll need to master your camera's settings and use external flashes. For indoor shots, set up lighting equipment strategically. Outdoors, utilize natural light and reflectors. Practice adjusting your gear quickly to maintain consistency between locations.
What Are the Best Ways to Back up Wedding Photos and Videos?
You'll want to back up your wedding photos and videos in multiple ways. Use cloud storage, external hard drives, and USB drives. Don't forget to make copies for safekeeping. It's essential to protect these precious memories.
How Do I Handle Guests Who Obstruct Professional Shots With Their Devices?
You'll want to address this issue before the wedding. Inform guests about your unplugged policy, place signs at the venue, and ask your officiant to make an announcement. If needed, have ushers politely remind guests during the ceremony.
What Legal Considerations Should I Know When Using Guest-Captured Photos and Videos?
You'll need guests' permission to use their photos and videos. It's best to get written consent. Be cautious with images containing minors. Consider copyright issues and respect privacy laws when sharing or publishing guest-captured content.
How Can I Incorporate Drone Photography Into My DIY Wedding Coverage?
You can incorporate drone photography by renting or borrowing a drone, learning to fly it safely, and obtaining necessary permits. Plan aerial shots of your venue, capture unique group photos, and create dramatic sweeping footage of your ceremony.
In Summary
You've now got a toolbox full of creative ideas to capture and share your special day without breaking the bank. From disposable cameras to DIY photo booths, you're ready to snap unforgettable moments. Don't forget those budget-friendly favors that'll keep your memories alive long after the wedding. With these tips, you'll create lasting keepsakes while saving money. So grab your camera, gather your crafting supplies, and get ready to make your wedding truly picture-perfect!

I’m Sarah, the creator and writer behind this site. I’m a wife and a mother of two wonderful kids who keep me on my toes and inspire me daily. My passion lies in creating and organizing memorable events and group activities, where people can come together and make lasting memories.

Leave a Reply