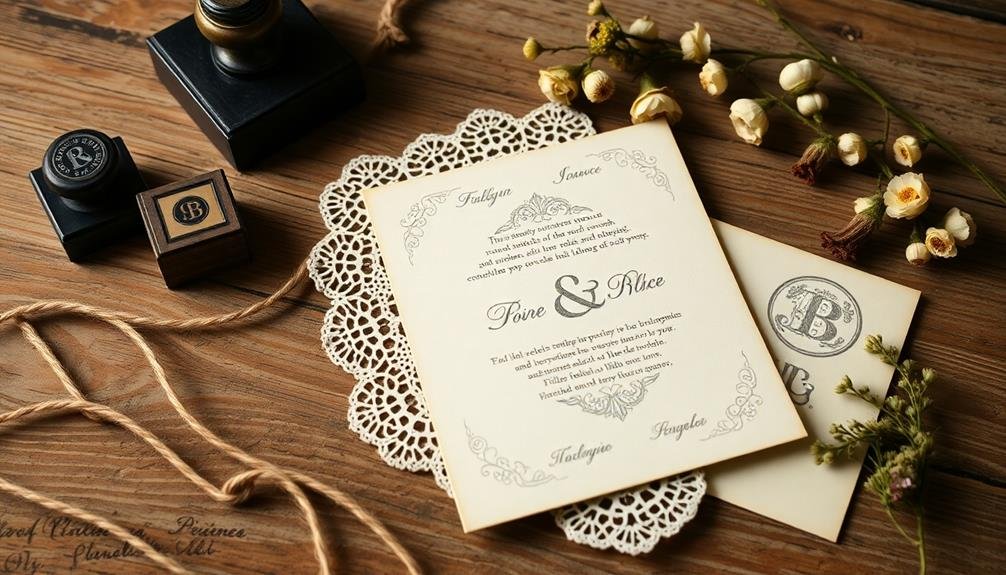
Transform your wedding stationery into vintage masterpieces with these budget-friendly DIY hacks. You'll love tea-staining paper for an aged look, creating lace doily envelope liners, and incorporating vintage book pages as accents. Add elegance with wax seals and hand-stamped details. Press flowers onto invitations for a romantic touch, and use typewriter fonts for authentic charm. Craft unique table numbers from vintage maps, and repurpose heirloom jewelry as stunning embellishments. These creative techniques will infuse your wedding suite with nostalgia and personal flair. With a little creativity and effort, you'll craft stationery that tells your love story in a truly timeless way.
Key Takeaways
- Tea-stain paper for an aged look using black tea bags and hot water, creating vintage elegance on a budget.
- Utilize typewriter fonts or actual typewriters for authentic vintage text on invitations and other stationery.
- Create DIY wax seals using hot glue and metallic paint as a cost-effective alternative to traditional wax.
- Repurpose vintage book pages as envelope liners or backgrounds for a unique, antique touch.
- Incorporate lace doilies as affordable envelope liners or embellishments for a classic vintage aesthetic.
Tea-Staining for Aged Elegance
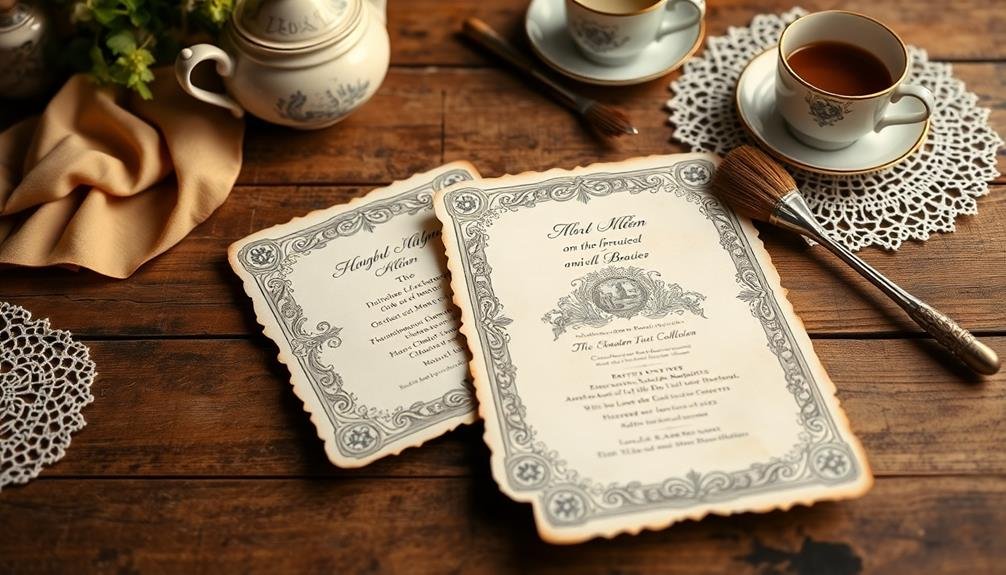
The gentle stain of tea can transform ordinary paper into a canvas of timeless elegance. To achieve this vintage look, you'll need black tea bags, hot water, and your chosen stationery.
Brew a strong pot of tea and let it cool slightly. Spread your paper on a flat, protected surface and use a sponge or brush to apply the tea evenly. For a more subtle effect, dip the edges of your paper into the tea.
Allow the paper to dry naturally or use a hairdryer on low heat to speed up the process. As it dries, you'll notice the paper taking on a warm, aged appearance. For darker stains, repeat the process or leave the tea on longer before drying.
Experiment with different types of tea for varied hues – green tea produces a lighter, yellowish tint, while rooibos offers a reddish tone.
Once dry, your tea-stained paper is ready for printing or handwriting. This technique works well for invitations, place cards, and even envelope liners.
Remember to test the process on scrap paper first to perfect your desired look before applying it to your final stationery pieces.
Lace Doily Envelope Liners

Lace doily envelope liners add a touch of vintage charm to your wedding stationery.
You'll want to select doilies that complement your invitation size and design aesthetic, considering factors like pattern intricacy and color.
To apply the liners, you can use simple techniques such as adhering them with double-sided tape or creating a template for easy insertion.
Choosing the Right Doilies
Doily selection plays an essential role in creating stunning lace doily envelope liners for your vintage-inspired wedding stationery. When choosing doilies, take into account the size, pattern, color, and material to guarantee they complement your overall wedding theme and envelope dimensions.
Look for doilies that are slightly larger than your envelopes to allow for trimming and fitting. Paper doilies are often more affordable and easier to work with, but fabric ones can add an extra touch of elegance. White and ivory are classic choices, but don't shy away from subtle pastels or metallic accents for a unique twist.
To help you visualize the perfect doilies for your project, imagine these options:
- Delicate round paper doilies with intricate floral patterns
- Rectangular cotton lace doilies with scalloped edges
- Heart-shaped doilies with a mix of geometric and floral designs
- Oval-shaped doilies featuring vintage-inspired motifs like birds or butterflies
Remember to purchase extra doilies for practice and backups. You'll want to experiment with different placement options and techniques before committing to your final design.
Don't forget to take into account the weight of the doily material to ensure it doesn't interfere with mailing or the envelope's closure.
Easy Application Techniques
With your doilies selected, it's time to apply them to your envelopes. Start by carefully opening the envelope flap and laying it flat. Place the doily inside, positioning it so that it covers the area you want to highlight. Trim any excess doily that extends beyond the envelope's edges using sharp scissors.
To secure the doily, you have several options. For a temporary hold, use removable double-sided tape. This allows you to reposition the doily if needed. For a more permanent solution, apply a thin layer of craft glue to the back of the doily. Be sure to spread it evenly to avoid lumps.
Once the doily is in place, gently press it down, smoothing out any wrinkles or air bubbles. Let it dry completely before handling. If you're using glue, place a heavy book on top of the envelope to guarantee the doily adheres flat.
For a unique touch, consider dyeing white doilies with tea or coffee to achieve a vintage look. Simply soak the doilies in the liquid, then let them air dry before application. This technique adds depth and character to your envelope liners.
Vintage Book Page Accents
Three stunning ways to incorporate vintage book pages into your wedding stationery are as accents, backgrounds, and envelope liners.
For accents, you can cut out shapes or use die-cuts to create delicate embellishments for your invitations, place cards, or save-the-dates. As backgrounds, vintage pages add instant character to your stationery, serving as a unique canvas for your wedding details.
To create envelope liners, simply measure the inside of your envelope, cut the book pages to size, and adhere them with a glue stick. When selecting book pages, look for those with interesting fonts, illustrations, or aged patinas that complement your wedding theme.
For a truly enchanting vintage look, try these techniques:
- Tea-stain fresh paper to mimic aged book pages
- Burn the edges of your stationery for an antique appearance
- Use a typewriter or typewriter font for an authentic vintage feel
- Incorporate pressed flowers or botanical illustrations for a romantic touch
Remember to source your vintage book pages ethically, using damaged books or purchasing loose pages from antique shops.
With these creative approaches, you'll craft unique, budget-friendly wedding stationery that reflects your personal style and love story.
Wax Seal Embellishments
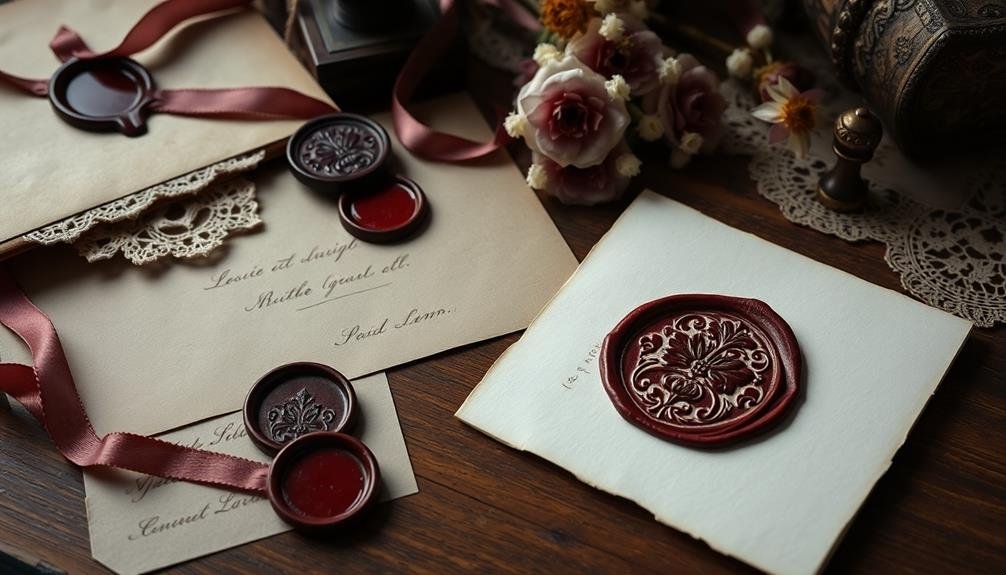
Wax seals add a touch of timeless elegance to your vintage-inspired wedding stationery. You don't need to break the bank to incorporate this classic embellishment into your DIY designs.
Start by purchasing a wax seal kit, which typically includes a seal stamp and wax sticks. Choose a design that complements your wedding theme, such as a monogram, floral motif, or romantic symbol.
To create your wax seals, melt the wax using a spoon over a flame or a low-temperature glue gun. Carefully pour a small amount of melted wax onto your stationery, then quickly press the stamp into it. Hold for a few seconds before gently removing the stamp. Practice on scrap paper to perfect your technique.
For a cost-effective alternative, try using hot glue instead of traditional sealing wax. Simply apply a dollop of hot glue and stamp it with your seal. Paint the cooled seal with metallic acrylic paint for a authentic look.
You can also create custom seals using polymer clay and a personalized stamp. Experiment with different colors and finishes to match your wedding palette and achieve the perfect vintage aesthetic for your invitations, place cards, or favor tags.
Hand-Stamped Personalized Details
Hand-stamped details offer another way to infuse your wedding stationery with vintage charm.
You'll love how this technique adds a personal touch to your invitations, place cards, and thank-you notes. To get started, invest in a set of alphabet stamps and quality ink pads. Choose colors that complement your wedding palette, and don't be afraid to mix and match for a more eclectic look.
When you're ready to stamp, practice on scrap paper first to get a feel for the pressure needed. Then, carefully stamp your chosen words or phrases onto your stationery. For a truly vintage effect, consider using slightly worn or distressed stamps to create an aged appearance.
Here are some ideas to spark your creativity:
- Stamp guests' names on place cards in an elegant script font
- Add your initials and wedding date to envelope flaps
- Create custom return address labels with a mix of fonts and flourishes
- Stamp romantic quotes or song lyrics on the backs of invitations
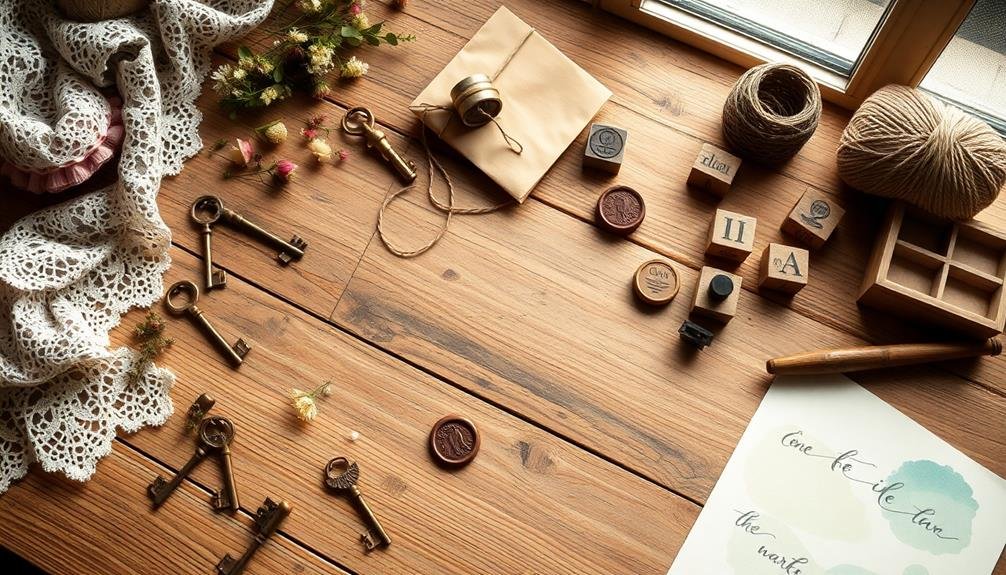
Antique Key Save-the-Dates
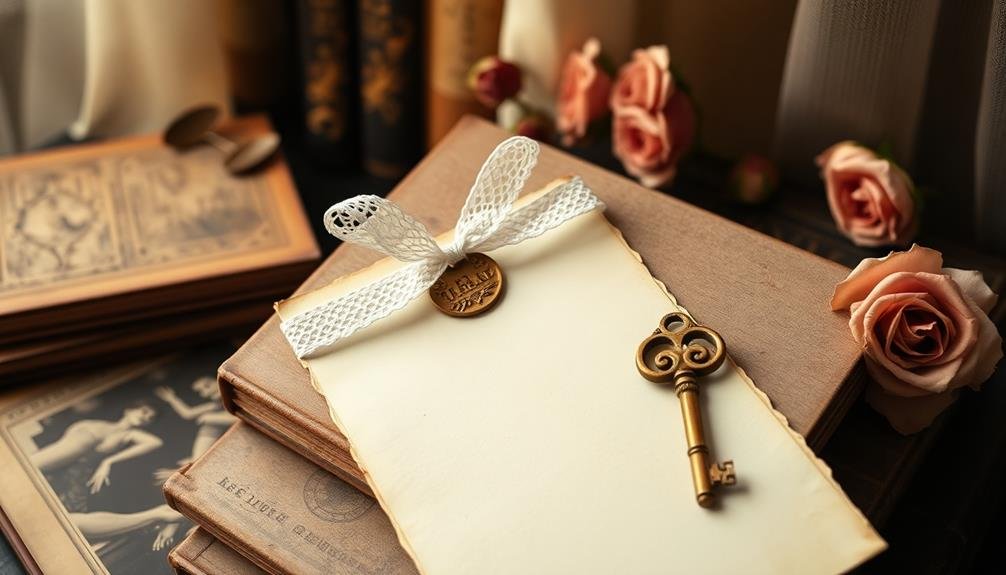
Crafting antique key save-the-dates can add a unique, vintage touch to your wedding stationery.
You'll need to source genuine vintage skeleton keys, either from antique shops or online marketplaces, and design cards that complement their rustic charm.
Once you've created your key-themed cards, you can attach the keys using ribbon, twine, or small metal rings for an eye-catching and memorable invitation.
Finding Vintage Skeleton Keys
Treasure hunters, get ready for a unique save-the-date adventure! Finding vintage skeleton keys for your antique-inspired wedding stationery can be an exciting quest.
Start by exploring local antique shops, flea markets, and estate sales. These treasure troves often have collections of old keys waiting to be discovered. Don't forget to check online marketplaces like Etsy and eBay, where sellers offer bulk lots of vintage keys at reasonable prices.
If you're struggling to find authentic antiques, consider replica skeleton keys. They're more affordable and readily available, while still capturing that vintage charm. Craft stores and online retailers often stock these decorative keys in various finishes and sizes.
To kickstart your imagination, picture these key-finding scenarios:
- Rummaging through a dusty attic, uncovering a box of forgotten treasures
- Haggling with a seasoned antique dealer at a bustling flea market
- Scouring a sun-drenched beach with a metal detector, unearthing buried secrets
- Inheriting a mysterious collection of keys from a quirky great-aunt
Designing Key-Themed Cards
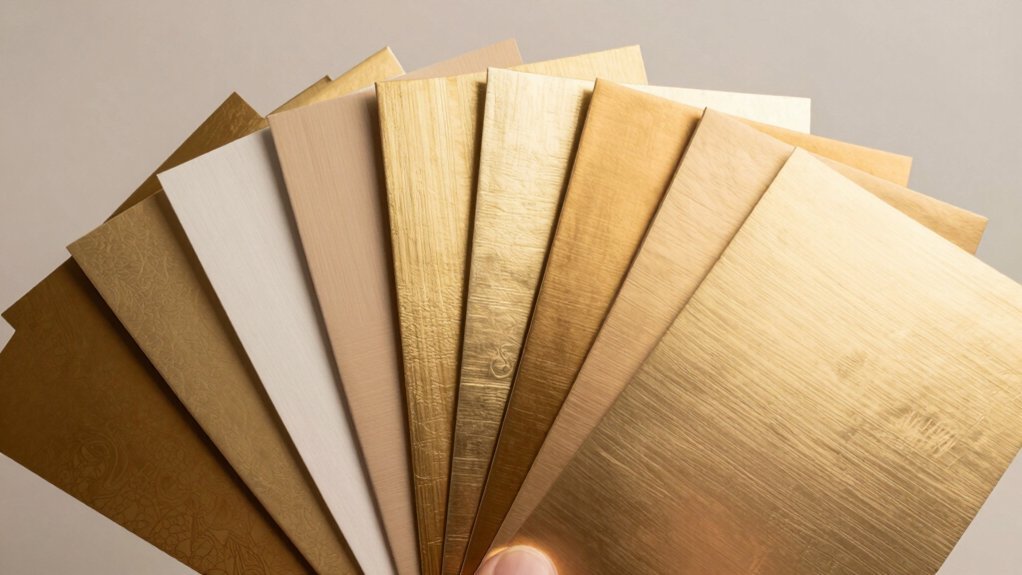
Once you've tracked down your vintage keys, it's time to bring your antique-inspired save-the-dates to life. Start by selecting a sturdy cardstock in a muted, vintage-inspired color like cream or pale blush. Cut the cardstock to your desired size, leaving room for a key to be attached.
Next, design your card layout using graphic design software or a free online tool like Canva. Incorporate key-themed elements such as delicate filigree patterns or Victorian-inspired fonts. Don't forget to include essential details like your names, wedding date, and "Save the Date" text.
Print your designs at home or through a local print shop for a professional finish. To attach the keys, punch small holes near the top of each card. Thread thin ribbon or twine through the hole and tie it around the key's bow.
For a more secure option, use strong glue dots to adhere the keys directly to the cards.
Attaching Keys to Invitations
The key to creating stunning antique-inspired save-the-dates lies in securely attaching vintage keys to your invitations. Choose small, lightweight keys that won't strain the paper or incur extra postage costs. Use strong adhesives like E6000 or hot glue to guarantee the keys stay put during mailing and handling.
For a polished look, consider these attachment methods:
- Tie the key with a delicate ribbon or twine, threading it through a small hole punched in the invitation.
- Create a pocket on the invitation's front using decorative paper, sliding the key inside for a surprise element.
- Use a miniature clothespin to clip the key to the edge of the card, adding a rustic touch.
- Secure the key with a decorative brad, allowing it to pivot for an interactive element.
Before attaching, clean the keys thoroughly and consider applying a clear sealant to prevent tarnishing.
Test your chosen method on a sample invitation to guarantee it withstands handling. Remember to weigh a completed invitation at the post office to determine correct postage.
With these techniques, you'll create unique, memorable save-the-dates that set the tone for your vintage-themed wedding.
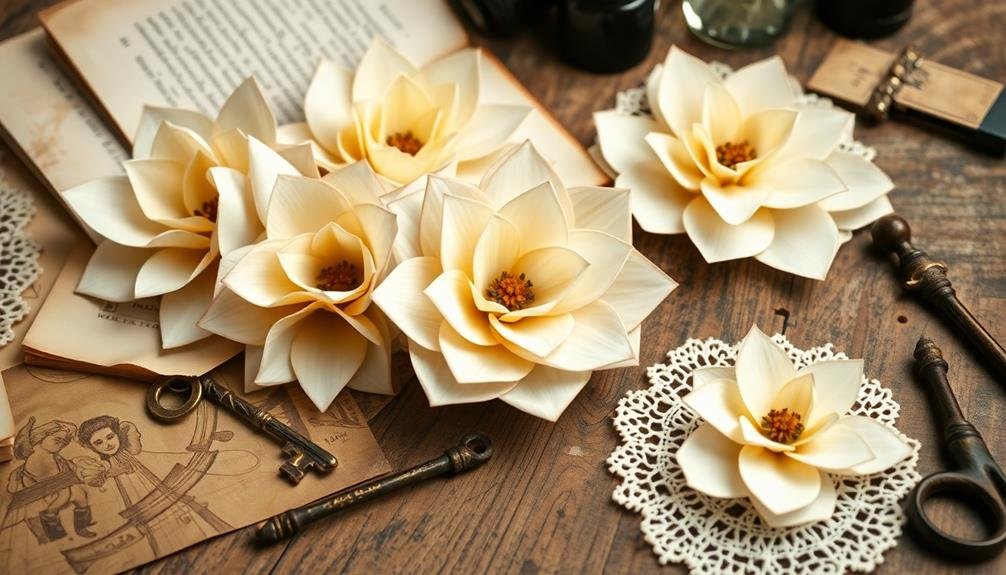
Pressed Flower Invitations
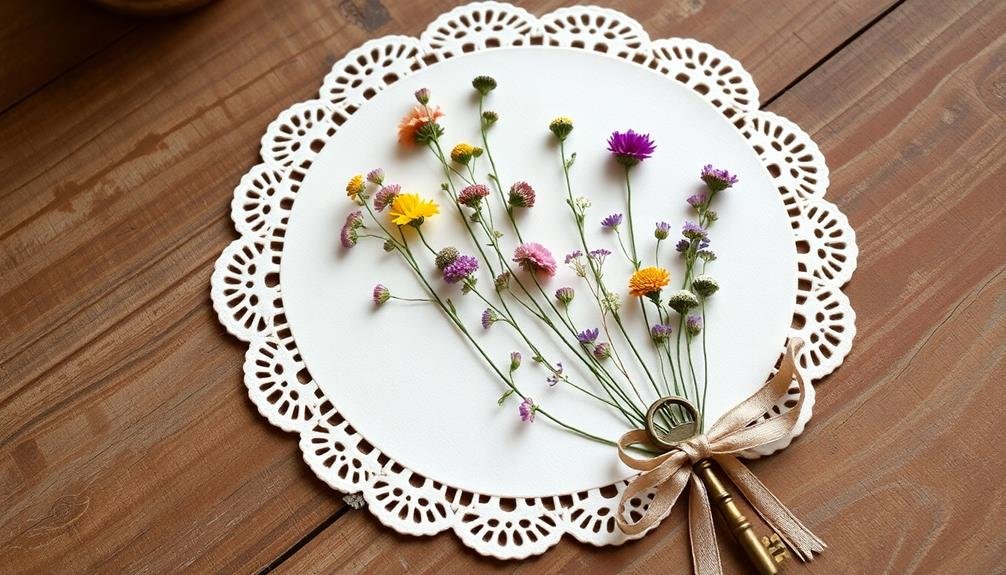
For a touch of natural elegance, pressed flower invitations offer a charming and romantic option for your vintage-inspired wedding. You'll need to start by pressing flowers at least a month in advance. Choose delicate blooms that'll dry flat, like pansies, forget-me-nots, or small daisies. Once pressed, carefully arrange them on your invitation paper using tweezers and a small dab of craft glue.
To enhance your invitations, consider these flower and color combinations:
| Flower Type | Color Scheme | Mood |
|---|---|---|
| Lavender | Purple & White | Serene |
| Rose Petals | Pink & Cream | Romantic |
| Wildflowers | Multi-color | Whimsical |
After arranging the flowers, cover them with a thin, translucent paper to protect them. You can then print your invitation text on this overlay or handwrite it for an extra personal touch. Remember to use acid-free materials to prevent discoloration over time. For a final vintage touch, tie your invitations with twine or ribbon, and seal them with a wax stamp. Your guests will appreciate the time and effort you've put into creating these unique, nature-inspired invitations.
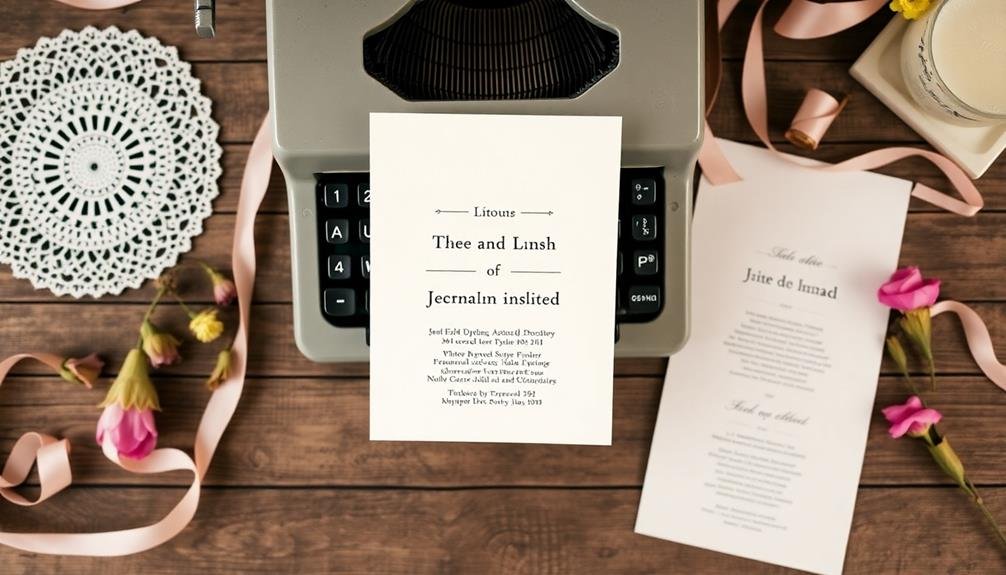
Typewriter Font Printing Techniques
If you're aiming for genuine vintage charm, consider using an actual typewriter to create authentic key impressions on your wedding stationery.
You'll need to practice your typing skills and stock up on ink ribbons, but the results can be truly striking.
For a simpler approach, you can explore digital typewriter fonts that mimic the look of classic typewritten text, offering a range of styles from pristine to weathered.
Authentic Typewriter Key Impressions
Nostalgia meets modern tech in the quest for authentic typewriter impressions. You can achieve this vintage look without breaking the bank or hunting down an antique typewriter. Start by selecting a high-quality cardstock that'll withstand the pressure of your DIY typewriter key stamps.
Create your own stamps using polymer clay and actual typewriter keys or 3D-printed replicas. Press the keys into the clay, bake according to instructions, and mount on wooden blocks for easy handling. Alternatively, carve your own stamps from rubber erasers for a more budget-friendly option.
To use your handmade stamps effectively:
- Apply ink evenly to the stamp using a foam pad
- Press firmly onto the paper, rocking slightly for an uneven impression
- Experiment with different pressures to achieve varied effects
- Layer multiple impressions for a more authentic, worn look
For added authenticity, consider using a light gray or faded black ink instead of stark black. This subtle touch will enhance the vintage feel of your stationery.
Remember to practice your technique on scrap paper before committing to your final wedding invitations or place cards.
Digital Typewriter Font Options
Typewriter fonts have come a long way in the digital age, offering a wealth of options for DIY wedding stationery. You'll find a variety of free and paid typewriter-style fonts online that can mimic the look of vintage typewriters. Popular choices include American Typewriter, Courier, and Special Elite.
To achieve an authentic typewriter effect, consider using fonts with slight imperfections or variations in character alignment. Some fonts even include multiple versions of each letter to simulate the inconsistencies of real typewriters.
When printing, opt for a slightly textured paper to enhance the vintage feel. For added realism, you can use photo editing software to apply subtle ink bleed or smudging effects to your text. This technique works well for creating the appearance of well-worn or aged documents.
Don't forget to experiment with different font sizes and spacings to find the perfect balance for your stationery design. If you're looking for a more unique touch, consider combining typewriter fonts with handwritten elements or vintage-inspired illustrations.
This blend of styles can create a charming, personalized look for your wedding invitations and other stationery items.
Vintage Map Table Numbers
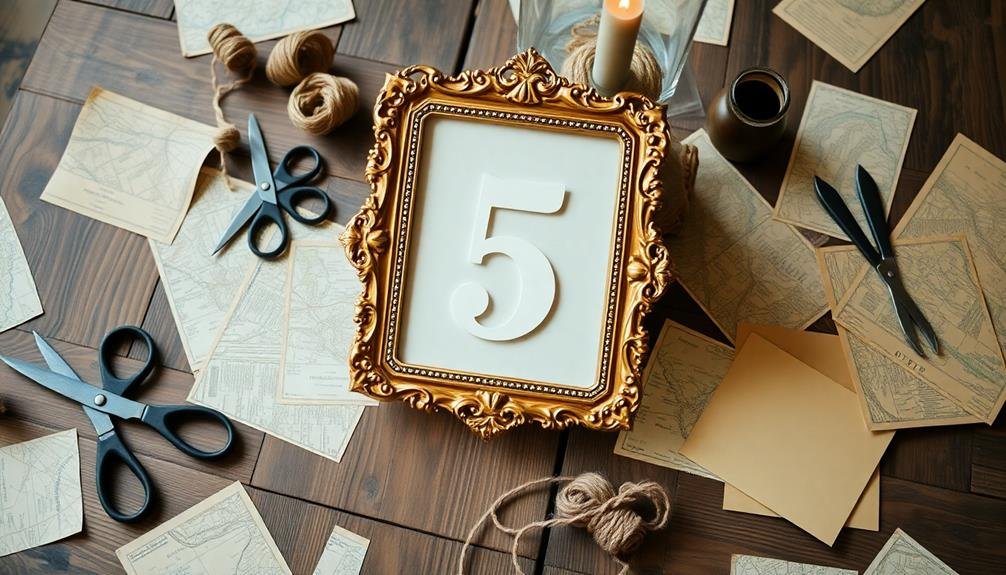
Wanderlust meets elegance with vintage map table numbers. You'll transform old maps into charming centerpieces that guide guests to their seats while adding a touch of adventure to your reception.
Start by collecting maps from thrift stores, online marketplaces, or your own travels. Choose locations that hold special meaning for you and your partner.
To create these unique table numbers:
- Cut circles or other shapes from the maps, ensuring each piece showcases an interesting area or landmark.
- Mount the map cutouts onto sturdy cardstock or thin wood slices for durability.
- Add table numbers using metallic paint pens, stickers, or small wooden numbers glued to the surface.
- Finish with a light coat of Mod Podge to protect the paper and add a subtle sheen.
Display your vintage map table numbers in small easels, clip them to wine bottles, or prop them up in antique picture frames.
For a cohesive look, incorporate map elements into other wedding stationery, like place cards or menu designs. This DIY project not only saves money but also infuses your reception with personal stories and a sense of global romance.
Repurposed Heirloom Jewelry Embellishments
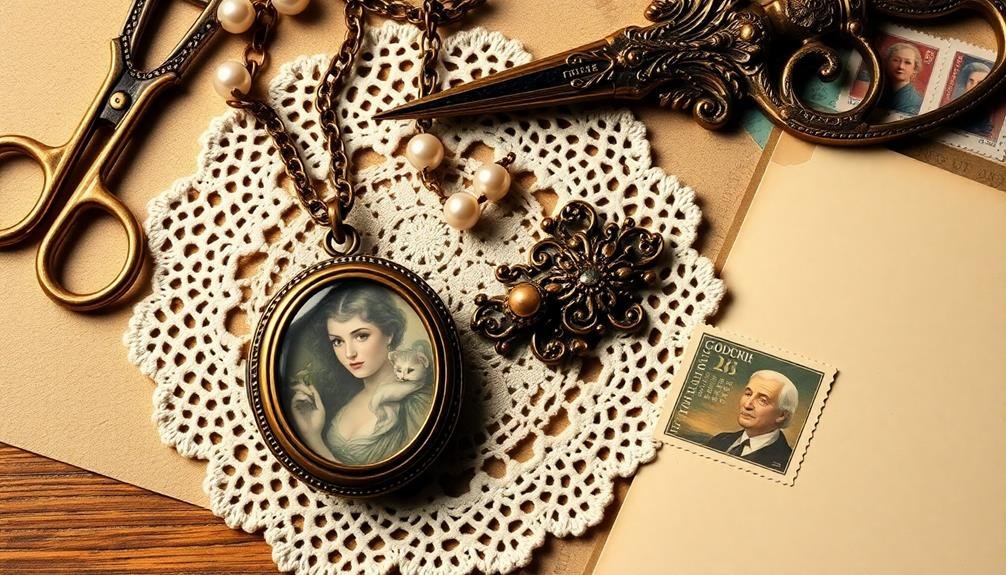
While vintage maps bring a sense of adventure to your wedding stationery, repurposed heirloom jewelry adds a touch of family history and sparkle. You can easily incorporate these cherished pieces into your invitations, place cards, or thank-you notes for a truly unique and personal touch.
Start by gathering old jewelry from family members or thrift stores. Look for broken necklaces, single earrings, or brooches that catch your eye. Clean them gently with a soft cloth and jewelry cleaner.
Next, remove any clasps or pins using pliers, leaving only the decorative elements. Attach these embellishments to your stationery using strong craft glue or hot glue. For heavier pieces, consider using small brads or decorative screws.
Place them strategically on corners, along borders, or as central focal points. You can also create clusters of smaller jewels for a more dramatic effect.
Don't limit yourself to just gemstones and metals. Incorporate pearls, cameos, or vintage buttons for added variety. Remember to balance the weight and size of the jewelry with your paper choice to prevent warping or tearing.
With these repurposed heirloom jewelry embellishments, you'll create one-of-a-kind stationery that tells your family's story.
Frequently Asked Questions
How Far in Advance Should I Start DIY Wedding Stationery Projects?
You should start your DIY wedding stationery projects at least 6-8 months before your wedding date. This gives you ample time to design, create, and revise your invitations, save-the-dates, and other paper goods without feeling rushed.
What Tools Are Essential for Creating Vintage-Style Wedding Invitations?
You'll need a few essential tools for vintage-style invitations: quality cardstock, a paper cutter, rubber stamps, ink pads, decorative scissors, lace or ribbons, a hot glue gun, and a calligraphy pen. Don't forget a printer for text elements.
Can I Mix Different Vintage Styles in My Wedding Stationery Suite?
You can absolutely mix different vintage styles in your wedding stationery suite. It's your day, so don't be afraid to blend eras or aesthetics. Just guarantee there's a cohesive element, like color or font, tying everything together.
How Do I Ensure Consistency Across All My DIY Stationery Pieces?
To guarantee consistency, create a style guide for your stationery suite. Choose a cohesive color palette, fonts, and design elements. Use templates and stick to your guide for all pieces. Don't forget to proofread everything for uniformity.
Are There Any Vintage Stationery Elements to Avoid for Destination Weddings?
You'll want to avoid bulky or fragile vintage elements for destination weddings. Skip heavy paper, wax seals, or delicate lace that might not travel well. Opt for lighter-weight materials and digital vintage designs you can print on-site instead.
In Summary
You've now got an arsenal of DIY vintage wedding stationery tricks up your sleeve! With these budget-friendly hacks, you'll create beautiful, personalized invitations and decor that capture the charm of yesteryear. Don't be afraid to mix and match techniques or add your own creative spin. Remember, imperfections often add to the vintage appeal. So gather your supplies, release your inner craftsperson, and enjoy bringing your unique vision to life. Your guests will be wowed by your handiwork!

I’m Sarah, the creator and writer behind this site. I’m a wife and a mother of two wonderful kids who keep me on my toes and inspire me daily. My passion lies in creating and organizing memorable events and group activities, where people can come together and make lasting memories.

Leave a Reply