
Capture the essence of country charm with these DIY rustic wedding stationery ideas. You can wrap invitations in burlap, create eco-friendly wood slice save-the-dates, and design mason jar-inspired place cards. Add a personal touch with twine-tied RSVP cards and barn wood table numbers. For thank-you notes, press wildflowers onto cards for a natural look. Embrace the rustic vibe with chalkboard-style menu cards and embossed leather favor tags. Don't forget kraft paper place cards and vintage postcard-style programs to complete your set. These handcrafted elements will infuse your wedding with warmth and character. Explore each idea to uncover the perfect rustic touches for your special day.
Key Takeaways
- Burlap-wrapped invitations with twine and wooden embellishments create a rustic, textural aesthetic for wedding stationery.
- Wood slice save-the-dates or invitations offer an eco-friendly option that doubles as a lasting keepsake.
- Mason jar-inspired place cards with kraft paper and twine accents add charming country flair to table settings.
- Vintage postcard-style wedding programs on distressed cardstock evoke nostalgia and rustic simplicity.
- Pressed wildflower thank-you notes incorporate natural elements for a personalized, country-inspired touch.
Burlap-Wrapped Invitations
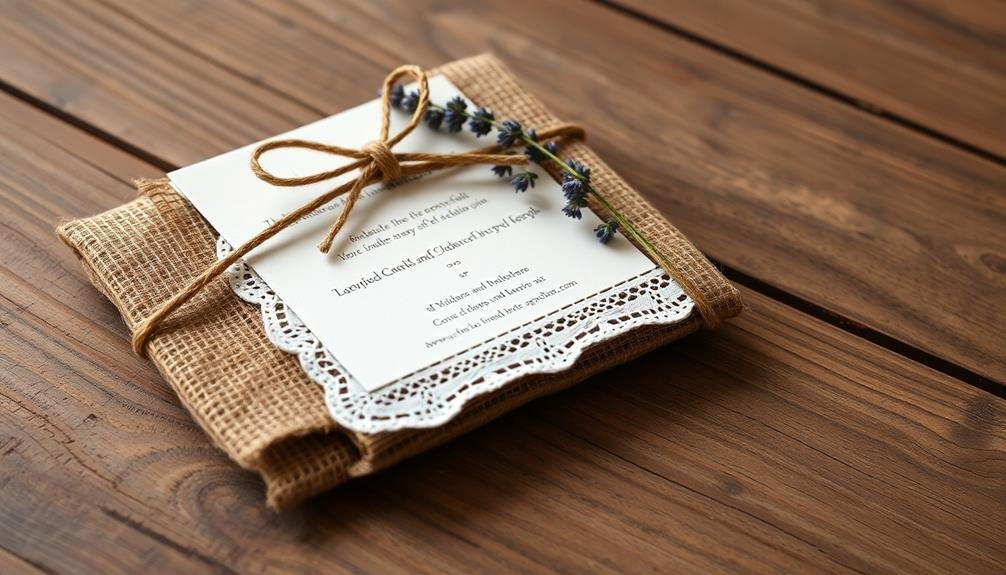
Many rustic weddings embrace the charm of burlap, and you can incorporate this versatile fabric into your invitations for a truly authentic touch.
To create burlap-wrapped invitations, start by printing your wedding details on high-quality cardstock. Cut a strip of burlap slightly wider than your invitation and long enough to wrap around it with a small overlap.
Secure the burlap wrap with twine or jute string, tying it in a small bow for added flair. For a pop of color, consider using a ribbon instead of twine. You can also embellish the wrap with small wooden buttons, dried flowers, or a personalized tag.
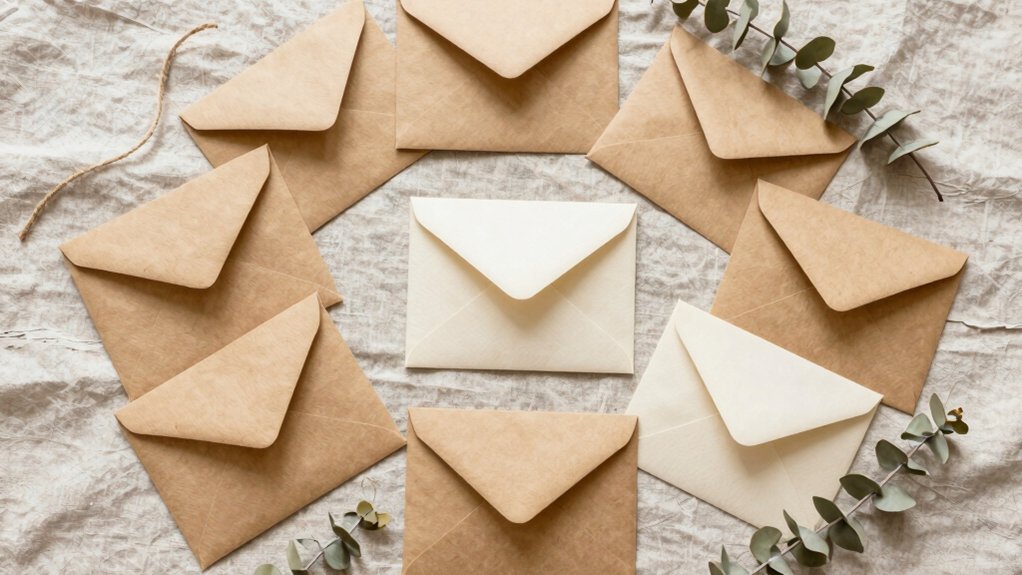
To protect the invitation during mailing, place it in a sturdy envelope. Choose a kraft paper envelope to complement the rustic theme, or opt for a textured envelope that mimics the look of burlap. Address the envelopes using a calligraphy pen or stamps for a handcrafted feel.
For a cohesive look, extend the burlap theme to other wedding stationery items like RSVP cards, menu cards, and place cards. This will create a unified rustic aesthetic throughout your wedding celebration.
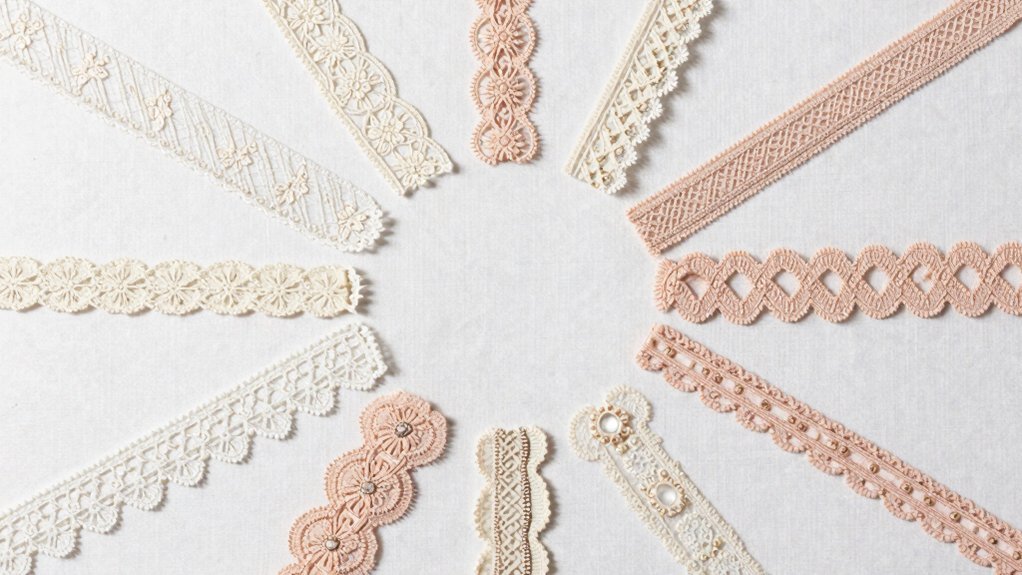
Lace and Kraft Paper Ensemble
While burlap offers a rustic charm, combining lace and kraft paper creates an equally enchanting rustic-chic aesthetic for your wedding stationery. This elegant pairing allows you to blend the earthy, natural feel of kraft paper with the delicate, romantic touch of lace.
To create this ensemble, start with a kraft paper base for your invitations, RSVP cards, and envelopes. Choose a soft, off-white lace to complement the paper's warm tones. You can wrap a lace band around the invitation or use lace as an overlay on part of the card.
For a cohesive look, incorporate lace elements into your envelope liners or as decorative accents on your RSVP cards. Consider using a mix of fonts to enhance the rustic-chic vibe. Pair a flowing script with a simple sans-serif typeface for a balanced appearance.
You can also add twine or ribbon to tie everything together, literally and figuratively. Don't forget to include pressed flowers or dried herbs between the layers for an extra touch of nature-inspired elegance. This lace and kraft paper combination will set the tone for your rustic wedding while maintaining a sense of refinement and romance.
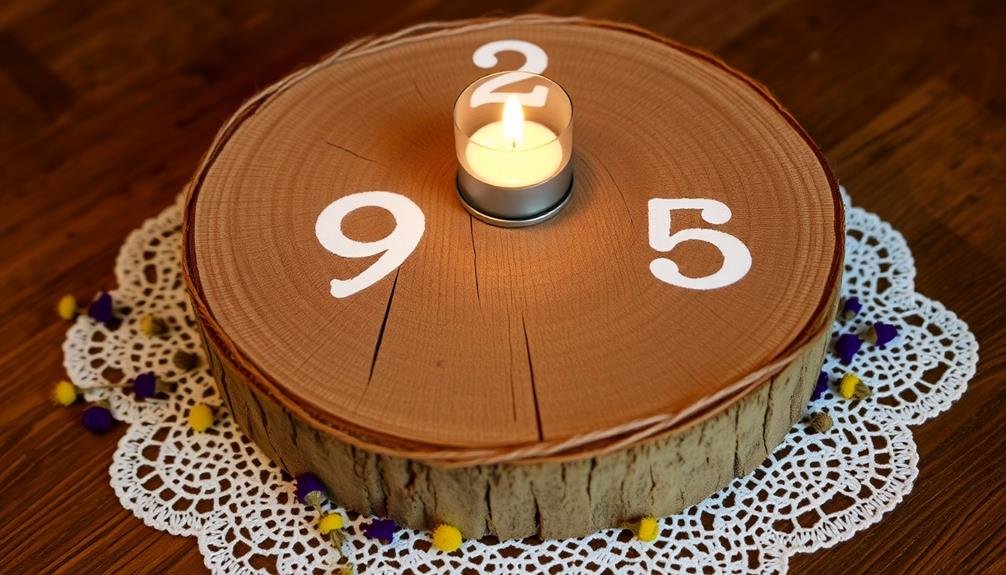
Rustic Wood Slice Save-the-Dates
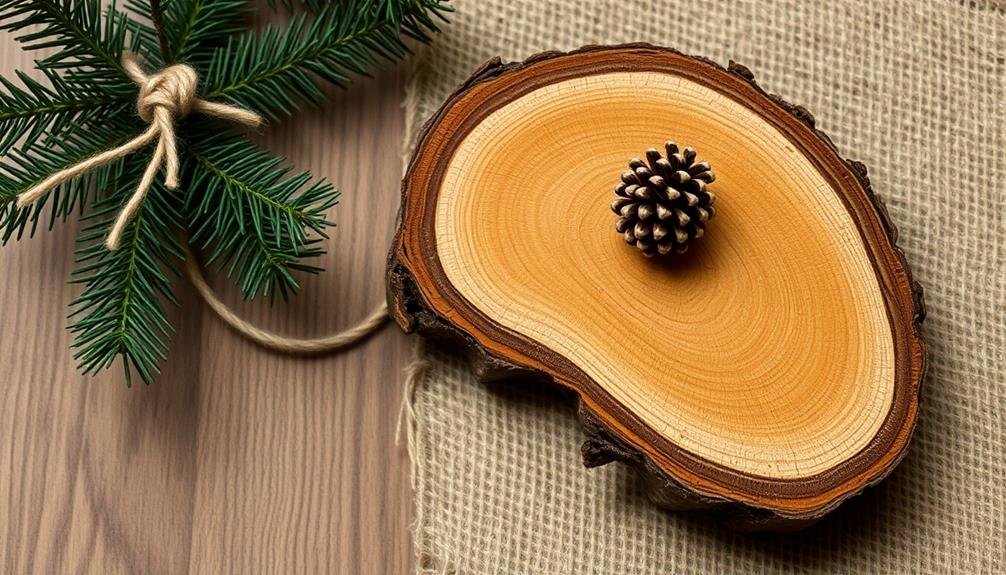
Embrace the natural beauty and texture of wood slices for your save-the-dates, creating a truly unique rustic invitation.
You can personalize these circular wooden canvases with wood-burned designs, featuring your names, wedding date, and other essential details.
Natural Beauty and Texture
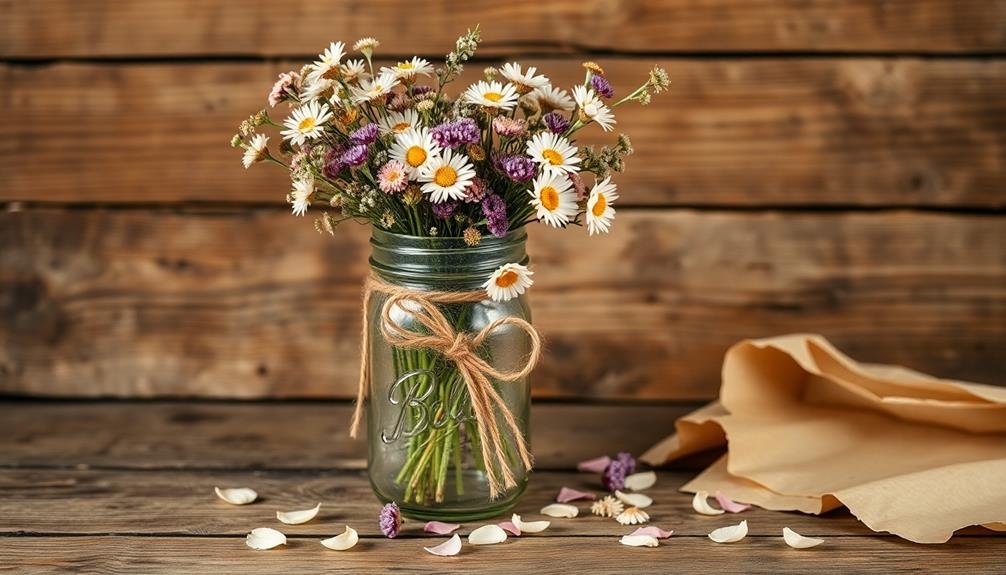
Incorporating natural elements into your wedding stationery can create a stunning rustic aesthetic. To achieve this look, consider using textured papers like kraft, linen, or handmade cotton rag paper for your invitations and envelopes. These materials add depth and a tactile quality that perfectly complements a rustic theme.
You can also integrate natural fibers into your stationery design. Try wrapping your invitations with twine, jute, or raffia for an organic touch. Pressed flowers or leaves make beautiful embellishments, adding a pop of color and bringing the outdoors in.
For a unique twist, use thin slices of wood veneer as backing for your invitations or as envelope liners.
Don't forget about the power of natural inks and dyes. Experiment with plant-based pigments to create soft, earthy tones that enhance the rustic feel. You can even use coffee or tea to stain paper for an aged appearance.
Personalized Wood-Burned Designs
Wood-burned save-the-dates offer a unique and memorable way to announce your wedding date. These rustic wood slice invitations perfectly capture the essence of a country-themed wedding while providing a keepsake your guests will cherish.
To create these charming invites, you'll need thin wood slices, a wood-burning tool, and your creativity.
Start by sketching your design lightly on the wood slice with a pencil. Include essential details like your names, wedding date, and location. Then, carefully trace over your sketch with the wood-burning tool, taking your time to achieve clean, crisp lines.
For added visual interest, consider incorporating these elements:
- A delicate floral border framing the text
- Your initials intertwined within a heart shape
- A simple illustration of your venue or a meaningful symbol
- A rustic tree design with your wedding date carved into the trunk
Once you've finished wood-burning, seal the slice with a clear varnish to protect the design.
Attach a twine or ribbon loop for hanging, and your guests will have a beautiful, personalized ornament to display.
These wood-burned save-the-dates not only set the tone for your rustic wedding but also serve as a lasting memento of your special day.
Eco-Friendly Invitation Option
Rustic wood slice save-the-dates aren't just charming; they're also an eco-friendly invitation option. By using thin slices of wood from sustainable sources, you'll create a unique and environmentally conscious way to announce your wedding date. These natural discs serve as the perfect canvas for your message, blending seamlessly with a rustic or outdoor wedding theme.
To craft these eco-friendly invitations, you'll need:
| Materials | Tools | Techniques |
|---|---|---|
| Wood slices | Wood burner | Burning |
| Twine | Drill | Engraving |
| Kraft paper | Sandpaper | Painting |
Start by sanding the wood slices to guarantee a smooth surface. Use a wood burner or engraving tool to etch your wedding details onto the slice. For a pop of color, consider painting certain elements or using colored twine to hang the invitation. You can also attach a small kraft paper card with additional information.
These wood slice save-the-dates not only reduce paper waste but also serve as keepsakes for your guests. They're lightweight enough to mail without excessive postage and can double as ornaments or rustic decor in your guests' homes, extending their usefulness beyond the wedding day.
Mason Jar-Inspired Place Cards
Create charming Mason jar-inspired place cards for your rustic wedding reception.
Start with jar-shaped card designs, then embellish them using twine and kraft paper for an authentic country feel.
Add a final touch of whimsy by attaching miniature flowers as accents to each place card.
Jar-Shaped Card Design
Mason jar-inspired place cards frequently add a charming touch to rustic wedding decor. To create jar-shaped card designs, you'll need cardstock, scissors, and a template.
Start by downloading or creating a jar-shaped template, then trace it onto your chosen cardstock. Cut out the shape carefully, ensuring smooth edges for a polished look.
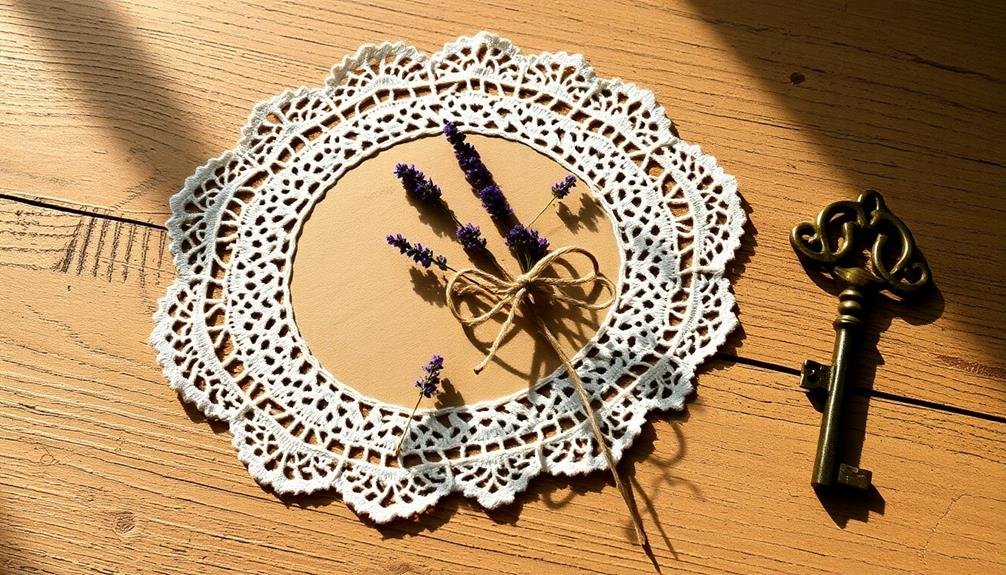
Once you've got your jar-shaped cards, it's time to personalize them. Consider these decorative options:
- Use twine or raffia to tie a small bow around the "neck" of the jar card.
- Stamp or hand-write guests' names in a rustic font on the center of the card.
- Add a small sprig of dried lavender or baby's breath for a natural accent.
- Create a faux "label" effect by using kraft paper or a contrasting cardstock color.
For an extra touch of authenticity, you can lightly distress the edges of your jar cards using sandpaper or an emery board. This will give them a weathered, vintage appearance that perfectly complements your rustic theme.
Don't forget to create a few extra cards for last-minute changes or unexpected guests.
Twine and Kraft Paper
Two key elements for creating authentic mason jar-inspired place cards are twine and kraft paper. These materials embody rustic charm and can be easily incorporated into your wedding stationery design.
To start, cut kraft paper into rectangular shapes slightly larger than your guests' names. Use a calligraphy pen or brush to write each name in an elegant script, leaving room at the top for attaching twine.
Next, punch two small holes at the top of each kraft paper card. Thread twine through these holes, creating a loop that resembles a mason jar's wire bail. Tie a small bow or knot to secure the twine, allowing the ends to dangle for added texture. For a more authentic look, consider using jute twine, which has a natural, rough appearance.
To display your place cards, you can stand them upright on tables or hang them from a display board using clothespins. For an extra rustic touch, distress the edges of the kraft paper with sandpaper or tea staining.
This DIY approach not only saves money but also adds a personal, handcrafted feel to your wedding decor.
Miniature Flowers Accent
Frequently, miniature flowers serve as the perfect accent for mason jar-inspired place cards, adding a delicate touch of nature to your rustic wedding stationery.
To create these charming place cards, you'll need small kraft paper tags, miniature artificial flowers, and thin twine or ribbon. Cut out mason jar shapes from kraft paper, slightly larger than your name tags. Glue the tags onto the jar shapes, then attach tiny flowers to the corners or edges for a whimsical look.
For a more three-dimensional effect, you can create miniature paper flower bouquets to accompany each place card.
Here's how to assemble them:
- Cut small circles from colored paper in varying sizes
- Layer the circles, scrunching the edges for a petal-like appearance
- Secure the layers with a dab of glue in the center
- Attach the paper bouquet to the place card with a small clothespin or twine
These mason jar-inspired place cards with miniature flower accents will delight your guests and perfectly complement your rustic wedding theme.
You can customize the colors and flower types to match your overall decor, ensuring a cohesive and charming look for your special day.
Twine-Tied RSVP Cards

One charming way to add rustic flair to your wedding stationery is by using twine-tied RSVP cards. This simple yet elegant touch brings a countryside feel to your invitations while keeping everything neatly bundled.
To create this look, start with high-quality cardstock for your RSVP cards. Choose a color that complements your overall wedding palette, such as cream, kraft, or soft pastels.
Next, punch a small hole in the corner of each RSVP card. Cut lengths of natural jute twine, about 12 inches each. Thread the twine through the hole and tie it in a loose bow or knot. This not only adds visual interest but also serves a practical purpose by keeping the RSVP card attached to the main invitation.
For an extra rustic touch, consider using a rubber stamp with your initials or wedding date on the RSVP card. You can also incorporate other natural elements like dried flowers or sprigs of herbs tied into the twine.
Remember to include clear instructions for guests to return the RSVP card, either by mail or through your wedding website.
Vintage Postcard Wedding Programs

Vintage postcard wedding programs offer a unique and charming way to inform guests about your ceremony details. These nostalgic pieces not only serve a practical purpose but also double as keepsakes for your attendees.
To create your own, start with thick cardstock in a cream or off-white color to mimic the look of aged paper. Use a typewriter font for the text to enhance the vintage feel, and consider adding sepia-toned images or illustrations that reflect your wedding theme.
For a truly authentic touch, you can distress the edges of the cards using sandpaper or a nail file.
Don't forget to include essential information such as:
- The order of ceremony events
- Names of wedding party members
- Readings or musical selections
- A brief thank you message to guests
On the reverse side, create a space for guests to write personal notes or well-wishes, just like a real postcard. You can even pre-stamp these with vintage-style postage for an extra touch of authenticity.
Tie your vintage postcard programs together with twine or ribbon, or display them in a rustic wooden box for guests to pick up as they enter the ceremony space.
Barn Wood Table Numbers
Continuing the rustic theme from vintage postcard programs, barn wood table numbers offer a charming and organic way to guide guests to their seats.
You'll need to source small pieces of reclaimed barn wood, which you can find at salvage yards, antique shops, or online marketplaces. Once you've gathered your materials, sand the wood lightly to remove any splinters while maintaining its weathered character.
Choose a font that complements your wedding style and either stencil or freehand paint the numbers onto the wood. For added durability, apply a clear sealant.
To display your table numbers, you have several options. You can prop them up against centerpieces, create simple stands using wire or small easels, or even drill small holes to insert floral stems for a more integrated look.
For a cohesive appearance, consider incorporating other barn wood elements throughout your reception, such as signage or menu displays.
If you're feeling extra creative, you can personalize each table number with a fun fact about you and your partner or name tables after meaningful locations in your relationship.
Pressed Wildflower Thank-You Notes
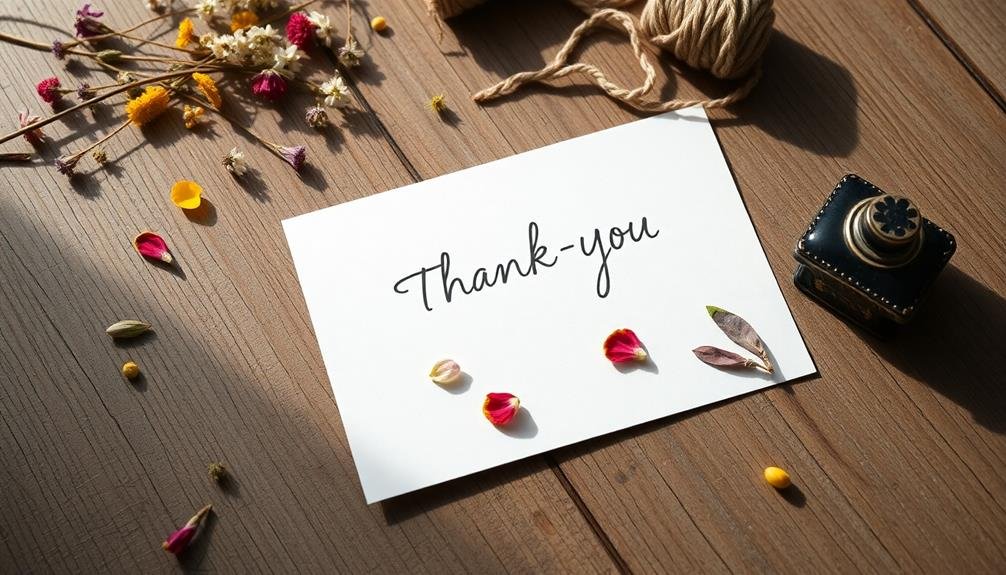
To create charming pressed wildflower thank-you notes, you'll first need to gather a variety of local blooms and foliage.
Once you've collected your flowers, you'll want to master the art of pressing them properly to preserve their color and shape.
With your pressed botanicals ready, you can then assemble your personalized cards by carefully arranging and adhering the flowers to create unique, nature-inspired designs.
Gathering Wildflowers
Nature's bounty provides the perfect embellishment for your rustic wedding thank-you notes. To gather wildflowers for pressing, you'll need to plan ahead and choose the right time and place. Start by researching local wildflower species and their blooming seasons. Always obtain permission if you're collecting on private property, and never pick flowers in protected areas or national parks.
When you're ready to gather, bring along these essential items:
- A field guide to help identify safe and appropriate flowers
- Pruning shears or scissors for clean cuts
- A basket or container lined with damp paper towels
- A notebook to record collection details and flower names
Choose flowers that are fully open but not past their prime. Cut stems at an angle, leaving enough length for pressing. Avoid picking more than you need, and never take all flowers from one area.
Once home, begin the pressing process immediately to preserve the flowers' natural beauty. Remember, the key to successful wildflower gathering is respect for nature and careful selection.
With patience and attention to detail, you'll create stunning, personalized thank-you notes that capture the essence of your rustic wedding.
Pressing Technique Tips
Several key techniques will guarantee your pressed wildflowers look their best on your rustic thank-you notes. Start by selecting flowers at their peak bloom, avoiding any with blemishes or wilting. Gently clean them by brushing off any dirt or debris.
Place the flowers between two sheets of absorbent paper, such as blotting paper or parchment. Arrange them carefully, spreading out petals and leaves to maintain their natural shape.
Layer your flower-filled papers between heavy books or wooden boards. Add extra weight on top to guarantee even pressure. Store this setup in a warm, dry place for 2-3 weeks. Check periodically to replace damp paper and prevent mold growth.
Once fully dried, carefully remove the pressed flowers using tweezers. To attach them to your thank-you notes, use a small amount of acid-free glue or double-sided tape. Apply it sparingly to avoid warping the delicate petals.
Consider using a thin layer of mod podge over the entire flower to seal and protect it. This will also add a subtle sheen to your design, enhancing the rustic charm of your handmade stationery.
Card Assembly Process
With your pressed wildflowers ready, it's time to assemble your rustic thank-you notes. Begin by selecting a high-quality cardstock that complements your wedding theme. Cream or kraft paper works well for a rustic look. Cut the cardstock to your desired size, typically 4×6 inches for thank-you notes.
Next, carefully remove your pressed flowers from the pressing sheets. Arrange them on the front of the card, playing with different compositions until you're satisfied. Once you've decided on the layout, use a small brush to apply a thin layer of craft glue to the back of each flower. Gently press them onto the card, ensuring they're secure.
For a finishing touch, consider adding these elements:
- A twine bow tied around the card
- A kraft paper envelope lined with vintage book pages
- A personalized wax seal stamped with your initials
- A hand-written message using a calligraphy pen
Allow the cards to dry completely before handling. You can add a protective layer by spraying a thin coat of clear acrylic sealer over the flowers.
Once dry, your unique, rustic thank-you notes are ready to express your gratitude to your wedding guests.
Chalkboard-Style Menu Cards
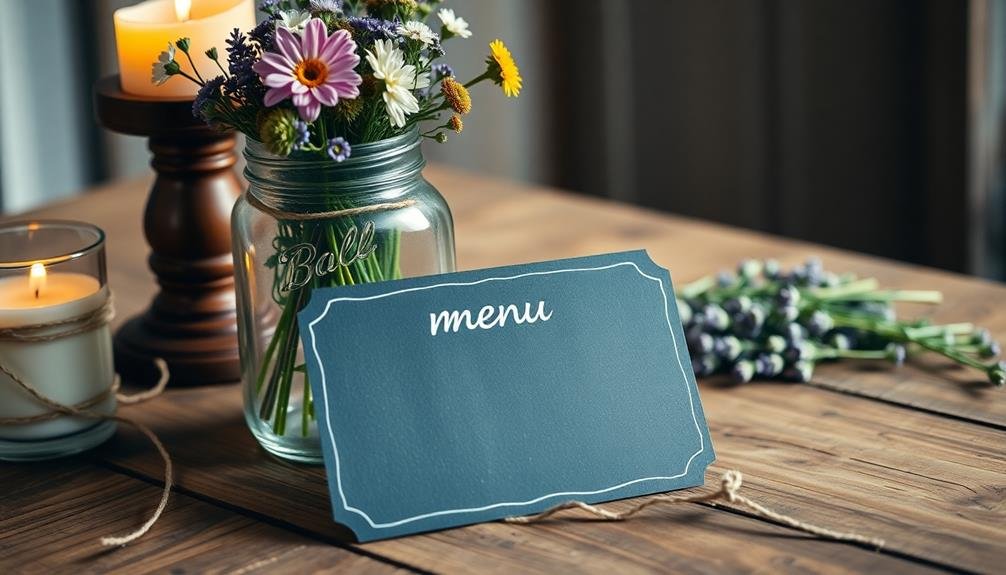
Chalkboard-style menu cards stand out as a trendy and versatile option for rustic wedding stationery. They're easy to create and offer a charming, informal touch to your table settings.
To make your own, start with black cardstock or pre-cut chalkboard-style cards available at craft stores.
For the lettering, you have several options. Use a white chalk marker for crisp, clean lines that won't smudge easily. Alternatively, try a paint pen or even actual chalk for a more authentic look. If you're not confident in your handwriting, consider using stencils or printing your design on transfer paper.
When designing your menu, keep it simple and legible. Use a mix of fonts, emphasizing key dishes or categories with larger text or decorative elements. Don't forget to include any dietary information or allergen warnings.
To enhance the rustic feel, add some simple illustrations like leaves, flowers, or utensils. Frame your menu with a hand-drawn border or tie it with twine for an extra touch.
For a unique twist, consider using small individual chalkboards at each place setting instead of traditional cards.
Embossed Leather Favor Tags
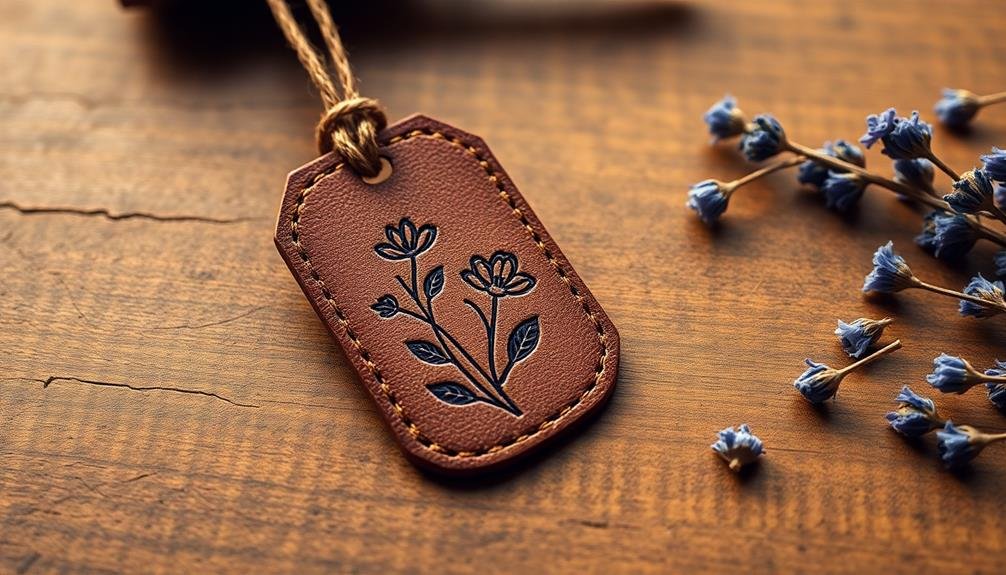
Embossed leather favor tags offer a unique and sophisticated touch to your rustic wedding decor. These charming tags can be customized with your names, wedding date, or a special message for your guests.
You'll find that leather's natural texture and earthy tones complement the rustic theme perfectly, while the embossing adds an elegant flair.
To create your own embossed leather favor tags, you'll need:
- Thin leather sheets
- A leather embossing tool
- A customized embossing stamp
- Leather punches for creating holes
Start by cutting the leather into small tag shapes. Next, use your embossing tool and stamp to press your design into the leather. You can opt for a simple monogram or a more intricate pattern, depending on your preferences.
Once embossed, punch a small hole at the top of each tag for attaching it to your favors.
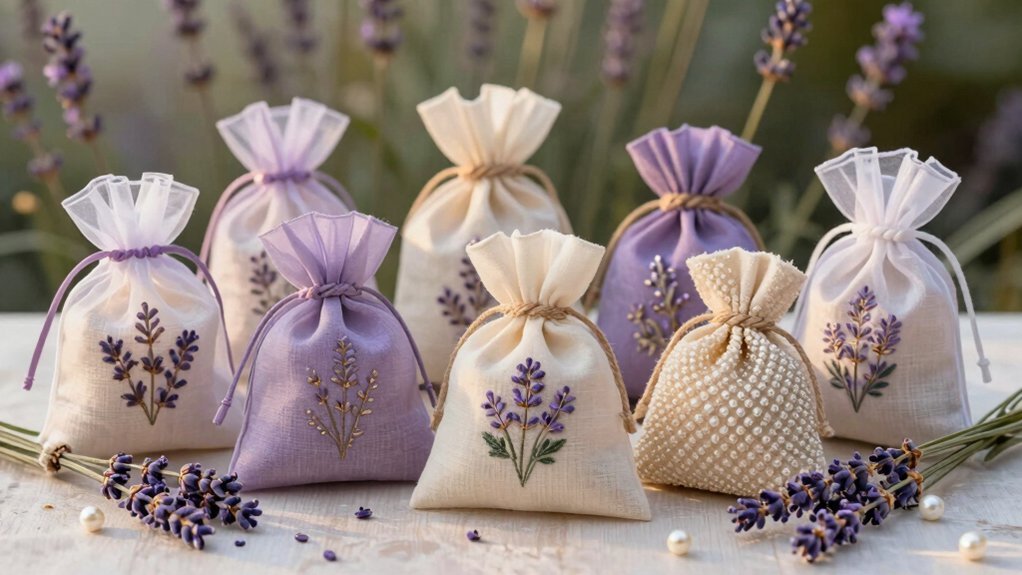
These tags work well with various rustic wedding favors, such as:
- Mason jars filled with homemade preserves
- Burlap sachets containing wildflower seeds
- Mini bottles of local honey or maple syrup
- Handcrafted candles in recycled tin containers
Frequently Asked Questions
How Far in Advance Should DIY Wedding Stationery Be Started?
You should start your DIY wedding stationery at least 6-8 months before the big day. This gives you plenty of time to design, order supplies, create samples, and make adjustments. Don't forget to factor in time for addressing and mailing.
What Tools Are Essential for Creating Rustic Wedding Stationery at Home?
You'll need scissors, a paper cutter, glue, stamps, ink pads, and quality cardstock. Don't forget a printer, calligraphy pens, and a scoring tool. Twine, lace, and kraft paper are great for adding rustic touches to your stationery.
How Can I Incorporate My Wedding Colors Into Rustic Stationery Designs?
You can infuse your wedding colors into rustic stationery by using colored paper, ribbons, or twine. Paint wooden elements, add watercolor accents, or use colored ink for text. Don't forget colored envelopes or envelope liners for a cohesive look.
Are There Eco-Friendly Options for Rustic Wedding Stationery Materials?
Yes, you'll find plenty of eco-friendly options for your rustic wedding stationery. Consider using recycled paper, seed paper, or even plantable paper. You can also opt for soy-based inks and natural, biodegradable embellishments like dried flowers or twine.
What's the Average Cost Savings of DIY Rustic Wedding Stationery?
You'll typically save 40-60% by making your own rustic wedding stationery. Your costs depend on materials and quantity, but you're looking at $1-3 per invitation set compared to $5-7 for professionally made ones.
In Summary
You've now got plenty of inspiration to create charming rustic wedding stationery that'll wow your guests. Don't be afraid to mix and match these ideas or put your own spin on them. Remember, it's all about capturing that country essence and personal touch. With a little creativity and some DIY spirit, you'll craft a cohesive suite that sets the perfect tone for your big day. Happy crafting, and enjoy this special part of your wedding journey!

I’m Sarah, the creator and writer behind this site. I’m a wife and a mother of two wonderful kids who keep me on my toes and inspire me daily. My passion lies in creating and organizing memorable events and group activities, where people can come together and make lasting memories.
Leave a Reply