Transform your reception into a memorable event with these budget-friendly DIY photo booth ideas. You'll dazzle guests with a backdrop bonanza, featuring everything from floral fantasies to neon light extravaganzas. Create a vintage vibe with a suitcase setup or add rustic charm with reclaimed wood. Frame the fun with hanging ornate frames or go big with a balloon wall wonder. Chalkboard backdrops offer customizable charm, while glittery gold accents bring glamour. Each idea costs less than $100, proving that creativity trumps expensive rentals. Immerse yourself to discover how these jaw-dropping concepts will make your celebration truly picture-perfect.
Key Takeaways
- Create a vibrant balloon wall using dollar store balloons in various sizes and colors for a stunning backdrop.
- Craft a floral fantasy theme with bulk artificial flowers arranged on cardboard and enhanced with fairy lights.
- Design a neon light backdrop using affordable LED strips or EL wire for a modern, eye-catching effect.
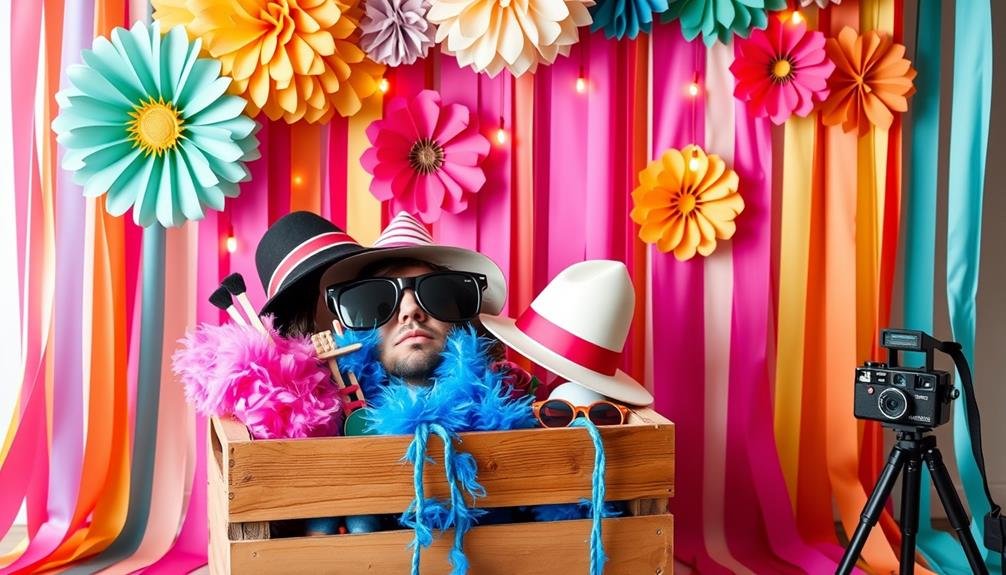
- Set up a vintage suitcase photo booth with thrifted props and a DIY Polaroid-style frame for nostalgic charm.
- Incorporate natural elements like leaves, twigs, and faux flowers to create a rustic woodland-themed backdrop.
Backdrop Bonanza
Backdrop brilliance is the foundation of any great photo booth. You'll want to create a stunning visual that sets the tone for your photos without breaking the bank. Start with a plain wall or hang a large piece of fabric as your base. From there, release your creativity with affordable materials.
Consider using crepe paper streamers to create a colorful, textured backdrop. Arrange them vertically for a cascading effect or diagonally for added dynamism. Alternatively, craft a floral wall using artificial flowers from dollar stores. Attach them to a mesh grid for easy installation and removal.
For a more modern look, try a geometric pattern using washi tape or cut-out shapes from colored paper. You can also create a personalized touch by hanging strings of photos, polaroids, or custom-made signs.
Don't forget the power of lighting – string lights or battery-operated LED strips can add a magical glow to your backdrop.
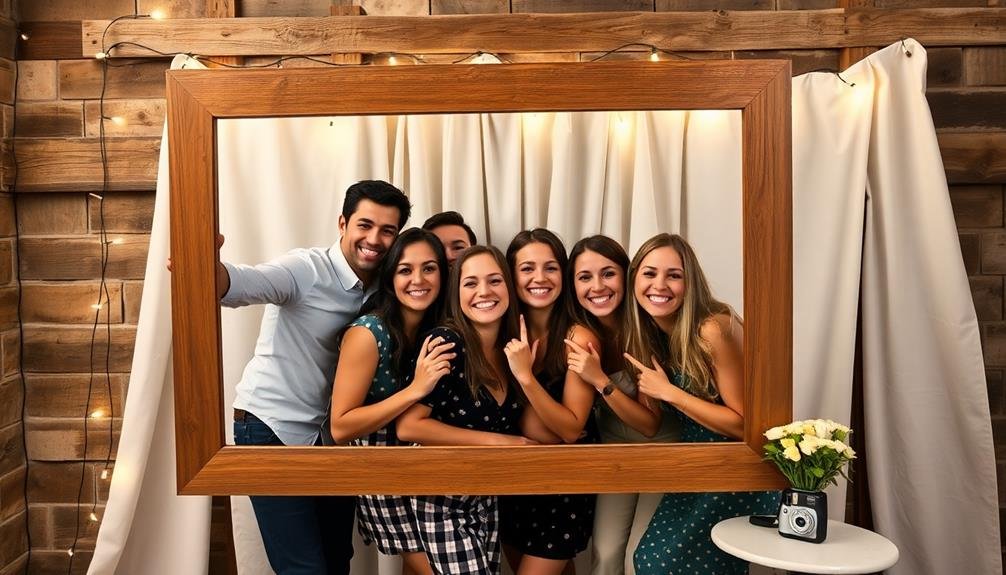
Framed Perfection
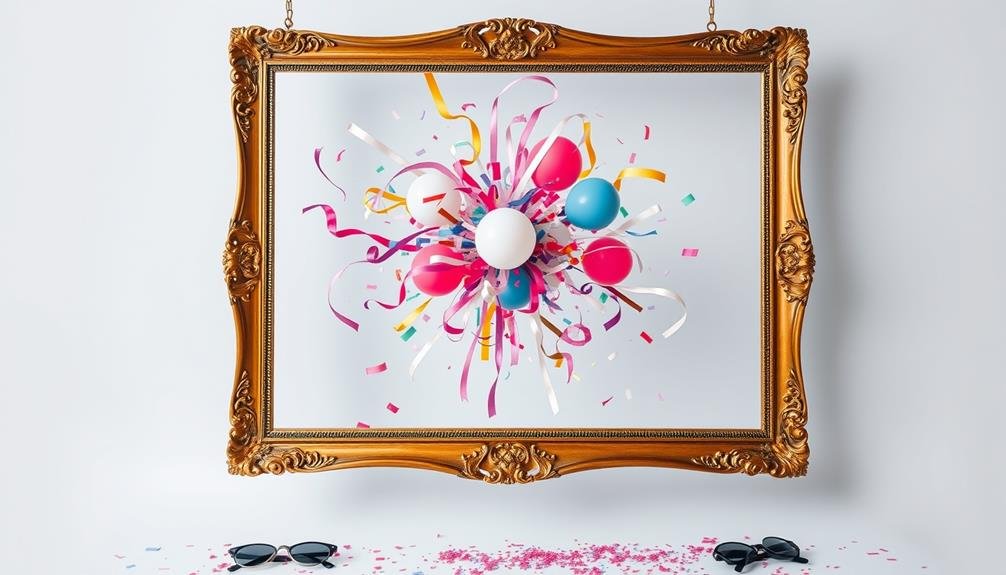
Transform your photo booth with elegant framed displays for a touch of vintage charm.
You'll create stunning visual interest by hanging ornate frames of various sizes and styles, allowing guests to pose within them.
For a more interactive experience, consider suspending empty frames at different heights, encouraging creative poses and memorable shots.
Ornate Vintage Frame Displays
For a touch of elegance and nostalgia, ornate vintage frame displays offer a stunning backdrop for your DIY photo booth. You'll create an eye-catching focal point that doubles as a conversation starter for your guests.
To begin, scour thrift stores, flea markets, or online marketplaces for a variety of ornate frames in different sizes and styles. Look for gold, silver, or intricately carved wooden frames to achieve that vintage aesthetic.
Once you've collected your frames, remove any existing artwork or glass. Arrange them on a large piece of plywood or sturdy foam board, creating an interesting composition. Secure the frames using strong adhesive or screws, depending on their weight.
For added depth, consider hanging some frames slightly forward using fishing line or clear thread.
To elevate the look, paint all the frames in a cohesive color scheme, such as gold or antique white. Add fairy lights around the frames for a magical glow.
Hanging Frame Photo Ops
Take your DIY photo booth to new heights with hanging frame photo ops. This versatile and eye-catching setup allows guests to pose behind suspended frames, creating the illusion of perfectly framed portraits.
You'll need a sturdy backdrop stand or a secure overhead structure to hang your frames.
Start by collecting a variety of frame sizes and styles from thrift stores or yard sales. Remove the glass and backing, leaving just the outer frame. Spray paint them in your chosen color scheme for a cohesive look.
Attach sturdy ribbons or fishing line to the frames for hanging.
Arrange the frames at different heights and depths to create visual interest. Include a mix of landscape and portrait orientations to accommodate various group sizes.
Add some playful elements like empty speech bubbles or prop signs that fit within the frames.
For an extra touch, string fairy lights around the frames or backdrop to enhance the ambiance.
Don't forget to provide a small table nearby with fun props and accessories for guests to use.
This simple yet striking photo op will have your guests lining up to capture their framed moments.
Vintage Suitcase Setup
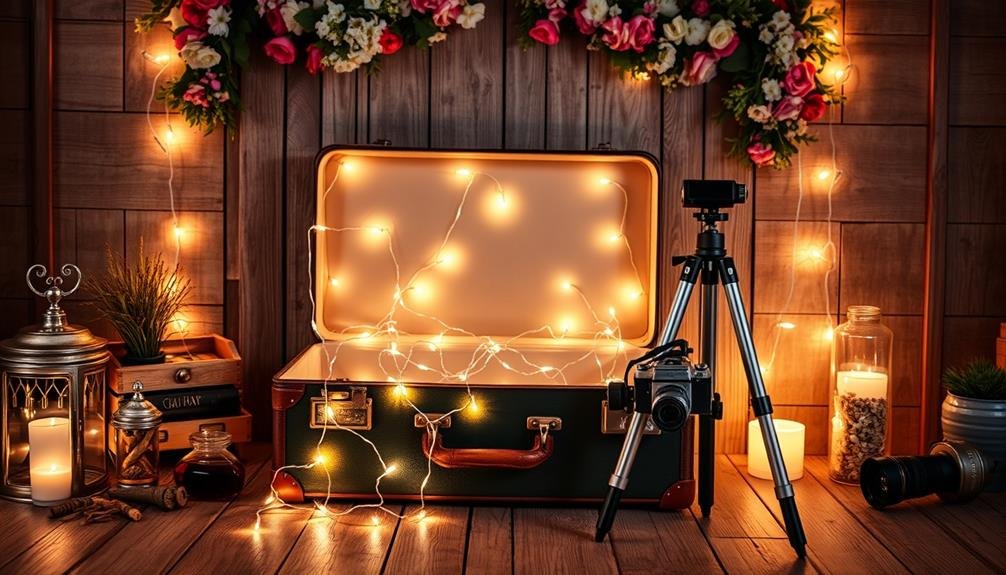
Step back in time with a charming vintage suitcase photo booth setup. This nostalgic approach not only serves as a unique backdrop for photos but also doubles as a conversation piece for your guests.
To create this booth, you'll need a large vintage suitcase, some creativity, and a few key accessories.
Start by finding a sturdy vintage suitcase at a thrift store or flea market. Clean it thoroughly and prop it open, securing the lid with a chain or rope if needed. Line the inside with fabric or wallpaper that matches your event's theme. Install battery-operated lights around the edges to illuminate your guests' faces.
For added flair and functionality, consider these accessories:
- A small chalkboard for guests to write messages or display the couple's names
- Vintage-style props like old-fashioned glasses, hats, and fake mustaches
- A tablet or smartphone stand to capture digital photos easily
Don't forget to set up a small table nearby for additional props and a photo printer if you want instant prints.
With this vintage suitcase setup, you'll transport your guests to a bygone era while capturing timeless memories of your special day.
Balloon Wall Wonder
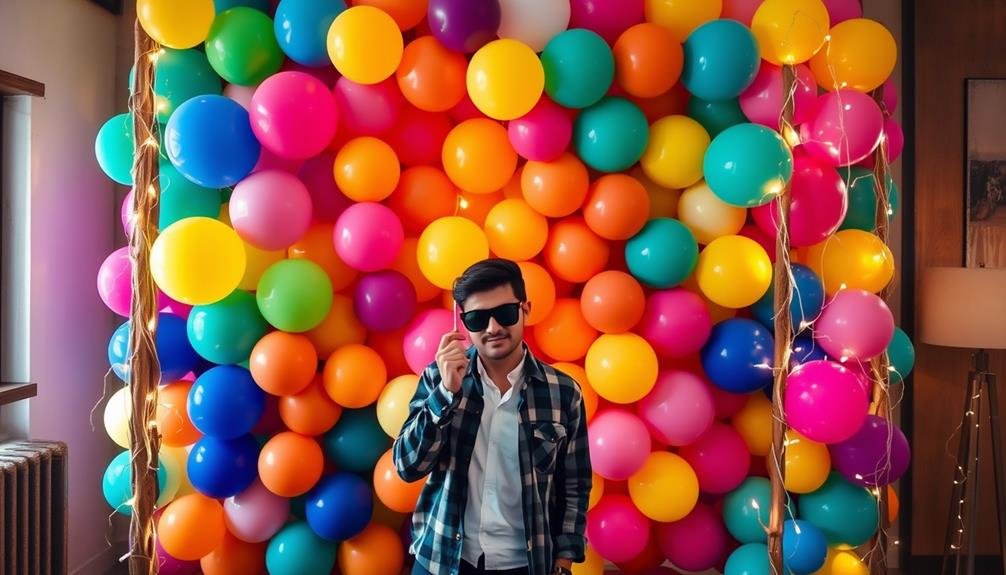
Transform your photo booth with a stunning balloon wall backdrop that's sure to captivate your guests.
You'll find plenty of affordable balloon options at dollar stores or online retailers, allowing you to create a vibrant and textured design without breaking the bank.
With a few simple tools and techniques, you can easily assemble your balloon wall using a frame or directly on a flat surface, creating a professional-looking backdrop in no time.
Eye-Catching Backdrop Design
A balloon wall backdrop can turn your DIY photo booth into a whimsical wonderland. To create this eye-catching design, you'll need balloons in various sizes and colors, a balloon pump, and some fishing line or clear tape.
Start by inflating the balloons to different sizes, creating a mix of large and small ones for visual interest. Arrange them in a pattern or gradient, securing them to a wall or freestanding frame with the fishing line or tape.
For added flair, consider these enhancements:
- Incorporate metallic or confetti-filled balloons for a touch of sparkle
- Add letter balloons to spell out a message or the couple's names
- Mix in paper flowers or streamers for texture and dimension
To keep costs down, opt for latex balloons instead of foil ones, and borrow a balloon pump from a friend or party supply store.
You can also create a smaller backdrop and supplement it with hanging streamers or fabric to cover a larger area. With creativity and smart planning, you'll craft a stunning balloon wall backdrop that'll make your photo booth the talk of the reception – all while staying well under your $100 budget.
Budget-Friendly Material Options
While a balloon wall backdrop can create a stunning visual impact, you don't need to break the bank to achieve this look. Opt for budget-friendly balloons from dollar stores or online bulk suppliers. Mix different sizes and colors to add depth and interest. You'll need approximately 100-150 balloons for a standard 8×8 foot backdrop.
To create the wall, use a large piece of cardboard or foam board as your base. Inflate the balloons to various sizes and attach them using clear tape or low-temperature hot glue. Start from the bottom and work your way up, overlapping the balloons to cover any gaps.
For added flair, incorporate metallic or confetti-filled balloons as accent pieces. You can also use balloon garlands to frame the backdrop or create a cascading effect.
To save on helium costs, use air-filled balloons and fishing line to create floating clusters. Don't forget to factor in a pump for easier inflation.
With careful planning and smart shopping, you can create a show-stopping balloon wall backdrop for well under $100, leaving room in your budget for other photo booth accessories.
Easy Assembly Tips
Before you begin assembling your balloon wall, gather all your materials and clear a large workspace. You'll need your balloons, fishing line or clear tape, and a sturdy backdrop frame.
Start by inflating the balloons to various sizes, creating a mix of large and small ones for visual interest.
Next, create a grid pattern on your frame using the fishing line or tape. This will serve as a guide for attaching the balloons. Begin at the bottom and work your way up, securing each balloon to the grid. Alternate colors and sizes to achieve a balanced look.
For a professional finish, follow these tips:
- Use a balloon pump to save time and energy
- Cluster balloons in odd numbers for a more visually appealing arrangement
- Step back frequently to assess the overall design and make adjustments
As you near the top of the frame, fill in any gaps with smaller balloons.
Don't worry if it's not perfect – the overall effect will be stunning. Once complete, secure any loose balloons and give your creation a final once-over. Your budget-friendly balloon wall is now ready to wow your guests and provide a fantastic backdrop for memorable photos.
Floral Fantasy
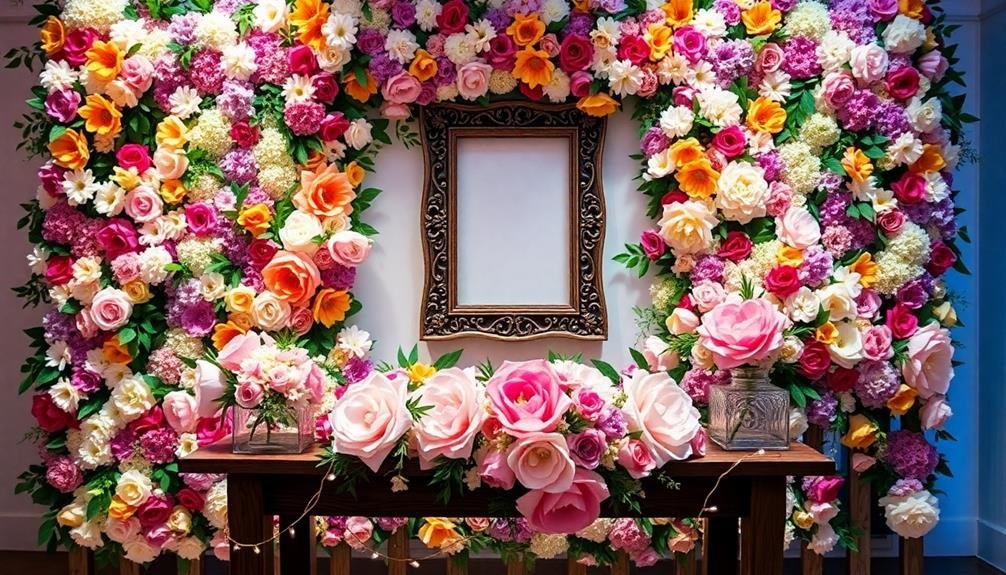
Transform your photo booth into a blooming paradise with the Floral Fantasy theme. This enchanting backdrop will transport your guests to a magical garden, creating unforgettable memories and stunning photographs.
Start by selecting a color palette that complements your event's theme. Pastels work well for a soft, romantic look, while bold hues create a vibrant, tropical atmosphere. Purchase artificial flowers in bulk from discount stores or online retailers to keep costs low.
Arrange the flowers on a large piece of cardboard or foam board, securing them with hot glue or floral wire. For added depth, incorporate greenery like faux ivy or eucalyptus leaves. Create a cascading effect by hanging flower garlands or individual blooms from fishing line.
Don't forget to include some oversized statement flowers for a whimsical touch. To enhance the floral fantasy, add fairy lights or LED string lights behind the flowers. This subtle illumination will create a magical glow in your photos.
Polaroid-Inspired Posing
For a nostalgic twist on your DIY photo booth, embrace the charm of Polaroid-inspired posing. Create a large-scale Polaroid frame using foam board, paint, and a clear plastic sheet. Cut out the center to form the "photo" area, leaving enough space for guests to pose behind it. Hang the frame on a plain wall or against a simple backdrop to mimic the classic Polaroid look.
To enhance the experience, provide props that evoke a retro vibe:
- Vintage sunglasses
- Old-school handheld fans
- Retro hats and headbands
Encourage guests to strike poses reminiscent of candid Polaroid snapshots. You can even add a twist by creating a "shake it" station where guests can pretend to shake their "developing" photos.
To complete the look, set up a clothesline nearby with wooden clothespins, allowing guests to hang their printed photos as they dry. This display will serve as a growing gallery throughout the event, showcasing the fun memories being made.
Don't forget to provide markers so guests can write captions on their photos, just like on real Polaroids.
Chalkboard Charm
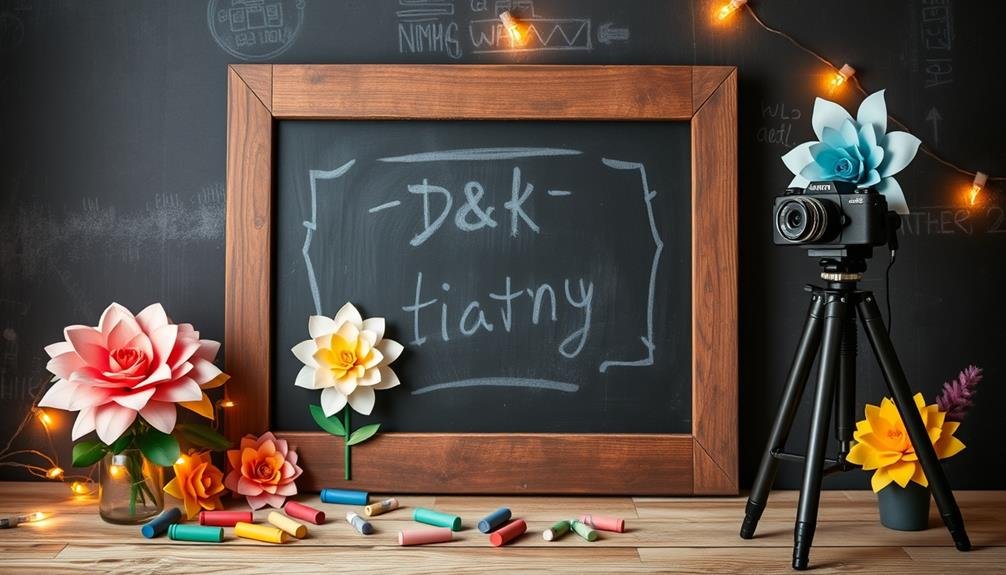
While chalkboards might seem old-school, they're making a comeback as a charming and versatile photo booth backdrop. You can easily create this look by painting a large piece of plywood with chalkboard paint, which costs around $10 for a quart. Once dry, frame the board with reclaimed wood or a simple DIY frame for added character.
The beauty of a chalkboard backdrop lies in its customization potential. You can change the design for each event or even allow guests to contribute their own drawings or messages. Provide colorful chalk for a vibrant contrast against the black surface.
Consider adding fairy lights around the frame for a soft, warm glow that enhances photos.
To complete your chalkboard photo booth, create props using smaller chalkboards on sticks. Guests can write their own messages or draw funny accessories. Don't forget to include a few pre-written signs with witty phrases or the event's hashtag.
This interactive element encourages creativity and guarantees each photo is unique. With its low cost and high impact, a chalkboard photo booth will be a hit at your next event.
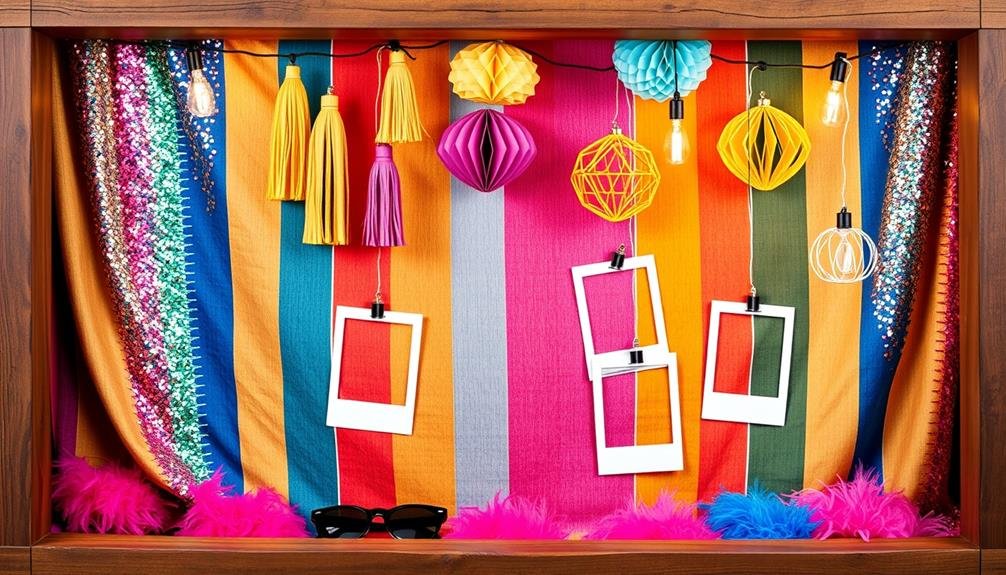
Glittery Gold Glamour
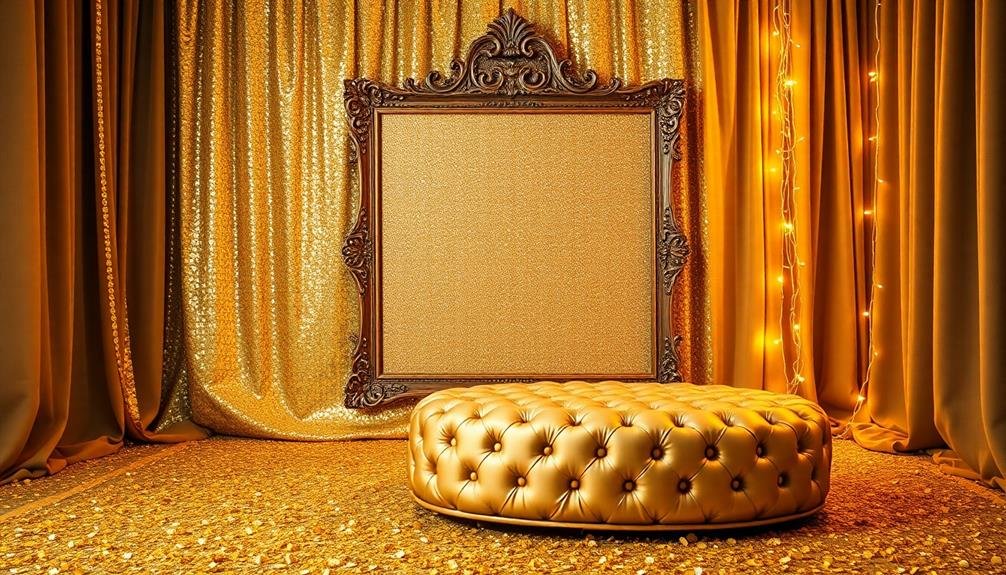
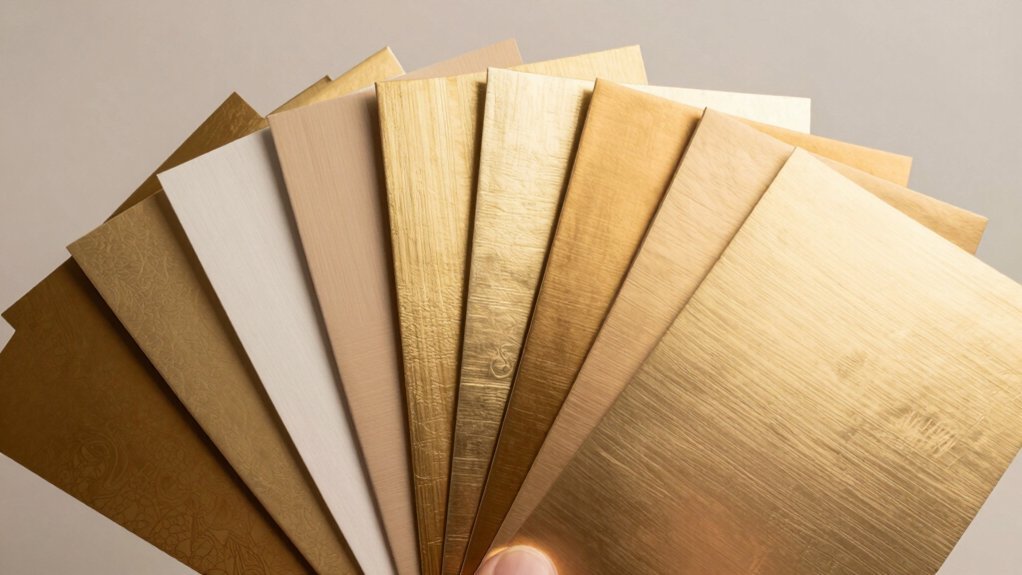
A touch of gold can instantly elevate your DIY photo booth, adding a glamorous sparkle without breaking the bank. To create a glittery gold backdrop, start by hanging a large piece of gold sequin fabric or a gold metallic fringe curtain. You'll find these materials at party supply stores or online retailers for around $20-$30.
Complement the backdrop with gold-painted picture frames, which guests can use as props.
For added flair, incorporate these golden elements:
- Gold balloons: Create a balloon arch or scatter them around the booth area for a festive touch.
- Gold confetti: Sprinkle some on a table near the booth for guests to toss during photos.
- Gold washi tape: Use it to decorate props or create geometric patterns on plain surfaces.
Don't forget the lighting! Warm string lights or battery-operated LED strips can enhance the golden glow.
Encourage guests to dress up with inexpensive gold accessories like boas, tiaras, and oversized sunglasses. With these affordable touches, you'll transform your photo booth into a dazzling golden paradise that'll have everyone feeling like a star.
Rustic Wood Wonderland
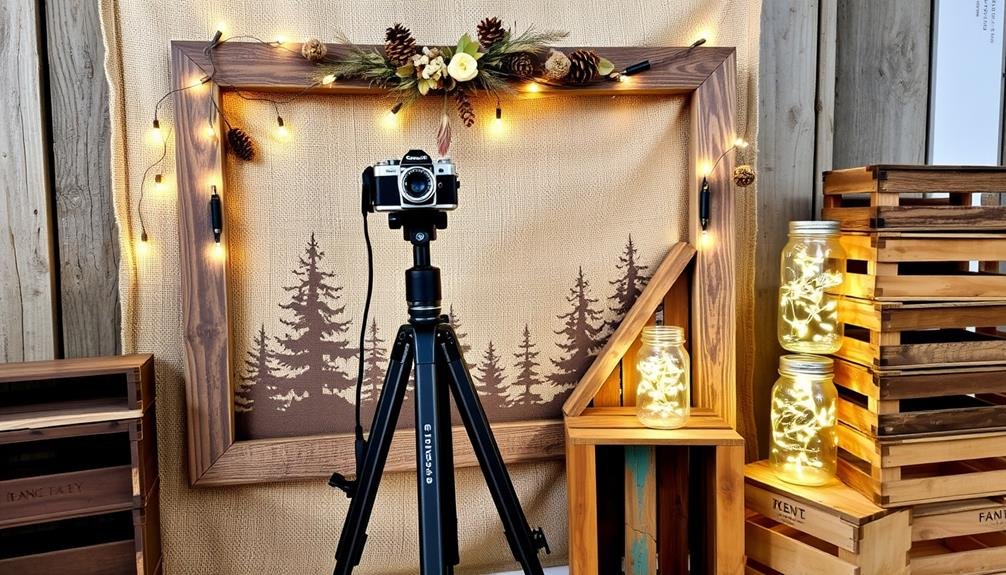
Transform your photo booth into a rustic wood wonderland with a reclaimed wood frame design.
You'll create a charming, natural backdrop by repurposing old wooden pallets or barn wood.
Enhance the rustic theme with natural element accents like pinecones, dried flowers, or twine garlands to complete the woodland-inspired look.
Reclaimed Wood Frame Design
Crafting a rustic photo booth frame out of reclaimed wood can transport your guests into a charming woodland wonderland. This DIY project not only saves money but also adds a unique, eco-friendly touch to your event.
To create this rustic masterpiece, you'll need to source reclaimed wood from local salvage yards, construction sites, or even old barns.
Once you've gathered your materials, follow these steps to build your frame:
- Sand the wood pieces to remove splinters and rough edges.
- Cut the wood to size, creating a rectangular frame that's about 6 feet tall and 4 feet wide.
- Assemble the frame using wood glue and screws for added stability.
After construction, enhance your photo booth's woodland theme by adding natural elements like pinecones, twigs, or faux moss.
Hang fairy lights or lanterns to create a warm, inviting glow. For a finishing touch, consider attaching a chalkboard sign where guests can write messages or hashtags.
This reclaimed wood frame design offers a perfect backdrop for capturing memories while keeping costs low and sustainability high. Your guests will love the rustic charm and unique photo opportunities this booth provides.
Natural Element Accents
Nature-inspired accents can elevate your rustic wood photo booth to create a truly enchanting woodland experience. Add moss, pinecones, and twigs to your frame for an authentic forest feel. Hang delicate fairy lights to create a magical ambiance, and incorporate faux flowers or dried botanicals for a pop of color. Don't forget to include some whimsical woodland creatures like wooden cutouts of deer, owls, or foxes.
For a budget-friendly approach, forage for materials in your backyard or local park. You'll be amazed at the beautiful elements you can find for free. Consider using seasonal items to match your wedding theme or the time of year. Here's a quick guide to natural elements you can incorporate:
| Spring | Summer | Fall |
|---|---|---|
| Flowers | Seashells | Leaves |
| Grass | Driftwood | Acorns |
| Branches | Succulents | Pumpkins |
Remember to seal any fresh elements to prevent wilting or shedding during the event. With these natural accents, you'll transform your photo booth into a whimsical woodland retreat that'll have your guests lining up to capture magical memories.
Neon Light Extravaganza
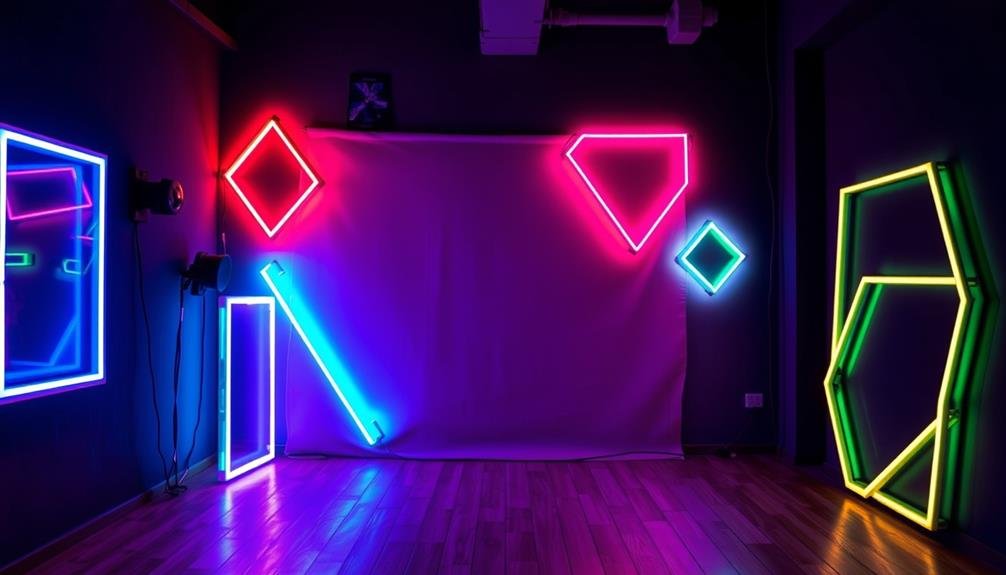
Bring the '80s back with a neon light extravaganza for your photo booth. This vibrant and eye-catching backdrop will have your guests lining up to snap their photos. You don't need to break the bank to create this electrifying effect.
Start by purchasing affordable LED neon-style lights or EL wire from online retailers or discount stores. These flexible light strips come in various colors and can be easily shaped to form words, shapes, or abstract designs.
To create your neon wonderland, follow these steps:
- Plan your design: Sketch out your ideas, including words, shapes, or patterns you want to incorporate.
- Secure a backdrop: Use a dark-colored fabric or board to make the neon lights pop.
- Attach the lights: Use clear adhesive hooks or zip ties to secure the lights to your backdrop.
For added flair, incorporate glow sticks, UV face paint, or fluorescent accessories for your guests to use in their photos.
Don't forget to dim the surrounding lights to maximize the neon effect. With a bit of creativity and careful planning, you'll create a photo booth that's sure to be the highlight of your event.
Frequently Asked Questions
How Long Does It Take to Set up a DIY Photo Booth?
You'll find DIY photo booth setup times vary. Simple designs take 30 minutes to an hour, while more elaborate setups might require 2-3 hours. Plan ahead, gather materials, and enlist help to speed up the process.
What Camera Equipment Is Best for a Homemade Photo Booth?
For your homemade photo booth, you'll want a DSLR or mirrorless camera with a wide-angle lens. Don't forget a sturdy tripod, good lighting, and a remote shutter. A tablet or laptop can help with instant viewing and printing.
How Can I Ensure Proper Lighting for Photo Booth Pictures?
You'll need bright, even lighting for great photo booth pictures. Use a mix of soft box lights and ring lights to eliminate shadows. Position lights at 45-degree angles to the subjects. Don't forget a diffuser for flattering results.
Are There Any Photo Booth Apps for Instant Printing?
Yes, there are several photo booth apps for instant printing. You'll find options like Simple Booth, Snapbar, and Party Booth. They're easy to use and can connect to wireless printers, letting you print photos instantly at your event.
What's the Ideal Size for a Photo Booth Space at a Reception?
You'll want a photo booth space of about 5×5 feet for a comfortable experience. It's enough room for props and 2-3 people to pose. Don't forget to account for equipment and a backdrop when planning.
In Summary
You've now got a treasure trove of DIY photo booth ideas that'll transform your reception without breaking the bank. Whether you're going for vintage charm, rustic elegance, or modern glam, there's an option that'll fit your style. Don't be afraid to mix and match elements to create something truly unique. With a little creativity and elbow grease, you'll have a photo booth that'll leave your guests talking long after the event's over. Get snapping!

I’m Sarah, the creator and writer behind this site. I’m a wife and a mother of two wonderful kids who keep me on my toes and inspire me daily. My passion lies in creating and organizing memorable events and group activities, where people can come together and make lasting memories.

Leave a Reply