You can create stunning DIY wedding invitations on a shoestring budget by choosing a style that reflects your love story. Start with high-quality cardstock and essential tools like a paper cutter and adhesives. Design your invitations using a cohesive color palette and fonts that match your theme. Craft step-by-step, from cutting paper to adding embellishments, and consider money-saving hacks like digital printing and simplified designs. Enlist friends to help with assembly and use everyday items for decoration. With creativity and resourcefulness, you'll craft invitations that capture your unique romance and set the tone for your special day. Discover how to make your vision a reality without breaking the bank.
Key Takeaways
- Choose budget-friendly materials like lightweight cardstock and simple envelopes to reduce costs.
- Opt for digital printing or handwriting instead of expensive letterpress or engraving techniques.
- Simplify designs to minimize ink usage, sticking to one or two colors for efficiency.
- Repurpose everyday items like twine, dried flowers, or buttons for unique, cost-effective decorations.
- Enlist friends and family to help with assembly, saving money on professional services.
Choosing Your DIY Invitation Style
Selecting the perfect invitation style is the first step in your DIY wedding invitation journey. Consider your wedding theme, color palette, and personal preferences when choosing your design. Popular styles include rustic, minimalist, romantic, vintage, and modern. Each style offers unique elements that can reflect your personality as a couple.
For a rustic look, opt for kraft paper and twine accents. Minimalist designs feature clean lines and simple typography. Romantic invitations often incorporate floral motifs and delicate script fonts. Vintage styles might include lace details or Art Deco-inspired patterns. Modern invitations typically showcase bold geometric shapes and contemporary fonts.
Don't be afraid to mix elements from different styles to create a unique design that's truly your own. Consider the printing method you'll use, such as digital printing, letterpress, or foil stamping. Each technique offers distinct advantages and can affect your overall design.
Remember to factor in your budget and time constraints when selecting a style. Some designs may require more intricate DIY work or specialized materials. Choose a style that you can realistically execute while still capturing the essence of your special day.
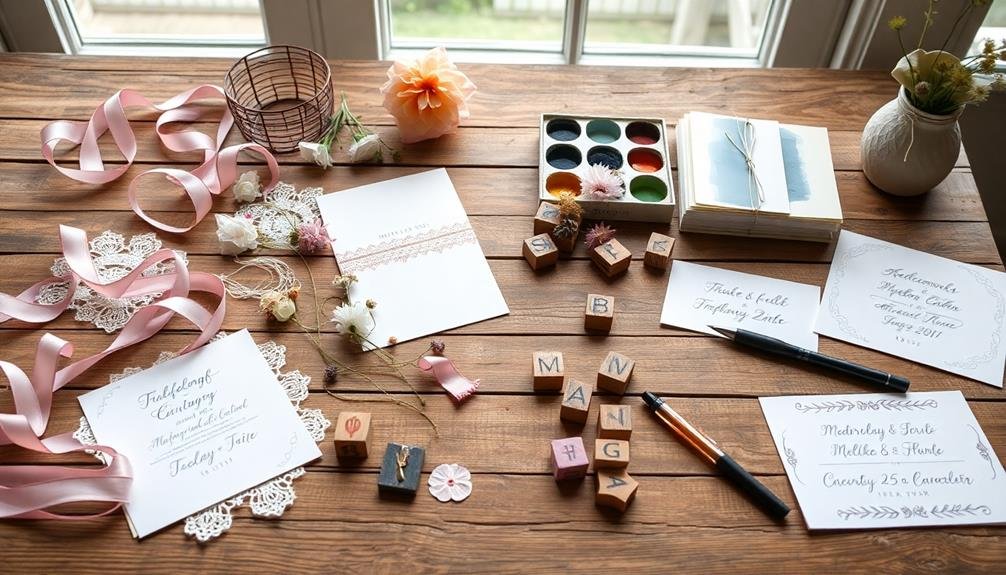
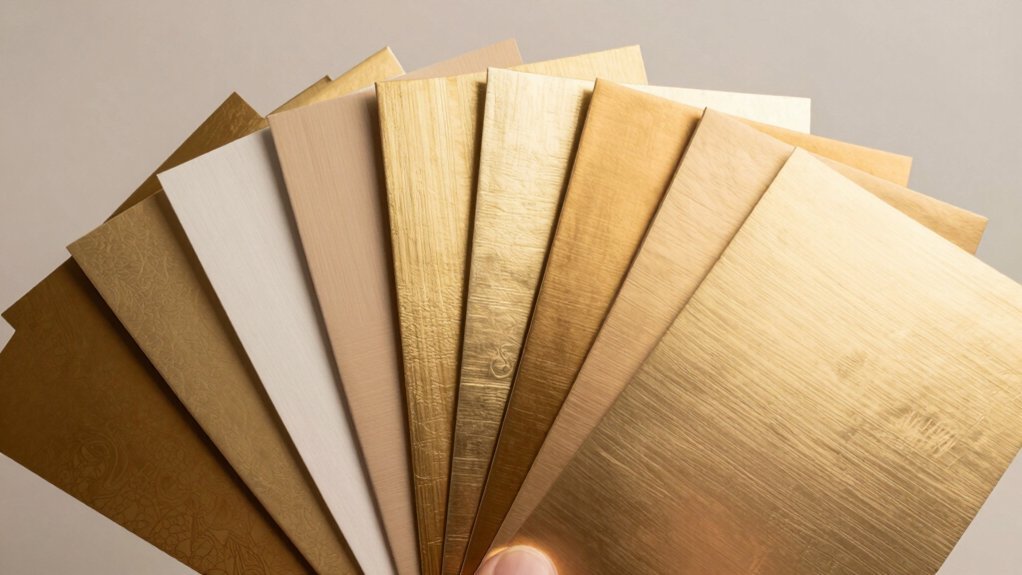
Essential Materials and Tools
Gather your supplies before diving into your DIY wedding invitation project. You'll need high-quality cardstock in your chosen colors, envelopes, and decorative elements like ribbons or lace.
Don't forget adhesives, such as double-sided tape or glue sticks. For printing, invest in a reliable printer with archival-quality ink.
Essential tools include a paper cutter for clean, straight edges, and scissors for intricate details. A bone folder helps create crisp folds, while a ruler guarantees precise measurements.
If you're incorporating calligraphy, get calligraphy pens or markers in appropriate colors.
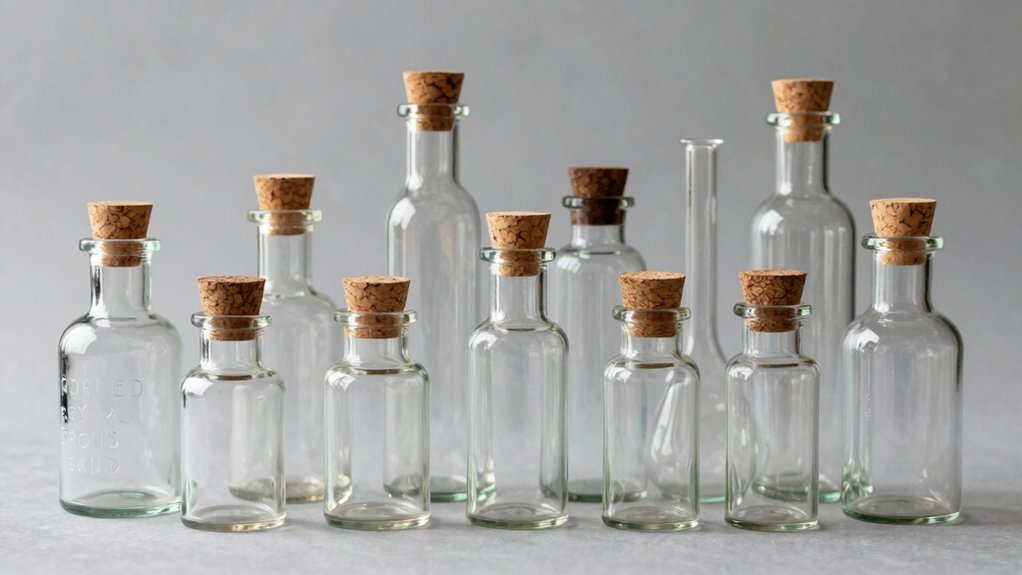
For embellishments, consider acquiring a craft punch, embossing powder and heat gun, or rubber stamps. These can add unique touches to your invitations. If you're including RSVP cards, remember to purchase postage stamps.
Keep your workspace organized with containers for small items and a cutting mat to protect surfaces.
Have a computer with design software for creating your invitation layout, or use pre-made templates. Finally, don't underestimate the importance of scrap paper for testing layouts and techniques before working on your final invitations.
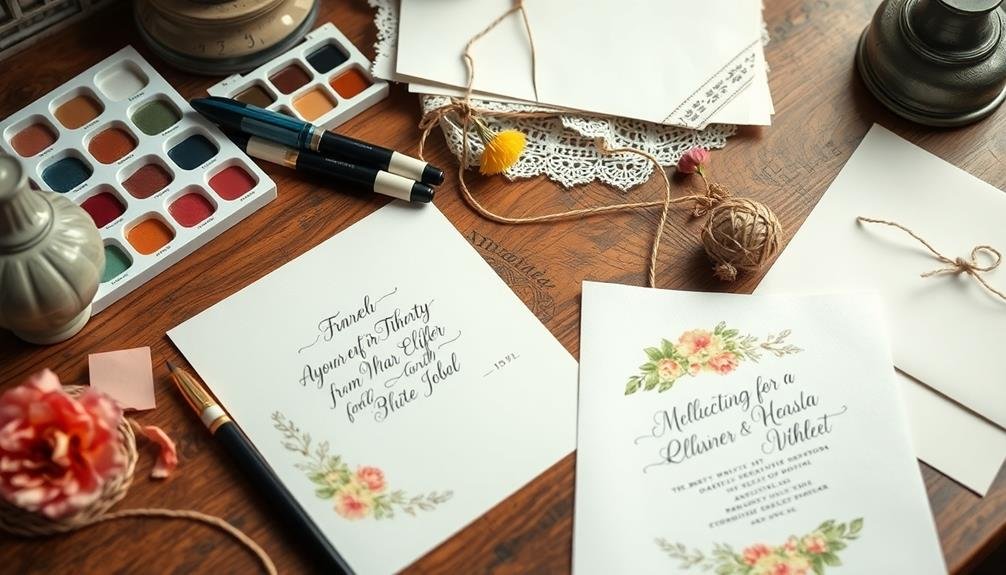
Design Tips for Stunning Invitations

When creating stunning DIY wedding invitations, it's important to focus on design elements that reflect your personal style and set the tone for your special day.
Start by choosing a color palette that complements your wedding theme. Stick to two or three main colors for a cohesive look. Consider using a mix of fonts to add visual interest, but limit yourself to two or three to maintain readability.
Incorporate meaningful symbols or motifs that represent your relationship or shared interests. These could be floral elements, geometric shapes, or custom illustrations.
Don't forget to leave plenty of white space to prevent your design from feeling cluttered. Use high-quality paper stock to give your invitations a luxurious feel without breaking the bank.
Experiment with different layouts and compositions to find the perfect balance of text and design elements. Consider adding texture with embossing, letterpress, or foil accents for a touch of elegance.
If you're feeling creative, try watercolor washes or hand-lettering to add a personal touch. Remember to proofread your text carefully and verify all important details are included.
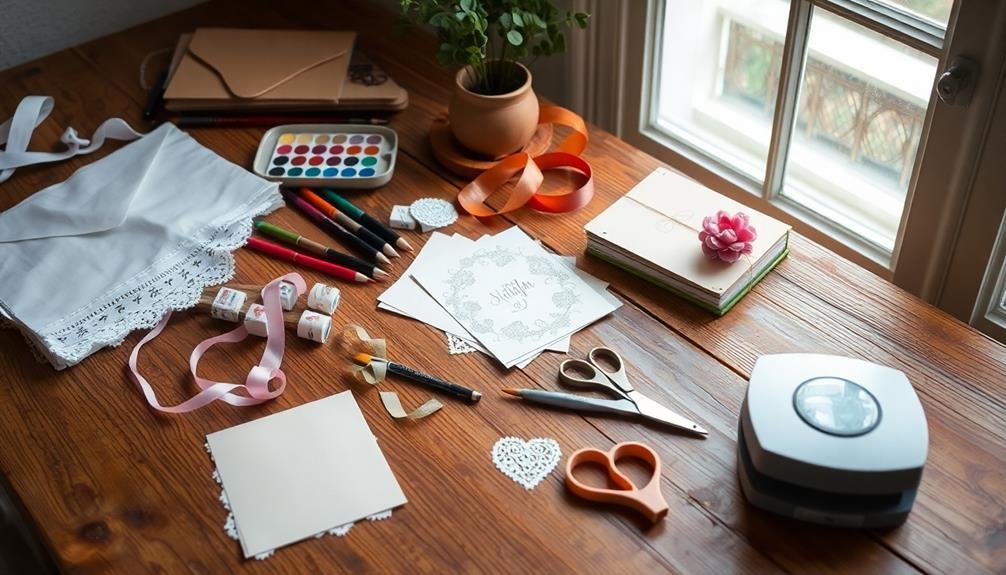
Step-by-Step Crafting Guide
Immerse yourself in the crafting process with this step-by-step guide for creating your DIY wedding invitations. Begin by gathering all necessary materials, including cardstock, envelopes, and decorative elements. Next, set up your workspace with proper lighting and a clean, flat surface.
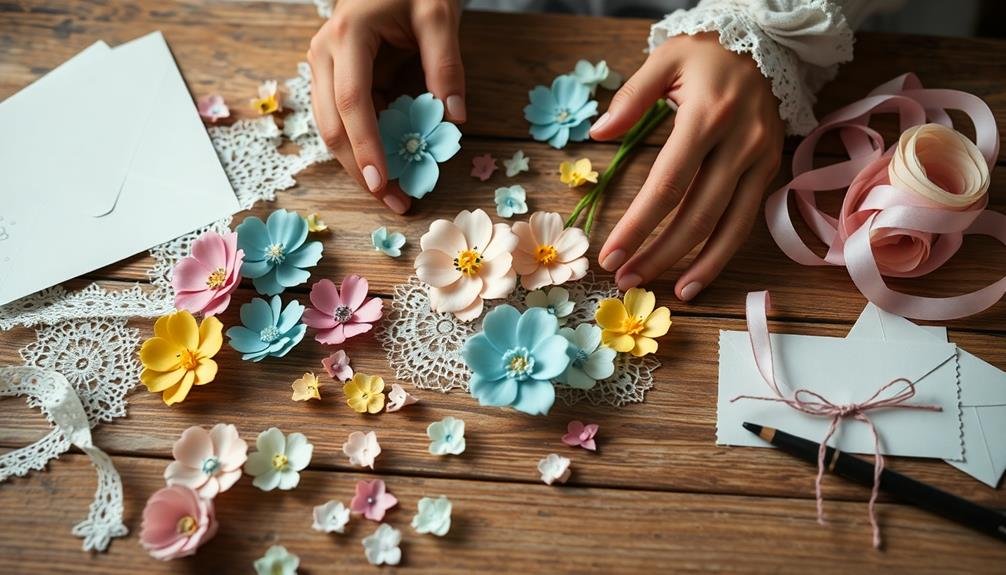
Start by cutting your cardstock to the desired size and shape. Then, print or handwrite your invitation text onto the cardstock. Add embellishments like ribbons, lace, or pressed flowers to enhance the design. Don't forget to include essential details like RSVP information and directions to the venue.
Here's a quick reference table for your DIY invitation process:
| Step | Action | Time Estimate |
|---|---|---|
| 1 | Gather materials | 1-2 hours |
| 2 | Design layout | 2-3 hours |
| 3 | Cut cardstock | 30-60 minutes |
| 4 | Print/write text | 1-2 hours |
| 5 | Add embellishments | 2-3 hours |
After completing your invitations, carefully package them in envelopes and address them. Consider adding a personal touch with custom wax seals or hand-stamped designs. Finally, take them to the post office for proper postage and mailing. With patience and creativity, you'll craft beautiful invitations that reflect your unique love story.
Money-Saving Tricks and Hacks

Crafting your own invitations can be a fun and rewarding experience, but it's also an opportunity to save money on your wedding expenses. To maximize your savings, consider these clever tricks and hacks.
First, opt for digital printing instead of letterpress or engraving. It's notably cheaper and still looks professional. Use a high-quality home printer or find a local print shop for bulk discounts.
Choose lighter-weight paper to reduce postage costs, but verify it's still sturdy enough for mailing.
Simplify your design to minimize ink usage and printing complexity. Stick to one or two colors and avoid full-bleed designs.
Consider using a postcard format instead of traditional folded invitations to save on paper and envelopes.
Repurpose everyday items for decorative elements. Use doilies, twine, or washi tape for embellishments.
Create your own envelope liners using patterned scrapbook paper. For RSVP cards, use pre-stamped postcards to save on return postage.
Lastly, enlist friends and family to help with assembly. Host a crafting party to make the process more enjoyable and efficient while keeping costs down.
Frequently Asked Questions
How Far in Advance Should I Start Making DIY Wedding Invitations?
You should start making DIY wedding invitations at least 4-6 months before your wedding date. This gives you ample time to design, gather materials, create prototypes, and produce the final invitations without feeling rushed or stressed.
Can I Include Registry Information on My DIY Wedding Invitations?
It's best not to include registry information on your wedding invitations. You'll want to keep invitations focused on the celebration. Instead, share registry details on your wedding website or through word of mouth when guests inquire.
What's the Best Way to Address DIY Invitations for a Formal Wedding?
You'll want to use formal titles and full names on outer envelopes. Write "Mr. and Mrs." for married couples, "Miss" or "Ms." for single women, and "Mr." for men. Include middle names and suffixes when appropriate.
How Do I Handle Last-Minute Guest List Changes With DIY Invitations?
For last-minute guest list changes, you'll need to act quickly. Print extra invitations or create simple inserts with updated information. You can also use digital methods like email or wedding websites to communicate changes to your guests efficiently.
Are There Any Eco-Friendly Options for DIY Wedding Invitations?
You'll find plenty of eco-friendly options for DIY wedding invitations. Use recycled paper, soy-based inks, or seed paper that guests can plant. Consider digital invitations or minimalist designs to reduce waste. Opt for local, sustainable materials whenever possible.
In Summary
You've now got all the tools to create beautiful, budget-friendly wedding invitations that'll wow your guests. Remember, your DIY invites aren't just pieces of paper; they're the first glimpse into your special day. Don't be afraid to let your personality shine through. With patience and creativity, you'll craft invitations that perfectly capture your love story. So gather your materials, put on some music, and enjoy this special part of your wedding journey. Happy crafting!

I’m Sarah, the creator and writer behind this site. I’m a wife and a mother of two wonderful kids who keep me on my toes and inspire me daily. My passion lies in creating and organizing memorable events and group activities, where people can come together and make lasting memories.

Leave a Reply