You can create stunning cinematic wedding videos on a budget by mastering lighting techniques, investing in essential equipment, and utilizing creative camera angles. Leverage your smartphone's capabilities, enhance audio quality affordably, and incorporate slow-motion effects for added drama. Edit like a pro using free software and maximize free stock resources to fill any gaps. Collaborate with talented friends to expand your capabilities without breaking the bank. By focusing on these key areas, you'll capture the magic of the day without compromising quality. With these insider tricks up your sleeve, you're well on your way to producing professional-level wedding videos that will be cherished for years to come.
Key Takeaways
- Leverage natural lighting and golden hour for stunning visuals without expensive lighting equipment.
- Utilize affordable stabilization tools like monopods and smartphone gimbals for smooth, professional-looking footage.
- Capture high-quality audio with budget-friendly external microphones and strategic placement during key moments.
- Incorporate creative camera techniques and angles to add visual interest without additional cost.
- Maximize free stock resources and collaborate with talented friends to enhance production value without increasing expenses.
Master the Art of Lighting
Almost nothing impacts the quality of your wedding video more than lighting. To achieve a cinematic look on a budget, you'll need to master the art of using available light and affordable lighting tools.
Start by scouting your venue in advance, noting where natural light enters and how it changes throughout the day. Plan your shots around these areas to maximize the beautiful, soft light that windows provide.
Invest in a few affordable LED panels, which can dramatically improve your footage in dimly lit spaces. Position them strategically to create depth and dimension in your shots.
Don't forget to use bounce cards or reflectors to redirect light and fill in shadows – these are inexpensive yet highly effective tools.
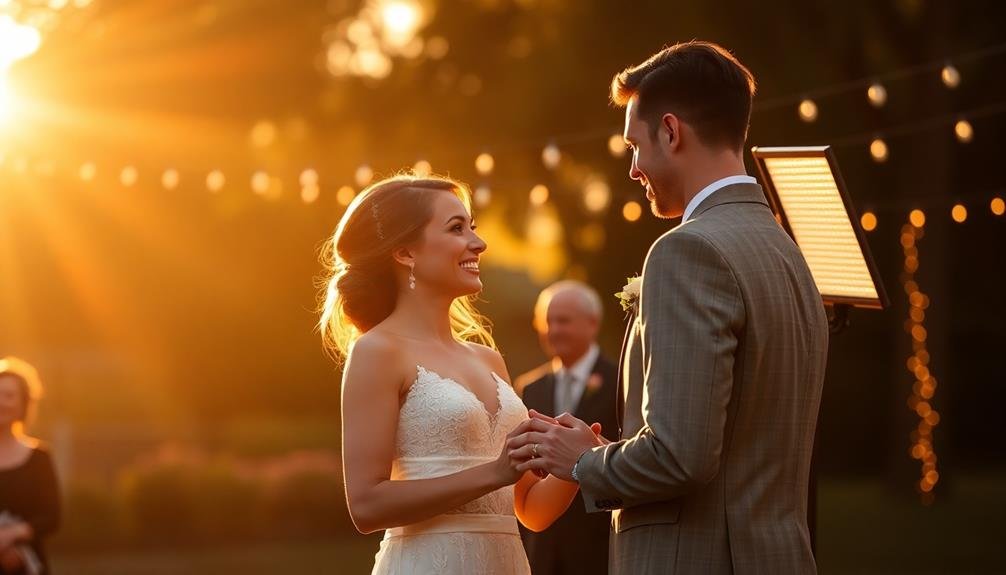
During outdoor scenes, golden hour is your best friend. Schedule key moments like couple portraits just before sunset to capture that warm, flattering glow.
For indoor receptions, use fairy lights or candles to create a romantic ambiance that looks stunning on camera.
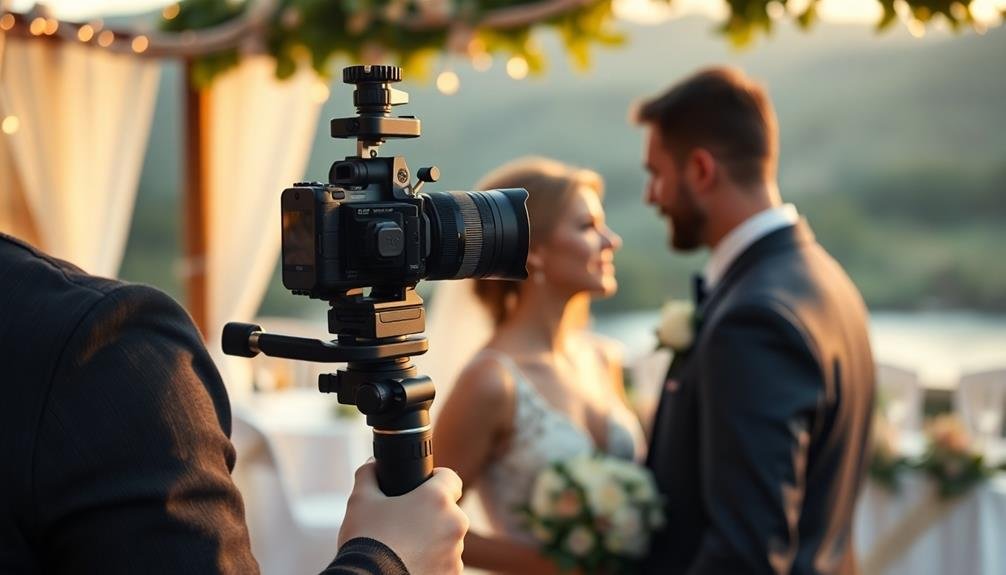
Invest in Essential Equipment

When investing in essential equipment for cinematic wedding videos, focus on your camera and lenses first.
You'll want to prioritize a quality camera body with good low-light performance and versatile lenses that can capture both wide shots and close-ups.
For smooth, professional-looking footage, consider affordable stabilization solutions like a basic gimbal or monopod to elevate your production value without breaking the bank.
Prioritize Camera and Lenses
What's the most essential investment for creating cinematic wedding videos on a budget? It's certainly your camera and lenses. While you don't need the latest high-end gear, you should prioritize a camera that shoots in at least 1080p resolution and offers manual controls.
Look for models with good low-light performance, as many wedding venues have challenging lighting conditions.
For lenses, focus on versatility. A fast prime lens (e.g., 50mm f/1.8) is excellent for capturing crisp, cinematic shots with beautiful bokeh. Pair this with a zoom lens (24-70mm or 70-200mm) for flexibility during the ceremony and reception.
If possible, rent high-quality lenses for the wedding day to elevate your footage without breaking the bank.
Don't forget about stabilization. If your camera lacks built-in stabilization, consider investing in a gimbal or steadicam. These tools will help you achieve smooth, professional-looking shots that are vital for a cinematic feel.
Affordable Stabilization Solutions
Now that you've considered your camera and lenses, let's focus on affordable stabilization solutions. Smooth, steady footage is essential for a cinematic look, but professional stabilizers can be expensive.
Fortunately, there are budget-friendly options that can greatly improve your video quality. Start with a basic tripod for static shots. Look for one with a fluid head for smoother pans and tilts.
For moving shots, consider a monopod with feet, which offers stability and mobility. If you're shooting handheld, a shoulder rig can help distribute the camera's weight and reduce shake.
For more dynamic movement, try a gimbal stabilizer. While high-end models are pricey, there are affordable options for smartphones and lightweight cameras.
Alternatively, a DIY stabilizer using PVC pipes can be surprisingly effective. Don't overlook software stabilization. Many editing programs offer this feature, which can enhance your footage in post-production.
Combine this with careful handheld techniques, like using your body as a shock absorber and keeping your movements slow and deliberate.
Lastly, practice with your chosen stabilization method before the big day. Familiarity with your equipment will lead to smoother, more professional-looking results.
Utilize Creative Camera Angles
Creative camera angles can transform your budget wedding video into a cinematic masterpiece. You don't need expensive equipment to achieve this effect; instead, focus on composition and perspective.
Try shooting from low angles to make subjects appear more powerful or dramatic. Conversely, high-angle shots can create a sense of vulnerability or intimacy.
Experiment with Dutch angles by tilting your camera slightly off-axis to add tension or visual interest to certain scenes. Use foreground elements to frame your subjects, adding depth and dimension to your shots.
Don't be afraid to get close for tight, emotional closeups during key moments like the vows or first dance.
Incorporate dynamic movement by using a slider or even a wheeled office chair for smooth tracking shots. Capture unique perspectives by mounting your camera on a monopod and raising it high above the crowd.
For wide establishing shots, find elevated positions like balconies or stairs.
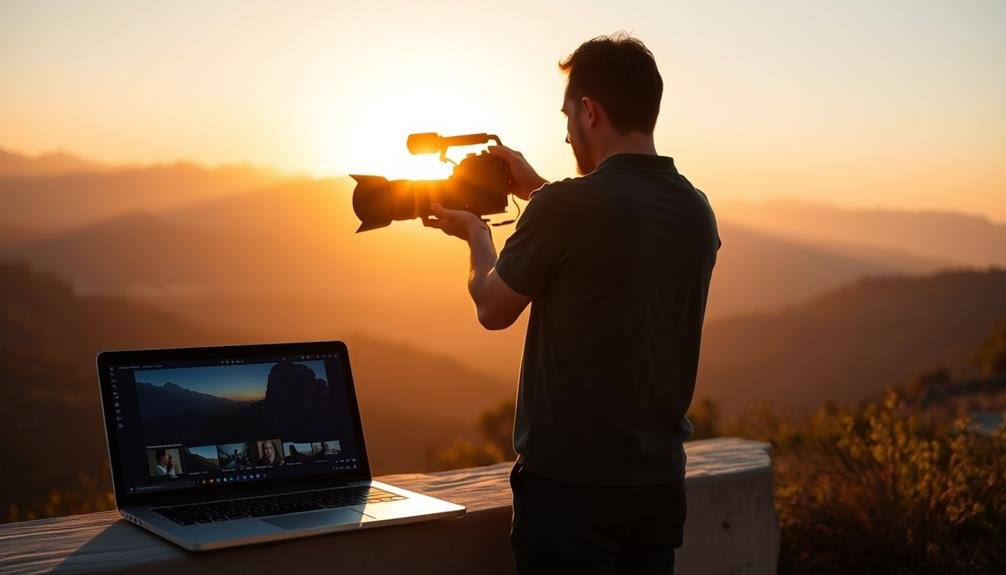
Leverage Smartphone Filming Techniques
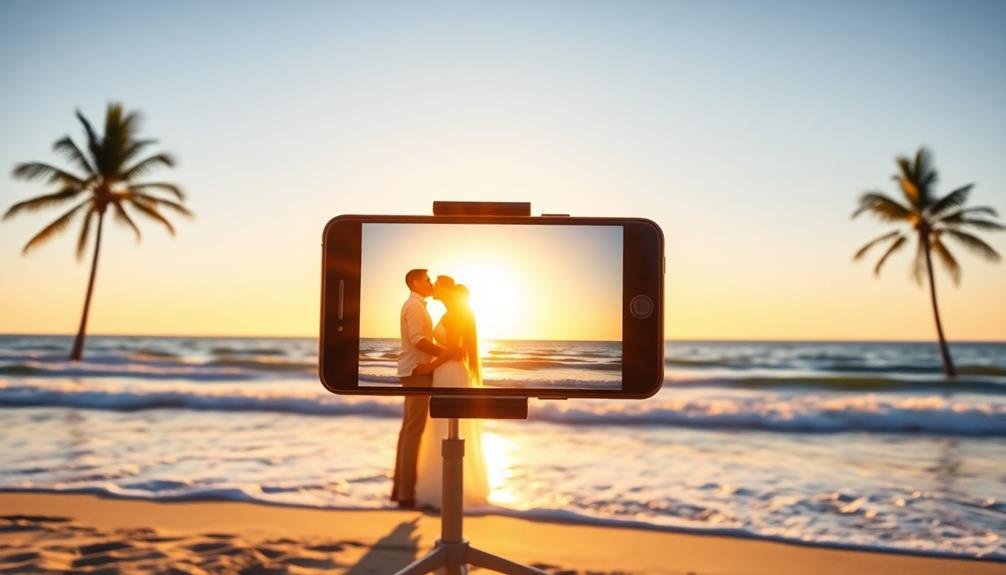
Today's smartphones pack impressive video capabilities, making them valuable tools for budget-conscious wedding videographers. You can capture high-quality footage without breaking the bank by mastering smartphone filming techniques.
Start by ensuring your phone is set to its highest video resolution and frame rate. Experiment with manual controls for exposure, focus, and white balance to achieve a more professional look.
To stabilize your shots, invest in an affordable smartphone gimbal or use a makeshift stabilizer like a selfie stick. Take advantage of your phone's built-in features, such as time-lapse and slow-motion modes, to add variety to your wedding video.
Don't forget to use external microphones for better audio quality, as sound is essential for capturing vows and speeches.
Here are some key smartphone filming techniques to remember:
- Use the rule of thirds for composition
- Lock exposure and focus before recording
- Shoot in landscape mode for a cinematic look
- Utilize natural light whenever possible
- Keep your shots steady and avoid digital zoom
Enhance Audio Quality Affordably
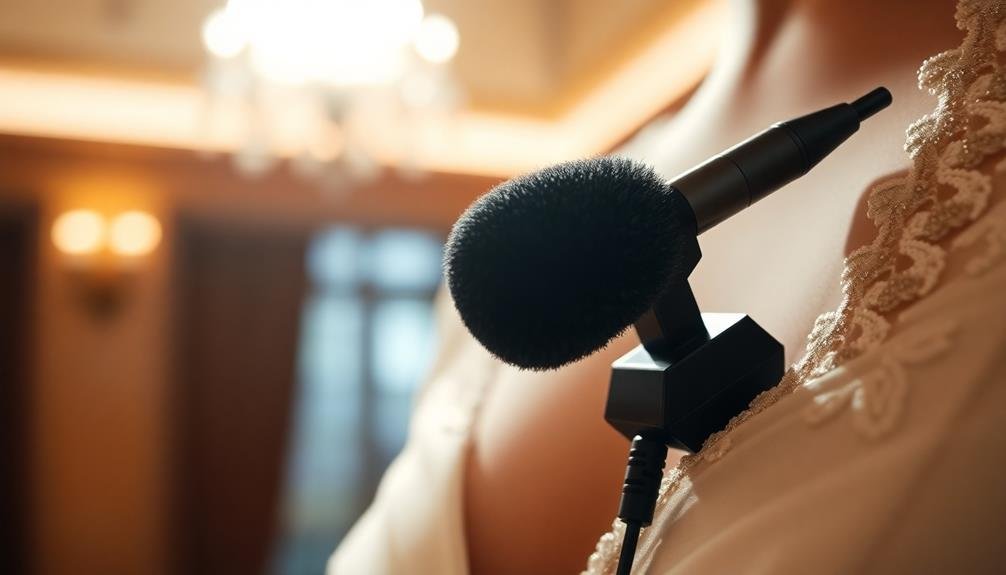
With great visuals, you'll also need excellent audio to create a truly cinematic wedding video. Fortunately, you can enhance your audio quality without breaking the bank. Start by investing in an affordable external microphone that connects to your smartphone or camera.
Lavalier mics are excellent for capturing clear dialogue during speeches and vows, while shotgun mics work well for ambient sound.
Position your microphones strategically to capture the best possible audio. Place them close to the sound source, but out of frame. During the ceremony, consider hiding small clip-on mics on the officiant and couple. For reception speeches, use a mic stand or have someone hold the microphone near the speaker.
Don't forget about post-production audio enhancements. Use free or low-cost editing software to clean up background noise, adjust levels, and add subtle music beds. You can find royalty-free music online to complement your footage without copyright issues.
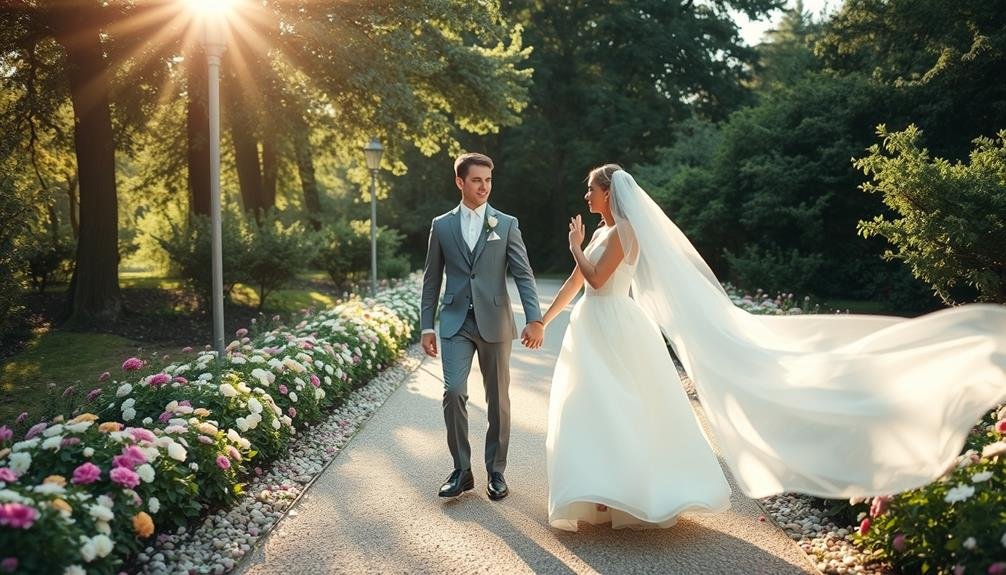
Embrace Natural Settings

Now that you've got your audio covered, let's focus on maximizing your visual impact. Embracing natural settings is a cost-effective way to elevate your wedding video's cinematic quality. Instead of renting expensive studio spaces, utilize the beauty of your surroundings.
Natural light is your best friend, offering a soft, flattering glow that expensive lighting setups struggle to replicate. Scout locations beforehand, looking for areas with interesting textures, colors, and backgrounds that complement the couple's style.
Consider these natural settings for stunning shots:
- Parks or gardens with lush greenery
- Beaches with golden hour lighting
- Urban landscapes with unique architecture
- Rustic barns or fields for a countryside feel
- Forests with dappled sunlight through trees
When working with natural settings, timing is essential. Plan your shoot during the golden hour – just after sunrise or before sunset – for the most flattering light.
Encourage the couple to interact naturally with their environment, capturing genuine moments that tell their story. Remember, a beautiful natural backdrop can make even simple shots look expensive and cinematic, allowing you to create a stunning wedding video without breaking the bank.
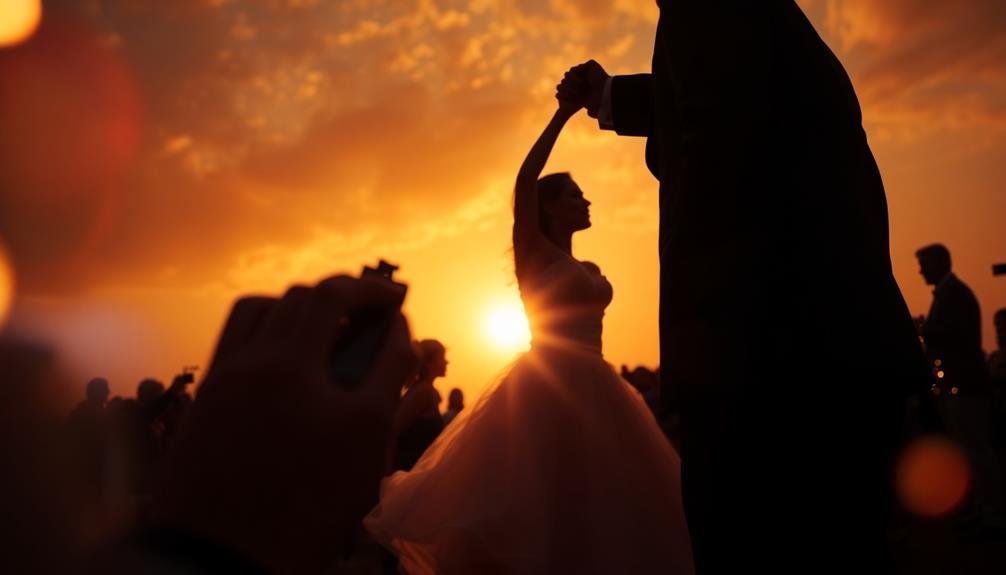
Incorporate Slow Motion Effects
Slow motion effects can elevate your wedding video's cinematic quality without breaking the bank.
You'll want to use slowmo for emotional moments, like the couple's first kiss or the bride walking down the aisle.
To capture these shots, you'll need a camera capable of high frame rates, and you'll edit the footage in post-production to achieve the desired slow motion effect.
When to Use Slowmo
Incorporating slow motion effects can dramatically enhance the emotional impact of your wedding video, but it's crucial to use this technique judiciously. Overusing slow motion can make your video feel sluggish and detract from its overall quality.
Instead, focus on key moments that deserve emphasis and extra attention.
When deciding where to use slow motion, consider these prime opportunities:
- The bride's walk down the aisle
- The couple's first kiss as newlyweds
- The first dance
- Tossing of the bouquet or garter
- Candid reactions during speeches or vows
Equipment for Slow Motion
To achieve stunning slow motion effects in your wedding video, you'll need the right equipment. While high-end cameras can capture slow motion at 120 frames per second (fps) or higher, you can still create impressive results with more affordable options.
Look for a camera that shoots at least 60 fps, which allows for smooth half-speed slow motion. Many DSLR and mirrorless cameras offer this capability, including budget-friendly models like the Canon Rebel series or Sony a6000. If you're using a smartphone, newer iPhones and Android devices can often shoot 120 fps or even 240 fps.
Stabilization is vital for slow motion footage. Consider investing in a gimbal or steadicam to keep your shots smooth. The DJI Ronin-SC or Zhiyun Crane series are excellent choices for DSLR and mirrorless cameras, while smartphone gimbals like the DJI OM 5 work well for mobile shooters.
Lighting is another important factor. Slow motion requires faster shutter speeds, which means you'll need more light.
Portable LED panels can provide the extra illumination you need without breaking the bank. Look for options with adjustable color temperature to match various lighting conditions.
Editing Slow Motion Footage
Once you've captured your slow motion footage, it's time to bring it to life in post-production. Start by importing your clips into your editing software and placing them on the timeline. Adjust the playback speed to achieve the desired slow-motion effect, typically between 40% to 60% of the original speed.
Remember that slowing down footage too much can result in choppy or pixelated video, so find the sweet spot that maintains smooth motion.
To enhance your slow-motion scenes, consider these techniques:
- Add a subtle zoom or pan effect to create movement
- Use color grading to set the mood and enhance visuals
- Incorporate smooth shifts between normal and slow-motion clips
- Layer ambient sound or music to complement the visuals
- Apply subtle motion blur for a dreamier effect
When editing slow-motion footage, pay attention to the audio. You'll need to detach the original audio and either remove it entirely or adjust its speed to match the slowed-down video.
Often, adding a carefully chosen music track or ambient sound can elevate the emotional impact of your slow-motion scenes.
Edit Like a Pro
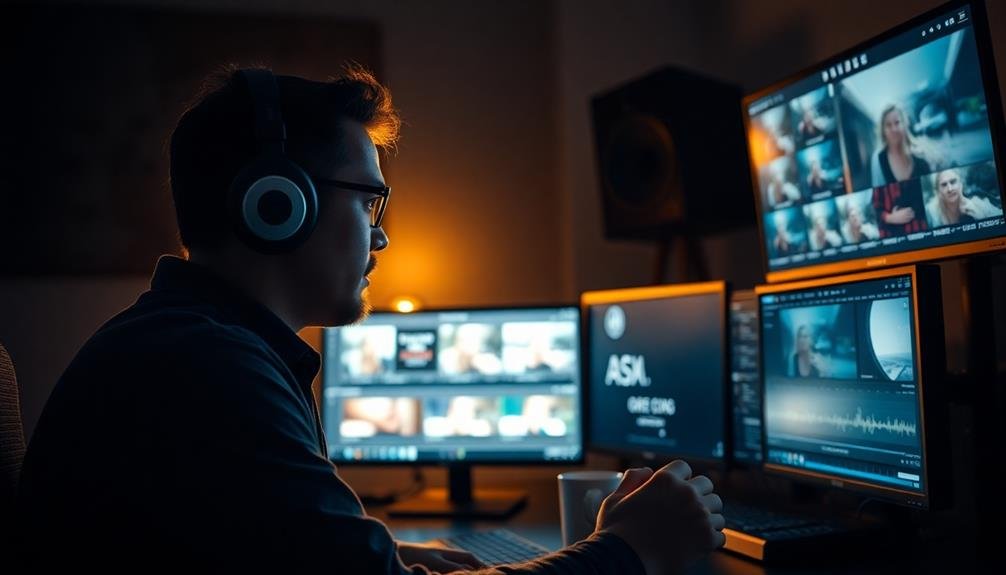
The editing process can make or break your wedding video. To edit like a pro without breaking the bank, focus on mastering a few key techniques. First, learn to trim your footage ruthlessly. Cut out any shaky or poorly lit shots, and keep only the best moments. This will instantly elevate your video's quality.
Next, pay attention to pacing. Alternate between slower, emotional scenes and faster, more dynamic ones to keep viewers engaged. Use J-cuts and L-cuts to create smooth shifts between clips, making your video flow seamlessly.
Color grading is another essential aspect. Invest time in learning basic color correction techniques to guarantee consistent colors throughout your footage. Many free or low-cost editing software options offer powerful color grading tools.
Don't neglect audio. Clean up any background noise and adjust levels to guarantee clear, crisp sound. Consider adding subtle background music to enhance the emotional impact of key moments.
Maximize Free Stock Resources
In spite of your limited budget, you can still enhance your wedding video with high-quality stock footage and resources. Numerous websites offer free stock video clips, music, and sound effects that can elevate your production value without breaking the bank. Search for royalty-free content that complements your wedding's theme and style.
When using free stock resources, remember to:
- Verify licensing terms to confirm proper usage
- Mix stock footage seamlessly with your original content
- Choose high-resolution clips that match your video quality
- Use stock music as background tracks or to fill audio gaps
- Incorporate sound effects to enhance emotional impact
Don't limit yourself to just video and audio. Many sites provide free graphics, changes, and templates that can add a professional touch to your wedding video.
Look for lower thirds, title sequences, and animated overlays that suit your aesthetic. Remember to customize these elements to maintain consistency with your overall style.
Collaborate With Talented Friends
Reaching out to friends with relevant skills can greatly boost your wedding video's quality without breaking the bank. Look for friends who've experience in videography, photography, or audio production. They might be willing to lend their expertise as a wedding gift or for a reduced rate.
Consider enlisting a friend with a steady hand to operate a second camera, capturing different angles and moments you might miss. If you know someone skilled in audio engineering, ask them to help with sound recording and mixing. This can greatly improve your video's overall quality, as clear audio is vital for wedding films.
Don't forget about post-production. A friend with video editing skills can help polish your footage, add changes, and create a more professional-looking final product. If you know someone talented in graphic design, they could create custom titles or animations to enhance your video.
Remember to be respectful of your friends' time and skills. Offer something in return, like a trade of services or a thoughtful gift. Clear communication about expectations and deadlines is important to maintain both the quality of your video and your friendships.
Frequently Asked Questions
How Long Should a Cinematic Wedding Video Typically Be?
You'll typically want your cinematic wedding video to be 5-10 minutes long. This length captures the day's highlights without overwhelming viewers. However, you can create a longer version for personal keepsakes if you'd like more detailed coverage.
What Software Is Best for Editing Wedding Videos on a Budget?
You'll find DaVinci Resolve ideal for budget wedding video editing. It's free, powerful, and professional-grade. If you're comfortable with simpler tools, try OpenShot or Kdenlive. For paid options, consider Filmora or Adobe Premiere Elements.
How Can I Legally Use Copyrighted Music in My Wedding Video?
You can't legally use copyrighted music without permission. Instead, consider purchasing royalty-free music licenses, using creative commons tracks, or commissioning original music. Some wedding packages include licensed music options. Always respect copyright laws when creating videos.
What's the Ideal Timeline for Delivering the Final Wedding Video to Clients?
You'll want to deliver the final wedding video to your clients within 4-8 weeks after the event. It's essential to set clear expectations upfront and communicate any delays. Aim for a balance between quality and timeliness.
How Do I Handle Difficult Lighting Situations During Indoor Wedding Ceremonies?
You'll face lighting challenges in indoor ceremonies. Use fast lenses, increase ISO, and bring portable LED lights. Position yourself strategically to capture available light. Don't forget to white balance. Practice beforehand to perfect your low-light shooting skills.
In Summary
You've now got the tools to create stunning wedding videos without breaking the bank. Remember, it's not about expensive gear, but your creativity and skills. Practice these techniques, experiment with different styles, and don't be afraid to think outside the box. With patience and dedication, you'll soon be producing cinematic masterpieces that rival professional work. Your couples will cherish these beautiful memories for a lifetime, all thanks to your budget-friendly expertise.

I’m Sarah, the creator and writer behind this site. I’m a wife and a mother of two wonderful kids who keep me on my toes and inspire me daily. My passion lies in creating and organizing memorable events and group activities, where people can come together and make lasting memories.


Leave a Reply