You can create a unique wedding album on a budget with these DIY print ideas. Set up a photo booth for fun strips, use Polaroid-style prints for instant memories, or transfer photos onto wood slices for rustic charm. Get creative with fabric-printed memories, personalized photo coasters, and vintage-inspired postcard prints. Acrylic photo blocks offer a modern touch, while miniature photo book charms make sentimental gifts. These DIY options not only save money but also add a personal touch to your wedding memories. Explore these ideas to discover how you can craft a one-of-a-kind album that captures your special day perfectly.
Key Takeaways
- Create a DIY photo booth with instant prints using a portable printer for an interactive and budget-friendly album addition.
- Design wooden photo transfers using gel medium and laser-printed photos for a rustic, personalized touch to your album.
- Utilize Polaroid-style prints with guest messages for a nostalgic and affordable keepsake that doubles as decor.
- Make personalized photo coasters as unique album inserts that serve as practical mementos and conversation starters.
- Craft vintage-inspired postcard prints for a timeless feel, incorporating them into your album or as standalone keepsakes.
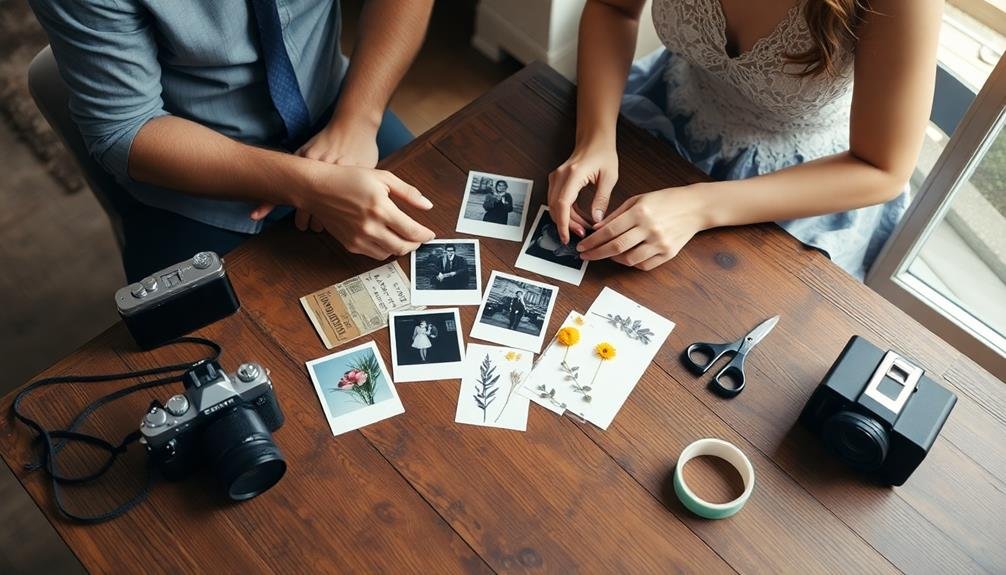
DIY Photo Booth Strips

Photo booths' popularity at weddings shows no signs of waning, but you don't need to rent an expensive setup. Instead, create your own DIY photo booth strips for a unique and budget-friendly addition to your wedding album.
Start by designating a space with good lighting and a plain backdrop. Hang a curtain or use a blank wall, and set up a tripod with a digital camera or smartphone.
To mimic the classic photo booth strip look, take a series of four vertical shots in quick succession. You can use props like silly hats, glasses, and signs to encourage guests to get creative. Install a remote shutter release or use a self-timer app to make it easy for guests to operate the camera themselves.
For printing, use a portable photo printer or set up a laptop with a standard printer nearby. Create a template in photo editing software that arranges four vertical images in a strip. You can add your wedding date, names, or a custom design to personalize each strip.
Provide scissors so guests can cut their strips, or use pre-perforated photo paper for a polished look. Display the strips on a clothesline or in a scrapbook for a fun, interactive guest book alternative.
Polaroid-Style Prints
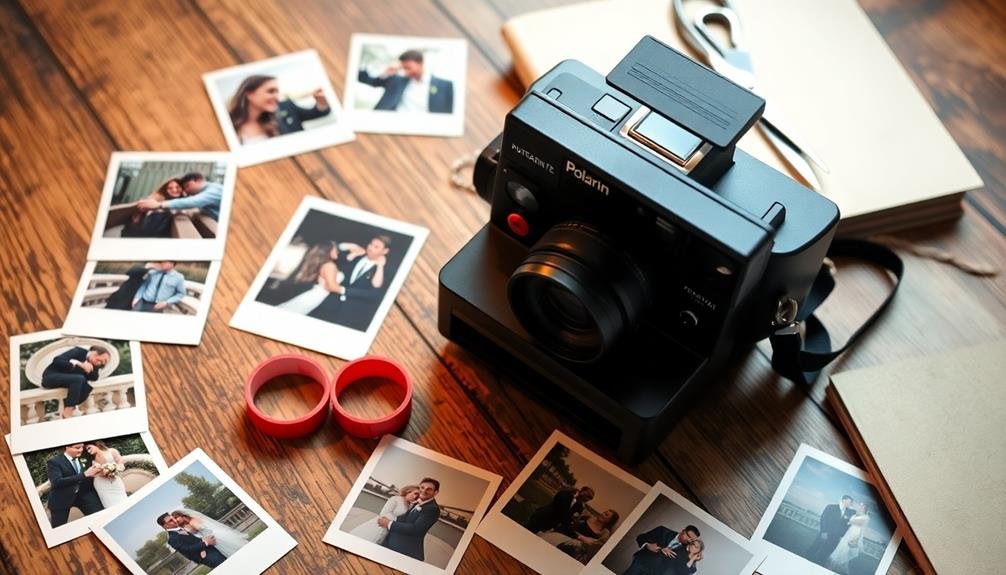
Nostalgia meets modern technology with Polaroid-style prints at weddings. These instant-like photos offer a unique twist on traditional wedding photography, allowing you to capture candid moments and create an interactive experience for your guests.
To achieve this look, you don't need actual Polaroid cameras. Instead, use a digital camera or smartphone with a Polaroid-style filter app. Print the photos on-site using a portable printer with special paper that mimics the classic Polaroid border. This way, you'll get the charm of instant photos without the hassle of film development.
Set up a dedicated area where guests can take their own Polaroid-style shots. Provide props and a backdrop to encourage creativity. Ask guests to write messages on the white border, creating personalized keepsakes for you and them.
Incorporate these prints into your wedding decor by stringing them up with clothespins or arranging them on a display board.
After the wedding, compile the photos into a unique album or scrapbook. You can even create a digital version by scanning the prints, allowing you to share the memories easily with friends and family online.
Wooden Photo Transfers
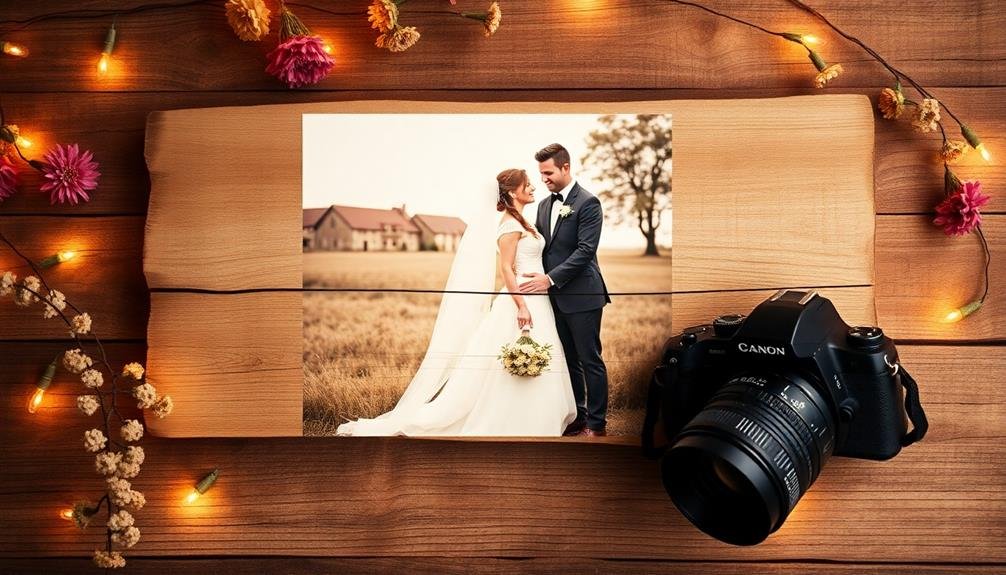
Rustic charm meets modern memories with wooden photo transfers. This unique technique allows you to print your favorite wedding photos directly onto wooden surfaces, creating a warm and organic feel for your album.
You'll need a few supplies to get started: wood slices or panels, gel medium, a laser-printed photo, and some basic tools.
Begin by applying a layer of gel medium to your wooden surface. Place the photo face-down onto the gel and smooth out any air bubbles. Let it dry completely, then dampen the paper and gently rub it away, revealing the image transfer underneath.
Once dry, seal with a clear varnish for protection.
You can create a variety of projects using this method, from individual photo ornaments to a full gallery wall of wooden prints. Mix and match different wood types and sizes for added visual interest.
Consider transferring black and white images for a vintage look, or sepia-toned photos for a timeless feel. This DIY approach not only saves money but also adds a personal touch to your wedding memories, turning them into unique pieces of art you'll treasure for years to come.
Fabric Printed Memories
Transform your wedding photos into soft, touchable keepsakes with fabric printing techniques.
You'll find various methods to transfer your favorite images onto textiles, from iron-on transfers to specialized fabric printers.
Once printed, you can showcase your fabric memories in creative ways, such as quilts, pillows, or even wearable art.
Textile Photo Transfer Techniques
Through the magic of textile photo transfer techniques, you can bring your cherished wedding memories to life on fabric. These methods allow you to imprint your favorite wedding photos onto various textiles, creating unique and personalized keepsakes.
One popular technique is iron-on transfers. You'll print your wedding photos onto special transfer paper using an inkjet printer, then iron them onto fabric items like pillowcases, tote bags, or even quilts.
For a more professional look, try sublimation printing. This process uses heat to transfer dye onto polyester fabrics, resulting in vibrant, long-lasting images.
If you're feeling crafty, explore gel medium transfers. This method involves applying a gel medium to fabric, placing a printed photo face-down on top, and carefully rubbing away the paper backing to reveal the image.
For a vintage feel, experiment with cyanotype printing, which uses sunlight to create beautiful blue-tinted images on fabric.
Don't forget about embroidery transfer pens, which allow you to trace photo outlines onto fabric for unique, hand-stitched interpretations of your wedding memories.
With these textile photo transfer techniques, you'll create one-of-a-kind fabric mementos that'll last for years to come.
Decorative Fabric Display Options
Once you've created your fabric-printed wedding memories, it's time to showcase them in style. Consider creating a unique quilt by stitching together various fabric prints of your favorite wedding moments. This can become a cherished keepsake and a cozy addition to your home.
For a more traditional display, mount your fabric prints on canvas stretchers or wooden frames. You can hang these like paintings or create a gallery wall with different sizes and orientations.
Alternatively, use decorative curtain rods to hang your fabric prints as banners or tapestries.
If you're short on wall space, try incorporating your fabric prints into functional items. Create throw pillows with your wedding photos, or sew them into a table runner for your dining room. You could even make a set of placemats featuring different wedding scenes.
For a portable option, consider creating a fabric photo book. Use interfacing to stiffen the fabric pages and bind them together with ribbons or decorative cords. This allows you to flip through your memories like a traditional album while enjoying the unique texture of fabric prints.
Personalized Photo Coasters
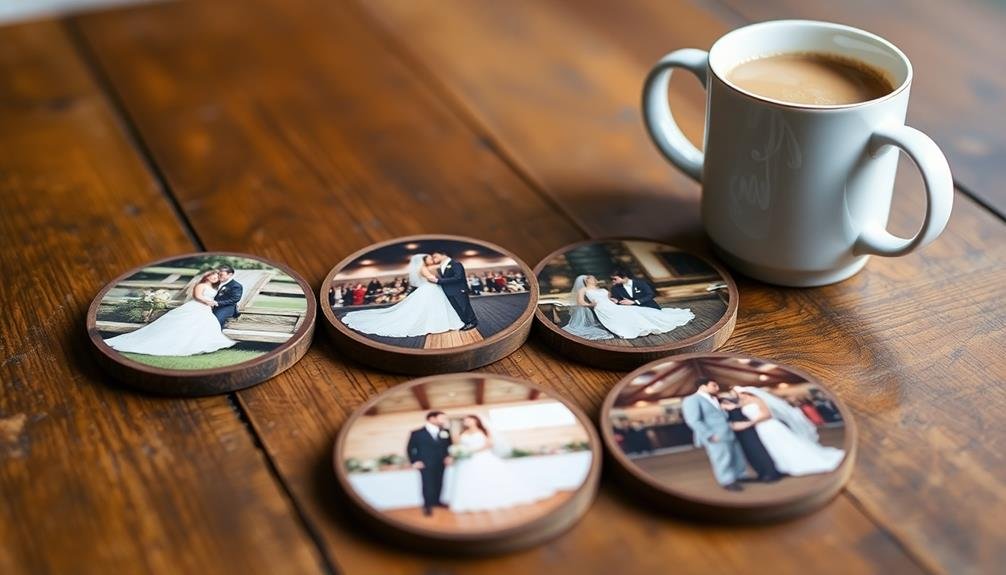
Create lasting reminders of your special day with personalized photo coasters featuring your favorite wedding moments.
You'll have the perfect conversation starters for future gatherings while keeping your furniture protected in style.
Whether you opt for a professional service or tackle a DIY project, these coasters offer a unique way to showcase your cherished memories.
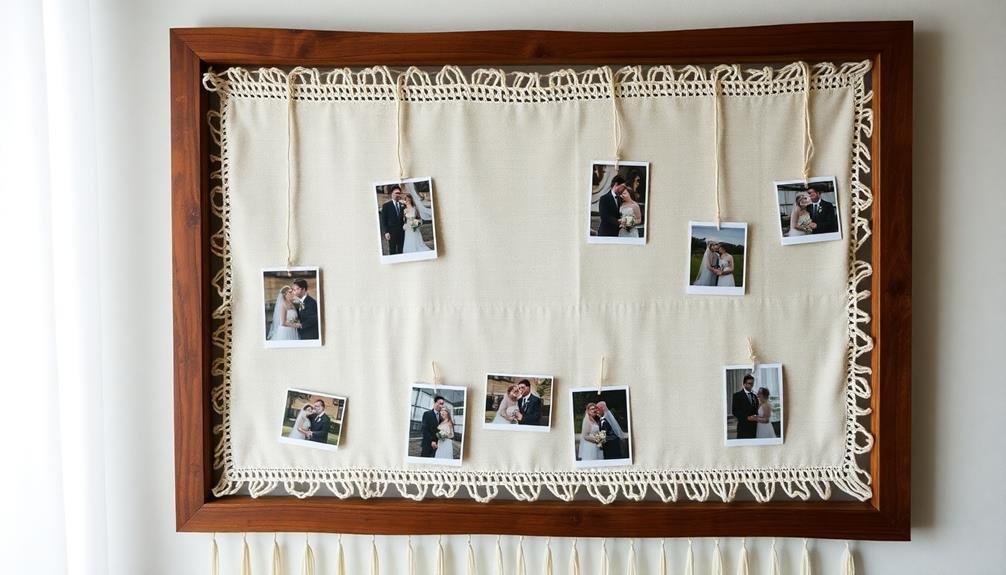
Memorable Moments on Display
Capturing cherished memories doesn't end with the wedding day. To keep those special moments alive, consider creating a dynamic display of your favorite wedding photos. You can use a mix of framed prints, canvas wraps, and acrylic blocks to showcase your most treasured images.
Arrange them on a feature wall in your home, creating a stunning visual narrative of your big day.
For a budget-friendly option, try a DIY photo clothesline. Hang twine across a wall and use decorative clothespins to attach printed photos. This casual, rustic approach allows you to easily swap out images and add new ones over time.
Another affordable idea is to create a photo collage using a large poster frame. Print multiple photos in various sizes and arrange them creatively within the frame.
If you're tech-savvy, consider a digital photo frame that cycles through your wedding images. This modern approach allows you to display hundreds of photos in a single frame, ensuring you'll never tire of the view.
Whatever method you choose, displaying your memorable moments keeps the joy and love of your wedding day fresh in your mind.
DIY Coaster Creation Tips
Another way to showcase your wedding photos while adding a personal touch to your home is through DIY photo coasters. These personalized coasters are both functional and decorative, serving as conversation starters when guests visit.
To create your own, start by selecting your favorite wedding photos and printing them on high-quality photo paper. Cut the photos to fit your chosen coaster base, which can be ceramic tiles, wood slices, or cork rounds.
Apply a thin layer of Mod Podge to the base and carefully place the photo on top, smoothing out any bubbles. Once dry, add several more layers of Mod Podge over the photo for protection. For a glossy finish, apply a coat of clear resin.
To prevent water damage and scratches, attach felt pads or cork to the bottom of each coaster. You can also seal the edges with decorative washi tape or paint for a polished look.
Create sets of four or six coasters featuring different moments from your wedding day. These DIY photo coasters make excellent gifts for family members or keepsakes for your own home, allowing you to relive your special day with every use.
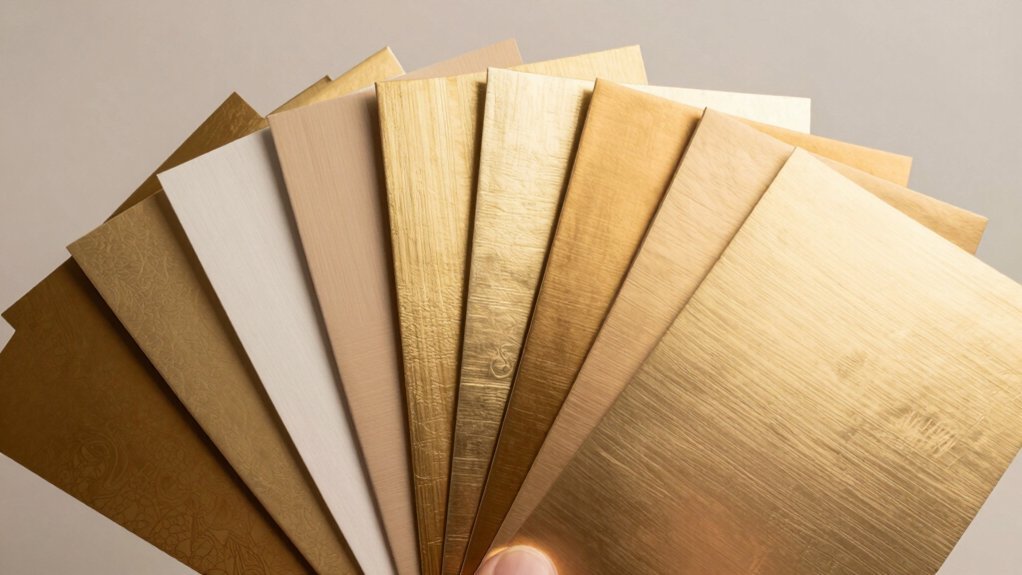
Vintage-Inspired Postcard Prints
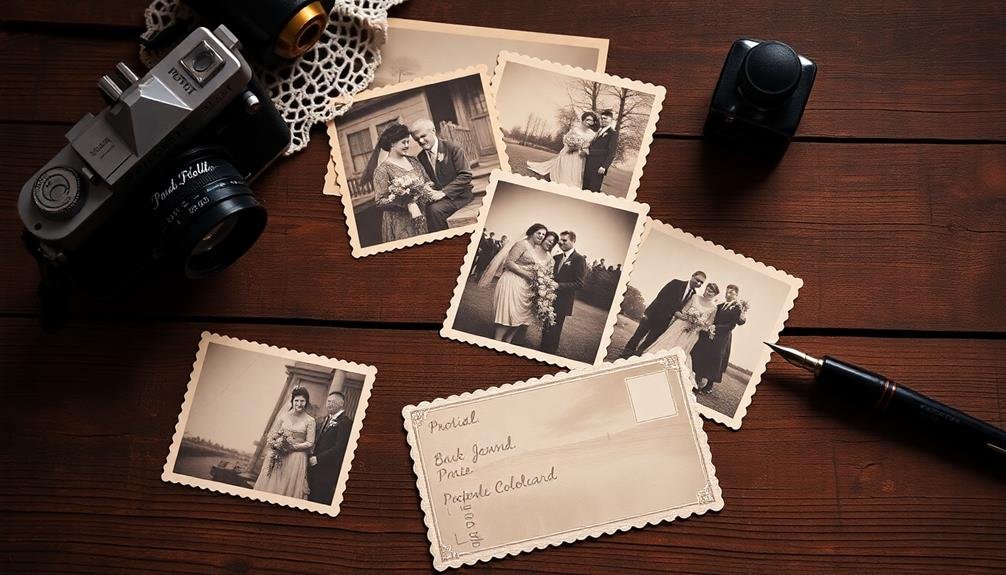
In recent years, vintage-inspired postcard prints have made a charming comeback in wedding photography. These nostalgic prints offer a unique way to showcase your special day while adding a touch of retro elegance to your wedding album.
To create vintage-inspired postcard prints, you'll need to work with your photographer to capture images that have a timeless feel. Opt for sepia or black-and-white filters to enhance the vintage aesthetic. You can also incorporate classic props or choose locations with historic charm to further emphasize the retro vibe.
Once you've selected your favorite images, consider these ideas for transforming them into postcard-style prints:
| Style | Design Elements | Finishing Touches |
|---|---|---|
| Travel-themed | Map backgrounds | Faux postage stamps |
| Art Deco | Geometric patterns | Gold foil accents |
| Victorian | Ornate borders | Calligraphy text |
Don't forget to add personalized messages or wedding details on the back of each postcard print. You can display these prints at your reception, send them as thank-you cards, or compile them into a unique album that tells the story of your wedding day in a vintage-inspired way.
Acrylic Photo Blocks
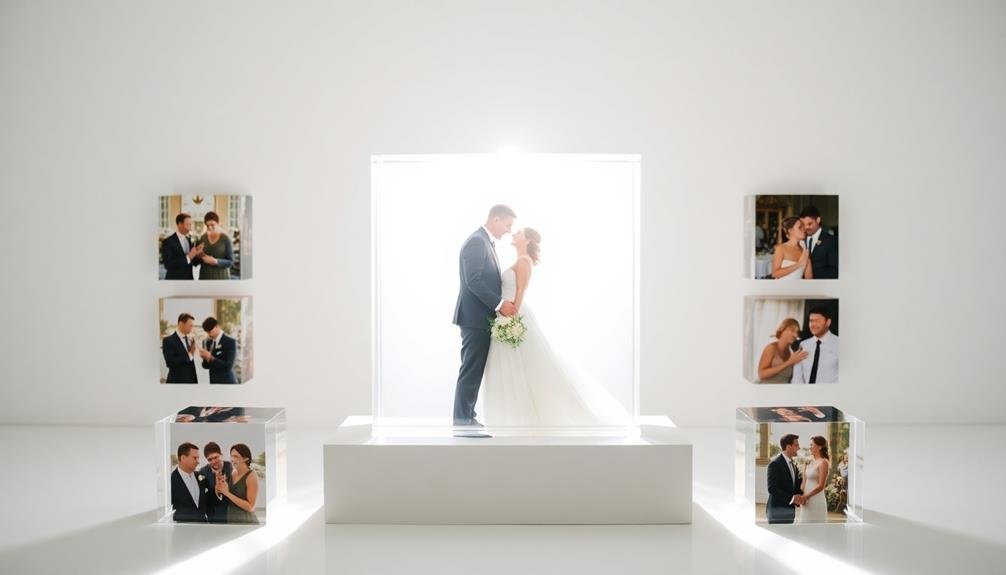
Sleek and modern, acrylic photo blocks offer a contemporary twist on traditional wedding photography displays. These crystal-clear blocks showcase your favorite wedding moments in a unique, three-dimensional format that's sure to catch the eye.
To create acrylic photo blocks, you'll need to select high-resolution images from your wedding day. Choose a mix of portraits, candid shots, and detail photos to tell your story. Once you've picked your favorites, have them printed directly onto the back of clear acrylic sheets.
The result is a stunning, frameless display that appears to float on your wall or shelf. The thickness of the acrylic gives your photos depth and dimension, creating an almost holographic effect. You can opt for various sizes and shapes, from small squares to large panoramic blocks.
Acrylic photo blocks are also versatile in their display options. Stand them on a desk or mantle, hang them on the wall, or create a striking gallery wall with multiple blocks.
They're durable and easy to clean, making them a practical choice for long-term display of your cherished wedding memories.
Miniature Photo Book Charms
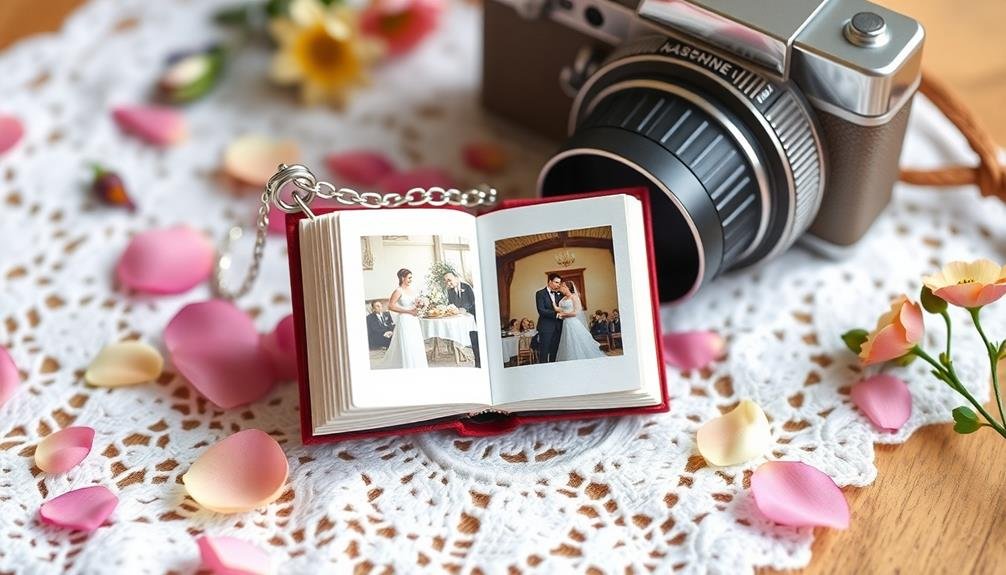
For a more personal and portable way to showcase your wedding photos, consider miniature photo book charms. These tiny, wearable albums are perfect for carrying your favorite memories wherever you go. You can attach them to bracelets, necklaces, or even keychains, making them versatile accessories that double as sentimental keepsakes.
To create these charms, select a handful of your best wedding photos and have them printed in miniature size. Choose a small, book-shaped charm locket that can hold multiple images. Carefully insert the tiny prints into the locket, arranging them in a way that tells your wedding day story.
You can customize the exterior of the charm with engravings, such as your wedding date or initials. For added personalization, consider using different charm shapes like hearts or vintage-style lockets.
These miniature photo book charms make excellent gifts for bridesmaids, family members, or as a special memento for yourself and your spouse. They're an affordable way to keep your cherished memories close at hand while adding a unique touch to your everyday accessories.
Frequently Asked Questions
How Can I Ensure Consistent Photo Quality Across Different Printing Methods?
To guarantee consistent photo quality across printing methods, you'll need to calibrate your monitor, use color profiles, and test print samples. Always work with high-resolution files and choose reputable printers who can maintain quality across different mediums.
What's the Best Way to Organize Photos for a Cohesive Album Theme?
To organize photos for a cohesive album theme, you'll want to start by choosing a central concept. Sort your images by color, mood, or chronology. Group similar shots together and create a narrative flow throughout the album.
Are There Eco-Friendly Options for Wedding Photo Printing and Album Creation?
You'll find plenty of eco-friendly options for wedding photo printing and albums. Consider recycled paper, soy-based inks, and digital alternatives. You can also opt for sustainably sourced materials or choose local printers who prioritize environmentally friendly practices.
How Long Do These Alternative Printing Methods Typically Last?
You'll find alternative printing methods vary in longevity. Some eco-friendly options can last 50-100 years with proper care. Digital albums are virtually permanent, while bamboo or recycled paper prints may last 20-30 years. It's best to research specific methods.
Can I Combine Multiple Printing Techniques in a Single Wedding Album?
You can definitely combine multiple printing techniques in your wedding album. It's a great way to add visual interest and creativity. Mix traditional prints with alternative methods like metal prints or canvas to create a unique, personalized keepsake you'll cherish.
In Summary
You've now got a wealth of creative and budget-friendly ideas to make your wedding album truly unique. Don't be afraid to mix and match these options to create a personalized collection that reflects your style. Remember, it's not about how much you spend, but how you capture and preserve your special memories. With these DIY techniques, you'll have a one-of-a-kind album that you'll cherish for years to come.

I’m Sarah, the creator and writer behind this site. I’m a wife and a mother of two wonderful kids who keep me on my toes and inspire me daily. My passion lies in creating and organizing memorable events and group activities, where people can come together and make lasting memories.

Leave a Reply