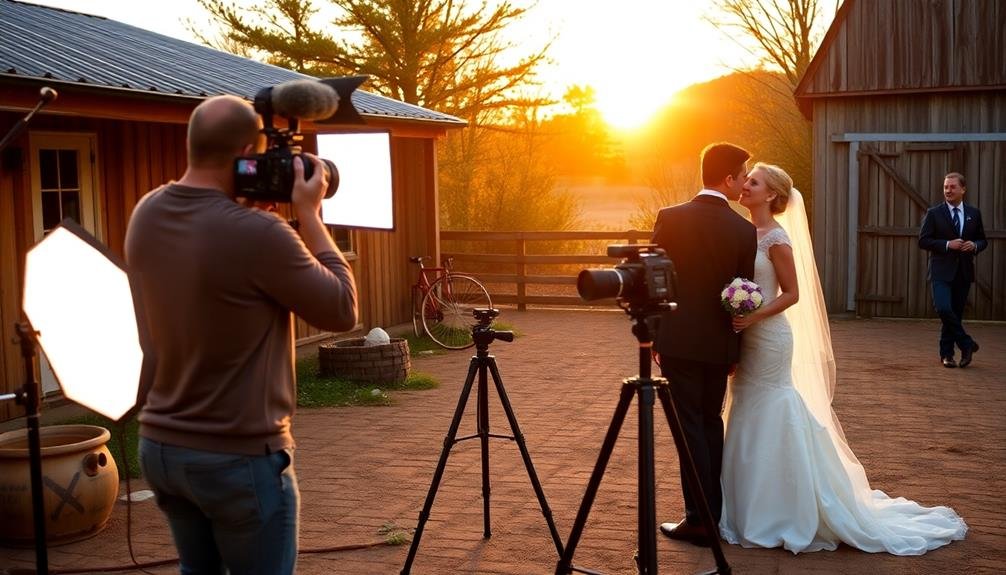
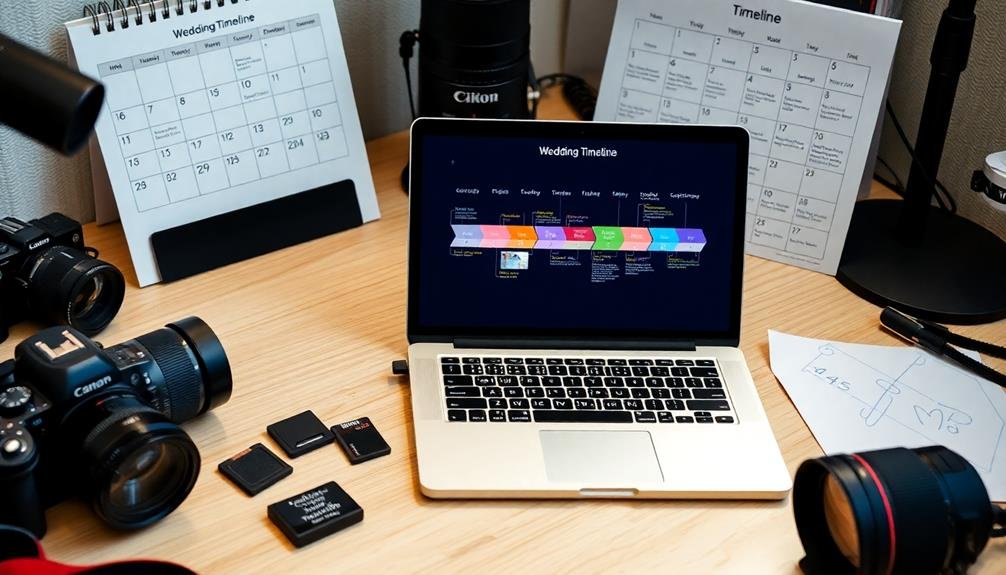
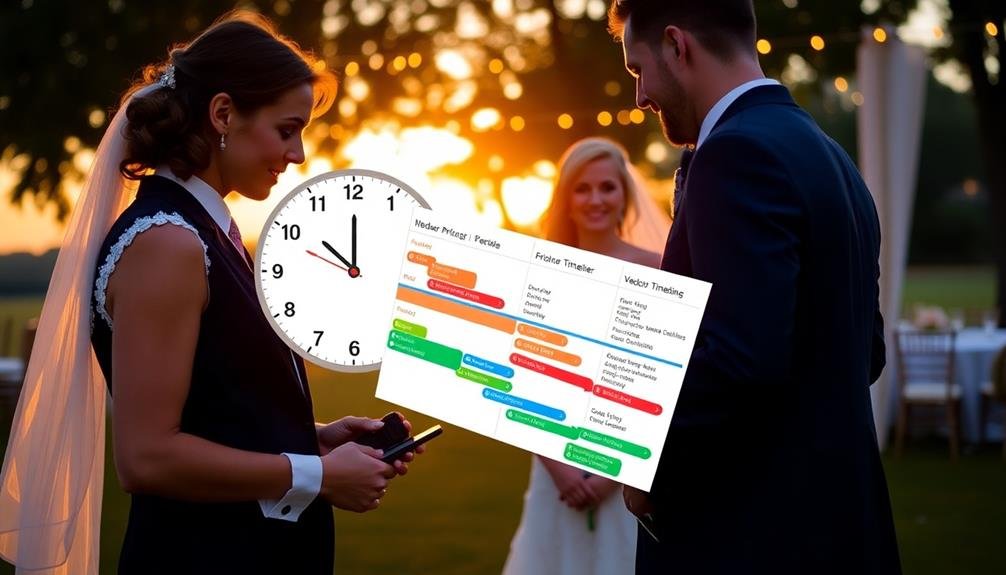
Timeline templates are invaluable tools for budget-conscious wedding photographers and videographers. They provide a structured framework to capture essential moments, optimize your time, and maintain quality while reducing costs. You'll find templates help with event logistics, package offerings, and shooting style coordination. They're also excellent for communication among the couple, vendors, and venues. When choosing a template, consider the wedding day schedule, travel times, and specific client requests. Customize it to match your brand and services. By using these templates, you'll streamline your workflow, maximize efficiency, and guarantee you don't miss any vital shots. Discover how these templates can transform your wedding photography business.
Key Takeaways
- Optimize time and resources by creating a structured timeline that covers essential moments within contracted hours.
- Customize templates based on wedding size, cultural elements, and specific client requests to maximize efficiency.
- Include buffer time for unexpected delays and spontaneous moments to maintain flexibility without compromising coverage.
- Coordinate with other vendors and venue staff to align schedules and ensure smooth transitions between events.
- Prioritize key shots like ceremony highlights, group photos, and reception events to deliver core content on a budget.
Benefits of Timeline Templates
Timeline templates are invaluable tools for budget-conscious couples planning their wedding photography. They provide a structured framework that guarantees you capture all the essential moments of your special day without overspending on unnecessary hours of coverage.
By using a template, you'll optimize your photographer's time, reducing costs while still getting high-quality results. These templates help you prioritize key events and allocate appropriate time for each. You'll avoid rushed shots or missed opportunities, guaranteeing you get the most value from your photography package.
They also serve as a communication tool between you, your photographer, and other vendors, keeping everyone on the same page and minimizing confusion. With a well-planned timeline, you can coordinate seamlessly with your venue, caterers, and other service providers, potentially reducing overtime fees.
It allows for efficient shifts between events, maximizing the number of photos you receive within your budget constraints. Moreover, timeline templates often include expert tips and suggestions, helping you make informed decisions about which moments to emphasize.
This guidance can be especially beneficial if you're unfamiliar with wedding photography logistics, guaranteeing you don't overlook vital shots or waste time on less important details.
Choosing the Right Template
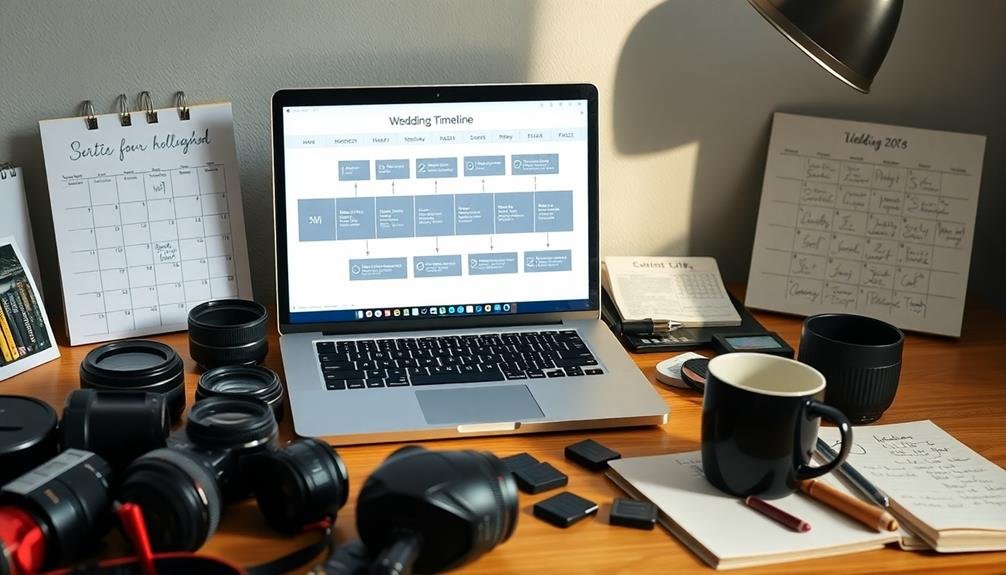
When selecting a wedding photography timeline template, you'll need to assess your event's logistics carefully.
Consider the package offerings from your photographer to guarantee the template aligns with your contracted coverage.
It's also essential to evaluate your preferred shooting style, as this will influence the time allocated for various photo sessions throughout the day.
Assess Event Logistics
Selecting the perfect wedding photography timeline template hinges on a thorough evaluation of your event's logistics. You'll need to contemplate various factors that can impact your shooting schedule.
Start by examining the wedding day's overall timeline, including the ceremony start time, reception duration, and any breaks in between.
Next, evaluate the venue locations. Are the ceremony and reception at the same place, or will you need to factor in travel time? Reflect on the available lighting at each location and how it might change throughout the day. This will help you plan for any necessary equipment adjustments.
Don't forget to account for the couple's specific requests, such as first look photos or sunset portraits. These special moments can greatly influence your timeline.
Also, consider the size of the wedding party and family groups, as larger groups may require more time for formal photos.
Lastly, think about any cultural or religious traditions that may affect the day's flow. Some ceremonies or rituals may take longer than others, impacting your available shooting time.
Consider Package Offerings
Your choice of timeline template should align with the photography package you're offering or have been hired to provide. Consider the scope of services included in each package and select a template that accommodates all necessary activities.
For example, a basic package might only require a simple timeline focusing on key moments, while a thorough package may need a more detailed schedule to cover additional services like getting ready shots or post-ceremony portraits.
When choosing a template, keep these factors in mind:
- Duration of coverage: Confirm the template fits the contracted hours of service
- Included services: Match the timeline to specific elements like engagement shoots or album creation
- Shooting style: Select a template that complements your preferred approach (e.g., photojournalistic vs. posed)
- Client preferences: Customize the template to incorporate any special requests or unique events
Remember that templates are starting points and should be tailored to each couple's specific needs.
Be prepared to adjust timelines as necessary, accounting for venue restrictions, cultural traditions, or unexpected changes.
Evaluate Shooting Style
The right timeline template for your budget wedding photography should reflect your unique shooting style. Consider how you approach different parts of the day and how much time you typically spend on each. Are you a documentary-style shooter who prefers candid moments, or do you focus more on posed portraits? Your shooting style will dictate the structure and flow of your timeline.
Evaluate your strengths and preferences to choose a template that aligns with your approach. For example, if you excel at capturing getting-ready moments, guarantee your template allocates ample time for this phase. If you're known for stunning sunset portraits, build in time for golden hour shots.
| Shooting Style | Timeline Focus |
|---|---|
| Photojournalistic | More candid moments |
| Traditional | Formal portraits |
| Fine Art | Stylized details |
| Documentary | Storytelling sequences |
| Lifestyle | Natural interactions |
Pre-Ceremony Planning
Before the big day arrives, you'll need to prepare your gear meticulously.
Create an extensive checklist to guarantee you don't forget any essential equipment.
Schedule a timeline coordination meeting with the couple and other key vendors to align your photography plans with the overall wedding schedule.
Gear Preparation Checklist
Preparing your gear meticulously is essential for a smooth wedding photography experience. As a budget-friendly photographer, you'll need to guarantee every piece of equipment is ready and functioning properly.
Start by checking your camera bodies, lenses, and flash units. Clean them thoroughly and make sure they're fully charged or have fresh batteries. Don't forget to format your memory cards and bring extras.
Next, pack your bag with these essential items:
- Multiple lenses (wide-angle, standard, and telephoto)
- Spare batteries and chargers
- Lighting equipment (flashes, diffusers, and reflectors)
- Tripod and monopod for stability
Consider bringing a backup camera body in case of unexpected issues. Include lens cleaning supplies, a grey card for white balance, and a shot list to stay organized.
Pack weather-appropriate gear if the wedding involves outdoor locations. Don't overlook comfort items like comfortable shoes and water bottles for yourself.
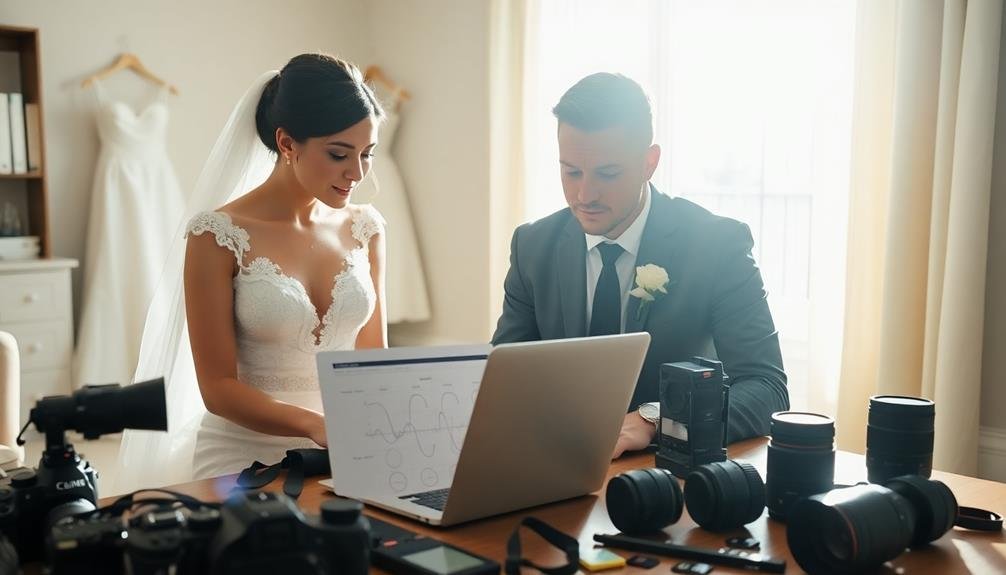
Timeline Coordination Meeting
Setting up a timeline coordination meeting is essential for ensuring a smooth wedding day photography experience. You'll want to schedule this meeting with the couple, wedding planner, and other key vendors at least two weeks before the big day.
During this meeting, you'll discuss and finalize the wedding day schedule, including specific photo opportunities and locations. Start by reviewing the couple's must-have shot list and discussing any special requests they may have.
Then, work through the day's events chronologically, allocating time for each photography session. Don't forget to factor in travel time between locations and buffer periods for unexpected delays.
Address potential challenges, such as lighting conditions or weather concerns, and propose solutions. Discuss backup plans for outdoor shoots and identify alternative indoor locations if needed.
Confirm the family photo combinations and designate a family member to help gather people for group shots.
Getting Ready Shots

Brimming with excitement and anticipation, the "Getting Ready" shots capture the bride and groom's final moments before their big reveal. You'll want to arrive at the preparation locations early to document these intimate moments.
Coordinate with the couple to guarantee you're present for key events like hair and makeup, dressing, and any special rituals or traditions.
As you photograph the getting ready process, focus on capturing both candid moments and posed shots. Don't forget to document important details like the dress, shoes, jewelry, and any sentimental items.
Remember to be respectful of privacy and personal boundaries, especially when photographing in dressing areas.
To make the most of your getting ready shots, consider these tips:
- Use natural light when possible for a soft, flattering effect
- Capture reactions of family and friends as they see the bride or groom
- Look for emotional moments, such as a parent helping with final touches
- Document the transformation process with before, during, and after shots
First Look Photography
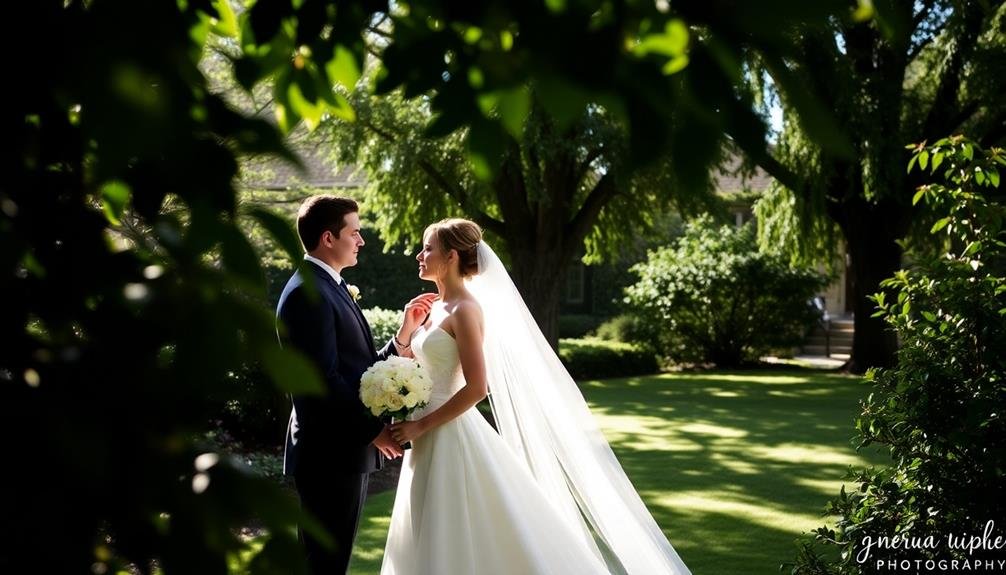
Many couples are now opting for a "First Look" moment before the ceremony. This intimate encounter allows you to capture the raw emotions of the bride and groom seeing each other for the first time on their wedding day.
As a budget-conscious photographer, you'll need to plan this session carefully to maximize its impact. Start by scouting a private, well-lit location near the getting ready areas. You'll want to position the couple for the best lighting and background.
Communicate with the wedding planner to guarantee the couple arrives separately and on time. Set up your equipment in advance, including any off-camera flashes or reflectors you might need.
When the moment arrives, be ready to capture a series of shots: the approach, the reveal, and the reactions. Focus on genuine emotions and interactions between the couple.
Don't forget to capture full-body shots as well as close-ups of their expressions. After the initial reveal, allow the couple a few minutes alone while you photograph from a distance. This often results in natural, candid moments that make for beautiful images.
Ceremony Coverage Essentials
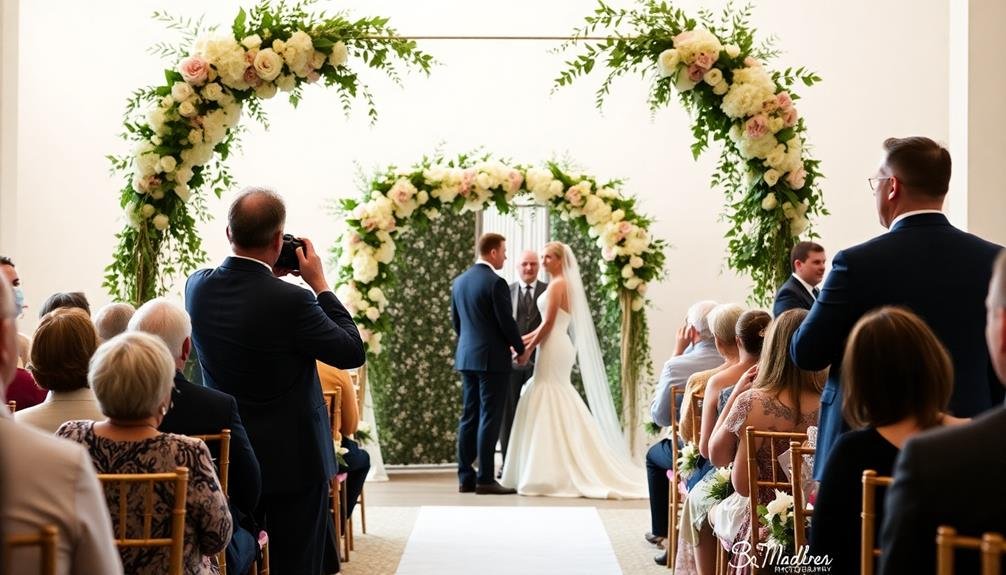
As you plan your ceremony coverage, focus on capturing the key moments that tell the story of the couple's union.
You'll want to contemplate essential shots like the processional, exchange of vows, ring ceremony, and the newlyweds' exit.
To guarantee you're prepared, think about your equipment needs and strategize your positioning to get the best angles without disrupting the ceremony.
Key Moments to Capture
While every wedding is unique, certain key moments during the ceremony are essential to capture for any budget-conscious couple. As a photographer or videographer, you'll want to focus on these pivotal moments to guarantee you're delivering the most value to your clients.
Prioritize capturing the emotional highlights that tell the story of their special day, even with time constraints.
Here are four key moments you shouldn't miss during the ceremony:
- The processional: Capture the bride's entrance, the groom's reaction, and the wedding party walking down the aisle.
- Exchange of vows and rings: Document the couple's expressions as they share their promises and slip on their rings.
- The first kiss: Be ready to snap this iconic moment as the newlyweds seal their union.
- The recessional: Photograph the couple's joyful exit as they walk back down the aisle together.
Remember to position yourself strategically to capture these moments without disrupting the ceremony.
Communicate with the officiant beforehand to understand any restrictions on movement or flash photography.
Equipment and Positioning Tips
Capturing a wedding ceremony on a budget requires careful consideration of your equipment and positioning. Start by investing in a versatile zoom lens, like a 24-70mm, which allows you to capture both wide shots and close-ups without changing lenses. Use a fast aperture (f/2.8 or wider) to create beautiful bokeh and handle low-light situations.
Position yourself strategically to capture key moments without disrupting the ceremony. Arrive early to scout the venue and identify best shooting locations. During the processional, stand at the back of the aisle for a clear view. Move to the side for the exchange of vows, ensuring you're not blocking guests' views. For the ring exchange and first kiss, position yourself at a 45-degree angle to capture both faces.
Use a monopod to stabilize your camera while maintaining mobility. Set your camera to continuous autofocus and burst mode for capturing fleeting moments. If possible, bring a second camera body with a longer lens (70-200mm) for close-ups from a distance.
Remember to shoot in RAW format for greater flexibility in post-processing, especially when working with challenging lighting conditions.
Group Photo Management

Three key strategies can help you master group photo management at a budget wedding. First, create a detailed shot list beforehand, prioritizing essential group combinations. Second, designate a family member or friend as your assistant to gather and organize people. Third, establish a centralized location for group photos to streamline the process.
To efficiently manage group photos, consider these tips:
- Communicate the schedule clearly to all participants
- Start with larger groups and gradually break them down
- Use visual cues or props to guide positioning quickly
- Have a backup plan for uncooperative guests or children
Begin with the largest group shots, such as the entire wedding party or all guests, then move to smaller family combinations. This approach allows people to leave once their photos are done, reducing wait times and potential frustration.
Keep your instructions simple and direct, using a loud, clear voice to command attention. If you're struggling with unruly guests or time constraints, don't hesitate to politely but firmly take charge of the situation.
Reception Timeline Strategies
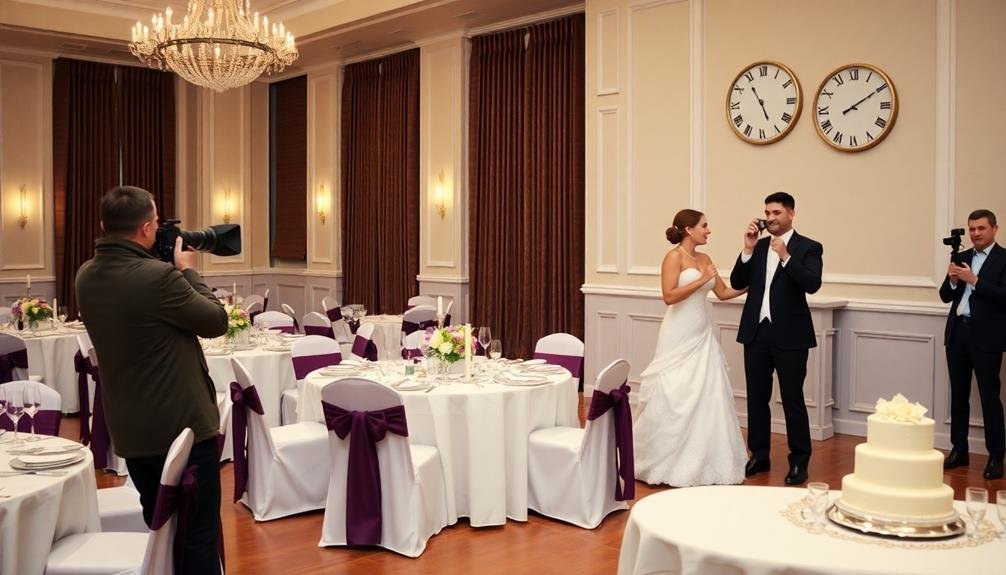
A well-planned reception timeline is essential for capturing all the important moments without feeling rushed. Start by discussing the reception schedule with the couple and wedding planner to identify key events. You'll want to allocate time for entrance shots, first dance, toasts, cake cutting, and any special traditions.
Plan to arrive at the reception venue 30 minutes early to capture decor details before guests enter. As guests arrive, focus on candid shots and interactions. During dinner, take this opportunity to photograph table settings and capture guests enjoying their meals.
For formal events like speeches and dances, position yourself strategically to get the best angles. Don't forget to capture the couple's reactions during these moments.
As the night progresses, be ready for spontaneous dance floor action and guest interactions. Throughout the reception, stay flexible and adaptable. Communicate with the DJ or emcee to stay informed about upcoming events.
If time allows, consider taking the couple for a quick sunset or night portrait session. Remember to pace yourself and stay hydrated. A well-executed reception timeline will guarantee you capture all the important moments while maintaining your energy throughout the event.
Sunset and Night Photography
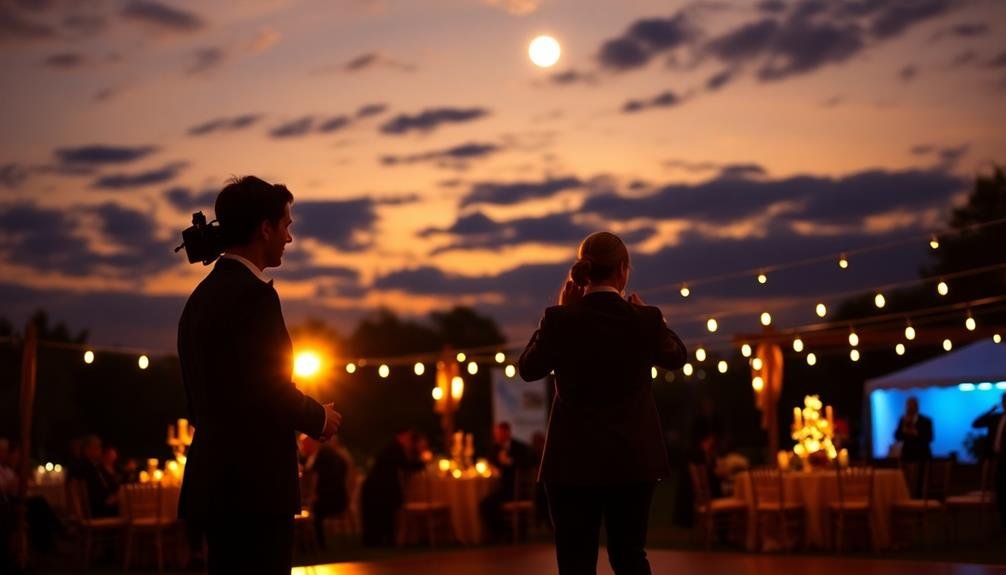
As the reception progresses, you'll want to take advantage of the changing light conditions. Sunset and night photography offer unique opportunities to capture stunning images that'll add depth and variety to your wedding album.
Plan to step outside with the couple during the golden hour, typically 30-60 minutes before sunset, to capture romantic portraits bathed in warm, soft light.
Once night falls, you'll need to adjust your approach. Here are four key tips for successful night photography:
- Bring appropriate lighting equipment, such as off-camera flashes or LED panels.
- Use a tripod for longer exposures and to minimize camera shake.
- Experiment with slow shutter speeds to capture ambient light and create interesting effects.
- Look for creative light sources, like string lights or sparklers, to add visual interest.
Don't forget to capture the venue's exterior lighting and any outdoor decorations. These shots can provide beautiful context for the event.
If there's a send-off planned, such as a sparkler exit, position yourself strategically to capture the excitement and emotion of this final moment.
Remember to adjust your camera settings quickly as lighting conditions change throughout the evening.
Vendor Coordination Tips
Successful vendor coordination is essential for a smooth-running wedding day. As a budget-conscious photographer or videographer, you'll need to work closely with other vendors to guarantee everything runs seamlessly.
Start by reaching out to the wedding planner or coordinator to introduce yourself and get a copy of the overall timeline. This will help you align your schedule with other vendors' activities.
Create a shared document or group chat with key vendors like the venue manager, DJ, and officiant. Use this to communicate important details and any last-minute changes.
During the wedding day, arrive early to familiarize yourself with the venue and touch base with other vendors. Coordinate with the caterer to capture food shots before guests arrive, and sync with the DJ for important moments like the first dance.
Be flexible and ready to adjust your timeline if unexpected delays occur. Keep the couple informed of any significant changes that might affect their photos or video.
Post-Wedding Workflow Organization

Efficient post-wedding workflow organization is essential for budget-conscious photographers and videographers. You'll need to streamline your process to maximize efficiency and minimize time spent on each project. This allows you to take on more clients without compromising quality or burning out.
Start by creating a standardized checklist for post-wedding tasks, including file backup, culling, editing, and delivery.
To optimize your post-wedding workflow, consider these key steps:
- Backup files immediately: Transfer all raw files to multiple storage devices as soon as you return from the event.
- Cull ruthlessly: Be selective and eliminate duplicate or subpar shots to save time during editing.
- Batch edit similar images: Group photos with similar lighting and settings to apply consistent adjustments quickly.
- Use presets and templates: Develop a set of go-to presets for common editing tasks and create templates for client deliverables.
Invest in efficient software tools that can handle large batches of images and automate repetitive tasks.
Consider outsourcing time-consuming processes like extensive retouching or album design if it's cost-effective.
Regularly review and refine your workflow to identify areas for improvement and stay competitive in the budget wedding market.
Customizing Templates for Your Brand
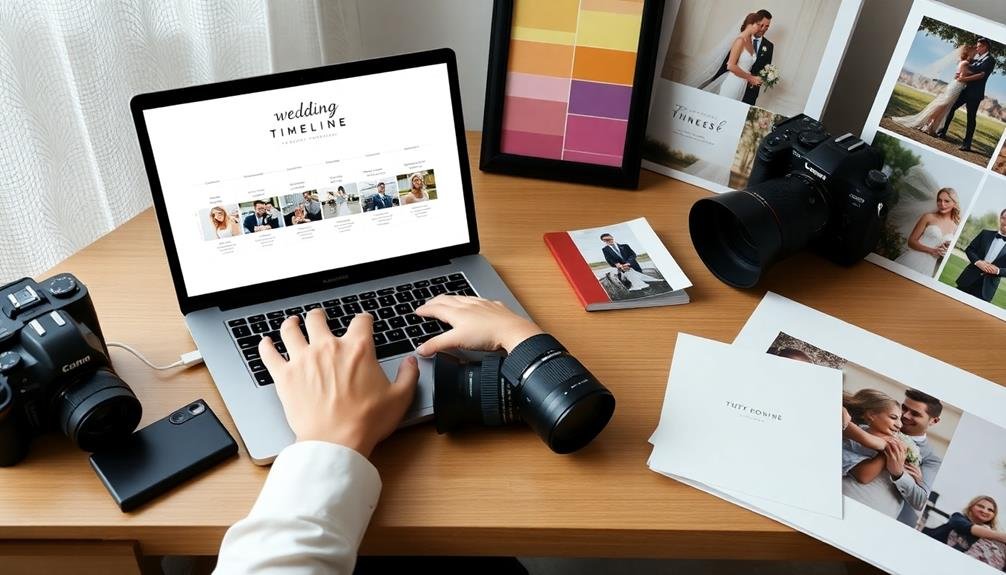
Customizing templates for your brand is a crucial step in streamlining your budget wedding photography business. It allows you to create a cohesive and professional image while saving time on repetitive tasks. Start by incorporating your logo, color scheme, and fonts into your timeline templates. This consistency will help clients recognize your work and reinforce your brand identity.
Consider adapting the language and tone of your templates to match your brand's personality. Whether you're casual and friendly or formal and elegant, make sure your communication style aligns with your overall brand image. Don't forget to include your contact information and social media handles on all templates for easy client reference.
Here's a quick guide to customizing key elements of your templates:
| Element | Customization Tips |
|---|---|
| Logo | Place prominently at the top |
| Colors | Use brand palette consistently |
| Fonts | Stick to 2-3 brand-specific fonts |
| Images | Include watermarked sample photos |
| Tone | Adjust language to match brand voice |
Remember to create variations of your templates for different wedding packages or styles. This flexibility will allow you to quickly adapt to various client needs while maintaining your brand's unique identity. Regularly review and update your templates to make sure they remain fresh and relevant.
Frequently Asked Questions
How Much Should I Charge for Budget Wedding Photography Packages?
You should consider charging between $500 to $1,500 for budget wedding photography packages. Factor in your experience, location, and included services. Don't undervalue your work, but remain competitive for budget-conscious couples seeking affordable options.
What Equipment Is Essential for Budget Wedding Photography and Videography?
For budget wedding photography and videography, you'll need a reliable DSLR or mirrorless camera, versatile lenses, a sturdy tripod, external flash, and audio equipment. Don't forget memory cards, spare batteries, and a laptop for backup.
How Can I Handle Difficult Lighting Situations During Budget Weddings?
You'll need to adapt quickly to challenging lighting. Use a flash diffuser, adjust your camera settings, and scout locations beforehand. Don't be afraid to move your subjects or use natural light creatively to overcome difficult situations.
What Backup Plans Should I Have for Equipment Failure or Emergencies?
You'll need backup cameras, lenses, and batteries. Bring spare memory cards and a laptop for on-site backups. Have a second shooter if possible. Keep emergency contacts handy and know nearby rental options for last-minute equipment needs.
How Do I Manage Client Expectations for Budget Wedding Photography Services?
You'll need to clearly communicate your service limitations upfront. Set realistic expectations about the number of photos, editing time, and package inclusions. Be honest about what you can deliver within their budget constraints.
In Summary
You've now got the tools to streamline your budget wedding photography and videography process. By using timeline templates, you'll save time, reduce stress, and guarantee you capture every important moment. Remember to customize these templates to fit your brand and each unique wedding. With proper planning and organization, you'll deliver exceptional results to your clients while maintaining efficiency. Don't forget to regularly update your templates as you refine your workflow and grow your business.

I’m Sarah, the creator and writer behind this site. I’m a wife and a mother of two wonderful kids who keep me on my toes and inspire me daily. My passion lies in creating and organizing memorable events and group activities, where people can come together and make lasting memories.
Leave a Reply