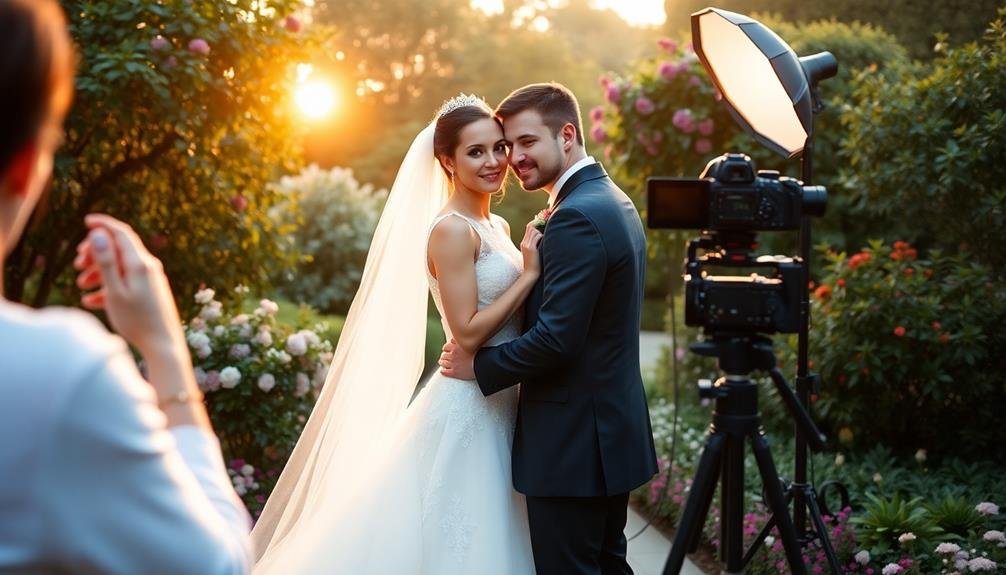
To master DIY wedding photography, start with essential gear: a quality camera, versatile lenses, and backup equipment. Learn to control your camera settings manually, focusing on the exposure triangle. Master lighting techniques for various scenarios, from natural light to flash. Apply composition rules like the rule of thirds and leading lines for striking images. Capture candid moments stealthily, and plan group shots efficiently. Don't forget detail shots that tell the story of the day. Create a timeline, have backup plans, and master post-processing for professional results. With these pro tips, you'll be well-equipped to capture stunning memories of your special day. The path to breathtaking wedding photos awaits.
Key Takeaways
- Master essential camera settings, including exposure triangle and manual mode, for full control over image quality.
- Use proper lighting techniques, like open shade and window light, to achieve flattering results in various scenarios.
- Apply composition rules such as the rule of thirds and leading lines to create visually appealing photographs.
- Capture candid moments effectively by staying alert, using stealth techniques, and anticipating key events.
- Plan a detailed timeline, coordinate with wedding planners, and have backup equipment to ensure smooth photography coverage.
Essential Gear for DIY Success
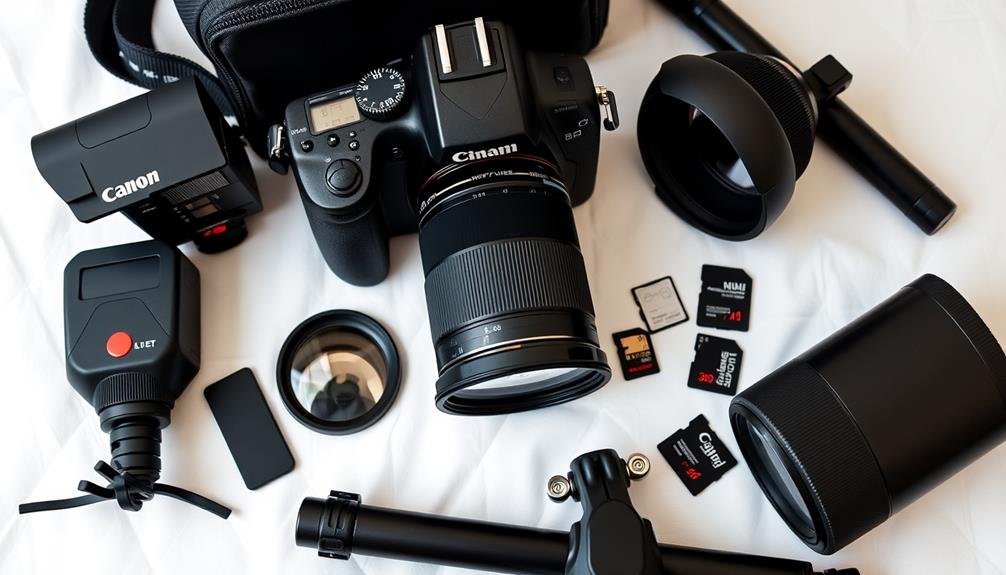
Anyone considering DIY wedding photography needs to have the right equipment. To capture stunning wedding photos, you'll need a high-quality DSLR or mirrorless camera with manual controls.
Invest in a versatile zoom lens, like a 24-70mm, for various shots, and a fast prime lens, such as a 50mm f/1.8, for low-light situations and beautiful bokeh effects.
Don't forget essential accessories: extra batteries, memory cards, and a sturdy tripod. A reliable external flash is vital for indoor receptions and portraits.
Consider renting specialty lenses, like a wide-angle or macro, to diversify your shots.
For editing, you'll need a powerful laptop and photo editing software like Adobe Lightroom or Capture One. A color-calibrated monitor guarantees accurate color representation.
Backup is critical, so bring a second camera body and duplicate memory cards. Pack everything in a comfortable, weather-resistant camera bag for easy transport.
Lastly, invest in a few practical items like lens cleaning cloths, a reflector for fill light, and a shot list to stay organized. With this gear, you'll be well-equipped to capture beautiful DIY wedding photos.
Master Your Camera Settings
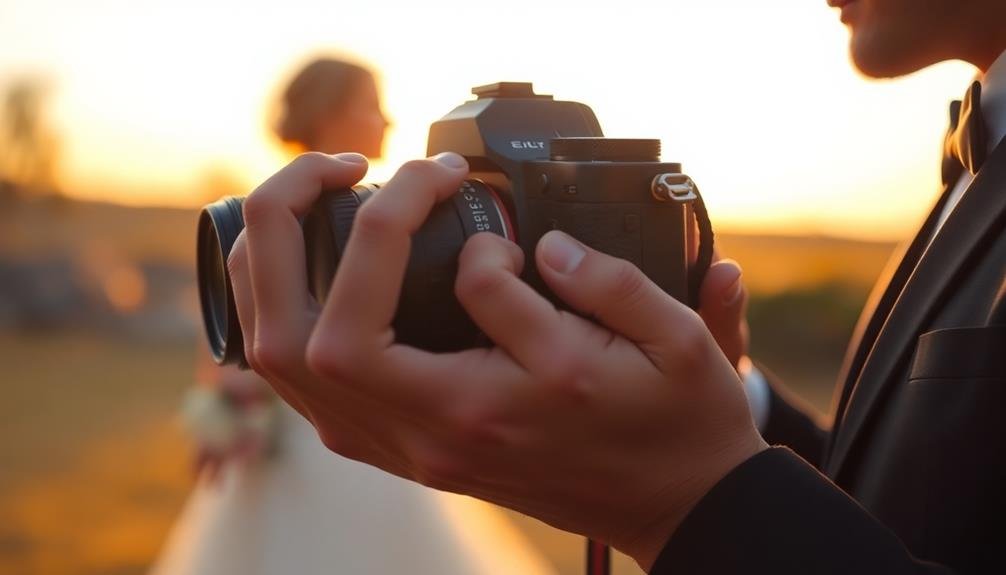
With your gear ready, it's time to focus on mastering your camera settings. Understanding how to adjust your camera's settings quickly and effectively is essential for capturing those fleeting wedding moments. Start by familiarizing yourself with the exposure triangle: aperture, shutter speed, and ISO.
Set your camera to manual mode for full control. Use a wide aperture (low f-number) to create a shallow depth of field, perfect for portraits and detail shots. For group photos, opt for a narrower aperture to guarantee everyone's in focus. Adjust your shutter speed to freeze motion or create artistic blur. In low-light situations, increase your ISO, but be mindful of noise.
Here's a quick guide to help you choose the right settings:
| Setting | Portraits | Group Shots | Action Shots |
|---|---|---|---|
| Aperture | f/1.8-f/2.8 | f/8-f/11 | f/4-f/5.6 |
| Shutter Speed | 1/125-1/250 | 1/125-1/250 | 1/500-1/1000 |
| ISO | 100-400 | 100-400 | 400-1600 |
| Focus Mode | Single-point AF | Multi-point AF | Continuous AF |
Don't forget to shoot in RAW format for maximum editing flexibility. Practice adjusting these settings quickly, as weddings move fast, and you'll need to adapt on the fly.
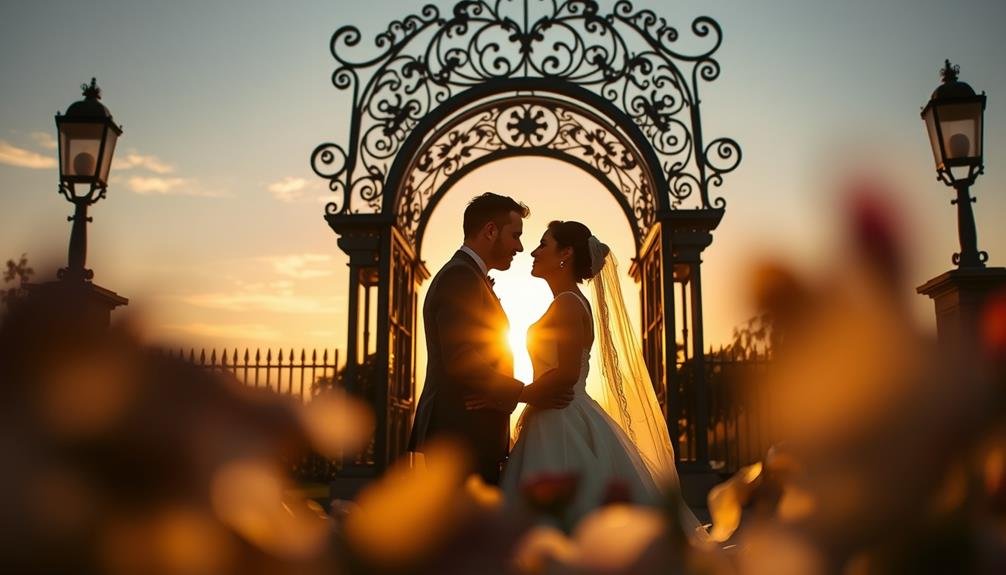
Lighting Techniques for Every Scenario
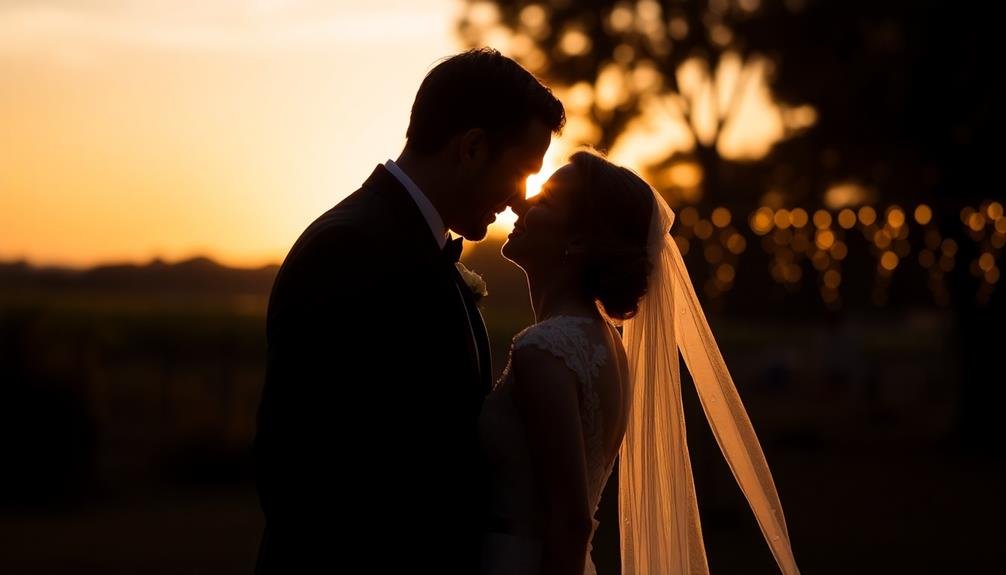
Lighting can make or break your wedding photos, so you'll need to be prepared for various scenarios.
For outdoor daytime shots, seek open shade to avoid harsh shadows and squinting. Position the couple with their backs to the sun for a soft, backlit glow. Use reflectors to bounce light onto faces and fill in shadows.
For indoor venues, scout locations near windows for natural light. If the light's too bright, diffuse it with sheer curtains. In dimly lit reception halls, bump up your ISO and use a fast lens. Consider using off-camera flash to add dimension and drama to your shots.
During the golden hour, take advantage of the warm, flattering light for romantic portraits. For nighttime photos, experiment with long exposures and light painting techniques. Don't forget to capture the ambiance of candles and string lights at the reception.
When faced with mixed lighting situations, set your white balance manually or shoot in RAW for more flexibility in post-processing. Always carry a speedlight for fill flash or to create dramatic backlighting effects.
Composition Rules for Memorable Shots
Photographers know that composition can elevate ordinary wedding photos to extraordinary memories. To capture stunning shots, you'll need to master a few key rules.
Start with the rule of thirds: imagine your frame divided into a 3×3 grid and place your subjects along these lines or at their intersections. This creates a more balanced and visually appealing image.
Next, pay attention to leading lines. Use natural elements like pathways, railings, or even the bride's veil to draw the viewer's eye towards the main subject.
Don't forget about framing; use doorways, arches, or foliage to surround your subjects and add depth to your shots.
For group photos, create visual interest by arranging people in triangles or diamond shapes. When shooting portraits, leave space for the subject to "look into" within the frame.
Remember to include negative space to prevent your images from feeling cluttered.
Lastly, experiment with different angles. Get low for dramatic shots or climb higher for unique perspectives.
Capturing Candid Moments Effectively
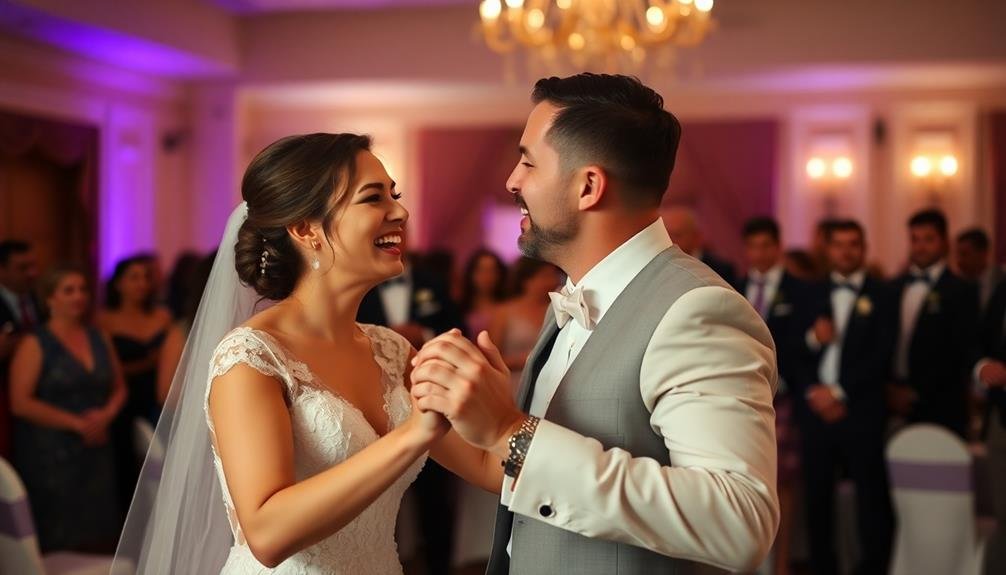
To capture genuine candid moments at a wedding, you'll need to anticipate key events and reactions.
Keep your camera ready for unexpected laughs, tears, or touching interactions between guests.
Use stealth techniques like a longer zoom lens or shoot from the hip to remain unobtrusive and preserve the natural atmosphere.
Anticipate Key Moments
Capturing candid moments at a wedding requires a keen eye and the ability to anticipate key events. To master this skill, familiarize yourself with the wedding timeline and stay alert throughout the day. Be ready to capture the bride's first look at her dress, the groom's reaction as she walks down the aisle, and the couple's first kiss as newlyweds.
During the reception, position yourself strategically to catch emotional toasts, laughter during speeches, and spontaneous dance floor moments. Keep an eye on the couple's parents and close friends, as they're likely to show genuine reactions.
Don't forget to capture guests interacting, especially during cocktail hour and dinner.
To improve your chances of getting great candid shots, use a longer lens to maintain distance and avoid disrupting natural moments. Set your camera to continuous shooting mode and be prepared to take multiple shots in quick succession.
Adjust your camera settings in advance for different lighting situations, so you're always ready to capture fleeting expressions and gestures. Remember, the best candid photos often come from unexpected moments, so stay observant and keep your camera at the ready throughout the entire event.
Use Stealth Techniques
While anticipating key moments is essential, mastering stealth techniques will elevate your candid photography game. To capture genuine emotions and unscripted interactions, you'll need to blend into the background. Use a longer lens to shoot from a distance, allowing guests to relax and act naturally. Move quietly and deliberately, avoiding sudden movements that might draw attention.
Consider using a silent shutter mode if your camera has this feature. It'll help you snap photos discreetly during quiet moments like the ceremony or speeches. Dress in dark, neutral colors to minimize your visibility, and position yourself near walls or corners for a less obtrusive presence.
| Stealth Technique | Purpose | Example Scenario |
|---|---|---|
| Long Lens | Distance shooting | Capturing tears during vows |
| Silent Shutter | Quiet operation | Photographing whispered exchanges |
| Neutral Attire | Blending in | Documenting dance floor candids |
Remember to respect people's privacy and personal space. If someone seems uncomfortable, move on to another subject. By mastering these stealth techniques, you'll capture authentic, emotional moments that truly reflect the spirit of the wedding day, creating a beautiful narrative through your images.
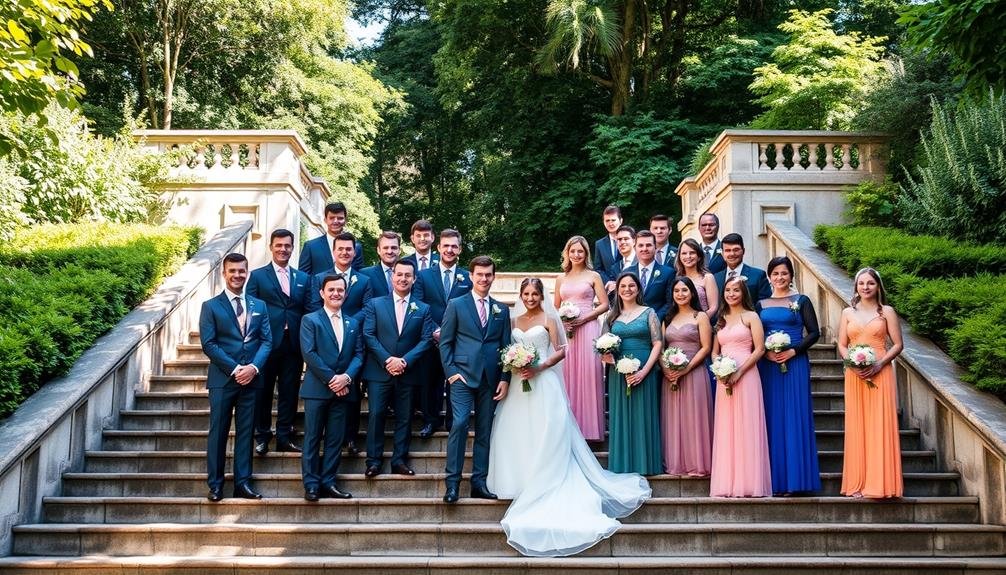
Group Photo Strategies
When organizing group photos at a wedding, you'll want to prioritize ideal lighting to guarantee everyone looks their best.
Coordinate poses efficiently to keep the process smooth and maintain the group's energy.
Don't forget to use props creatively, adding a fun and memorable element to your group shots.
Arrange for Optimal Lighting
Proper lighting is the cornerstone of stunning group photos at weddings. To achieve the best results, you'll need to take into account both natural and artificial light sources.
If you're shooting outdoors, aim for the golden hour – the period shortly after sunrise or before sunset when the light is soft and warm. Position your group so the sun is behind them, creating a beautiful backlit effect and avoiding harsh shadows on faces.
For indoor shots, seek out large windows or glass doors to utilize natural light. Place your group at a 45-degree angle to the light source to create depth and dimension.
If natural light is limited, use off-camera flashes or portable LED panels to illuminate your subjects evenly. Bounce light off walls or ceilings for a softer, more flattering effect.
Don't forget to adjust your camera settings accordingly. Increase your ISO in low-light situations, but be mindful of noise. Use a wider aperture (lower f-number) to let in more light, but make sure your depth of field is sufficient to keep everyone in focus.
Experiment with different lighting setups before the big day to find what works best for your style and equipment.
Coordinate Poses Efficiently
Efficiency is key when coordinating group poses at a wedding. To streamline the process, create a shot list beforehand, prioritizing the most important group photos. Designate a helper who knows the family members and can quickly gather people for each shot.
Begin with larger group photos and gradually break them down into smaller combinations. Position yourself in a central location with good lighting and a pleasing background. Direct guests to their spots using clear, concise instructions.
Arrange people by height, with taller individuals in the back and shorter ones in front. For a natural look, stagger the positioning slightly rather than creating straight lines. Encourage guests to stand close together, filling any gaps. This creates a more cohesive appearance and allows you to fit more people in the frame.
Use a wide-angle lens for larger groups, but be mindful of distortion at the edges. To capture genuine expressions, ask everyone to look at the couple instead of the camera. Take multiple shots quickly, as people's expressions change rapidly.
Don't forget to check for closed eyes or awkward poses before moving on to the next group.
Use Props Creatively
Props can breathe new life into group wedding photos, adding personality and fun to the shots. When using props creatively, consider items that reflect the couple's interests or the wedding theme. You might use oversized picture frames, balloons, or custom signs with clever sayings.
Don't forget seasonal props like parasols for summer or cozy blankets for winter weddings.
Encourage guests to interact with the props naturally. Have them hold, wear, or pose with the items in ways that feel comfortable and authentic. Mix things up by giving different props to various groups, creating diverse and interesting compositions.
For large group shots, try using props that can involve everyone, such as a long ribbon or banner that guests can hold together.
Remember to keep props simple and not too distracting. The focus should remain on the people in the photo. Position props strategically to frame subjects or add depth to the composition.
Always test your prop ideas before the big day to verify they photograph well and don't create unwanted shadows or reflections.
With creative prop use, you'll capture unique and memorable group photos that the couple will cherish for years to come.
Detail Shots That Tell Stories
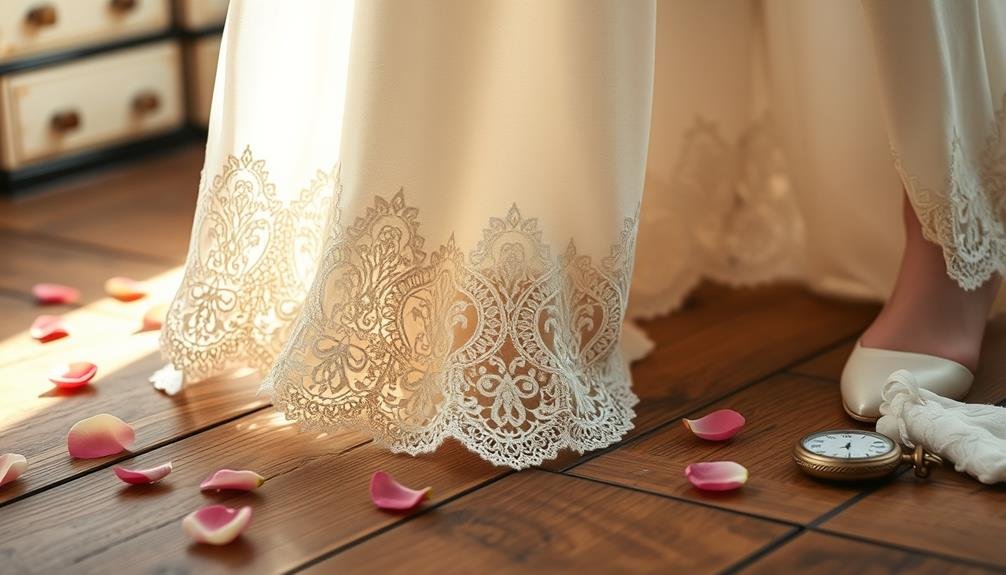
Countless detail shots can weave a rich tapestry of your wedding day story. These small, often overlooked elements carry immense emotional weight and help paint a complete picture of your special day. As you capture these intricate details, focus on items that hold personal significance or represent key aspects of your celebration.
To create compelling detail shots that tell stories:
- Arrange meaningful objects together: Group your wedding rings with heirloom jewelry, a handwritten note, or a sprig of your bouquet for a layered, narrative-rich composition.
- Capture candid moments: Photograph guests' hands as they sign the guestbook, or snap a close-up of your partner adjusting their tie before the ceremony.
- Showcase venue details: Highlight unique architectural features, table settings, or custom decor that reflect your wedding theme and personality.
Don't forget to experiment with different angles and lighting to add depth and interest to your detail shots. Use macro settings on your camera to capture intricate textures and patterns.
Timeline Planning for Key Moments
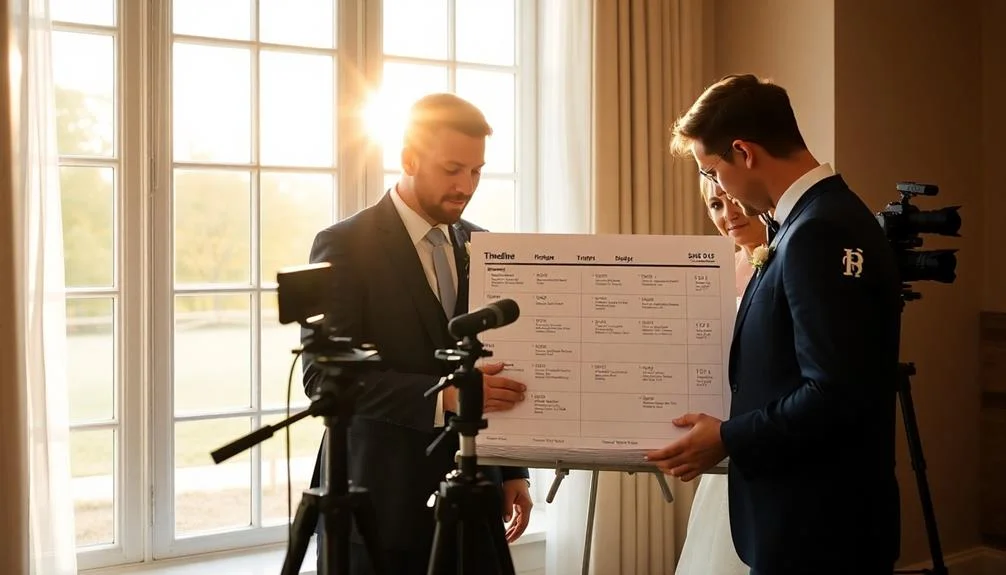
While capturing beautiful detail shots is important, carefully planning your wedding day timeline guarantees you don't miss any key moments. Start by listing all the essential shots you want to capture, then work backwards to create a schedule. Consider the lighting conditions throughout the day and allocate enough time for each session.
Coordinate with the wedding planner or venue coordinator to ascertain you're aware of all event timings. Don't forget to factor in buffer time for unexpected delays. Here's a sample timeline to help you visualize the day:
| Time | Event | Key Shots |
|---|---|---|
| 10:00 AM | Bride's Prep | Dress, jewelry, makeup |
| 1:00 PM | First Look | Couple's reaction |
| 3:00 PM | Ceremony | Vows, ring exchange |
Remember to communicate your timeline with the couple and wedding party. This ascertains everyone's on the same page and reduces stress on the big day. Be flexible and ready to adapt if things don't go exactly as planned. By having a well-thought-out timeline, you'll be better prepared to capture all the special moments that make a wedding unique and memorable.
Backup Plans and Contingencies
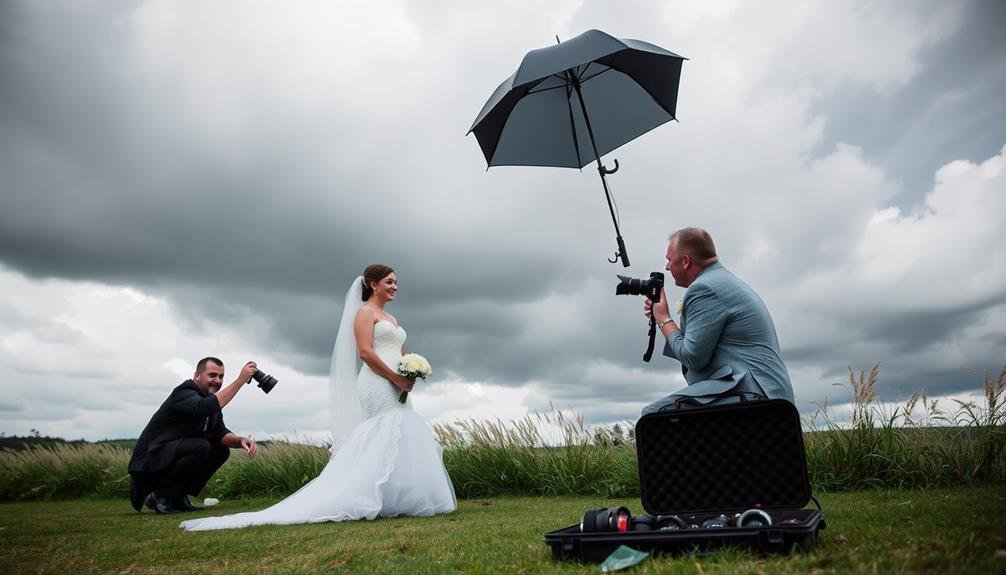
A well-prepared DIY wedding photographer always has backup plans and contingencies in place.
You'll need to anticipate potential issues and have solutions ready to guarantee you don't miss capturing those precious moments. Start by investing in backup equipment, including an extra camera body, lenses, batteries, and memory cards. Keep these backups easily accessible throughout the day.
Consider the weather when planning outdoor shoots. Have a backup indoor location scouted in case of rain or extreme temperatures. You should also familiarize yourself with your camera's low-light capabilities and bring additional lighting equipment if needed.
To further safeguard your work, implement these essential steps:
- Use cameras with dual memory card slots for instant backup
- Bring a laptop to periodically transfer and backup images throughout the day
- Have a trusted assistant or family member as a backup photographer
Post-Processing for Professional Results
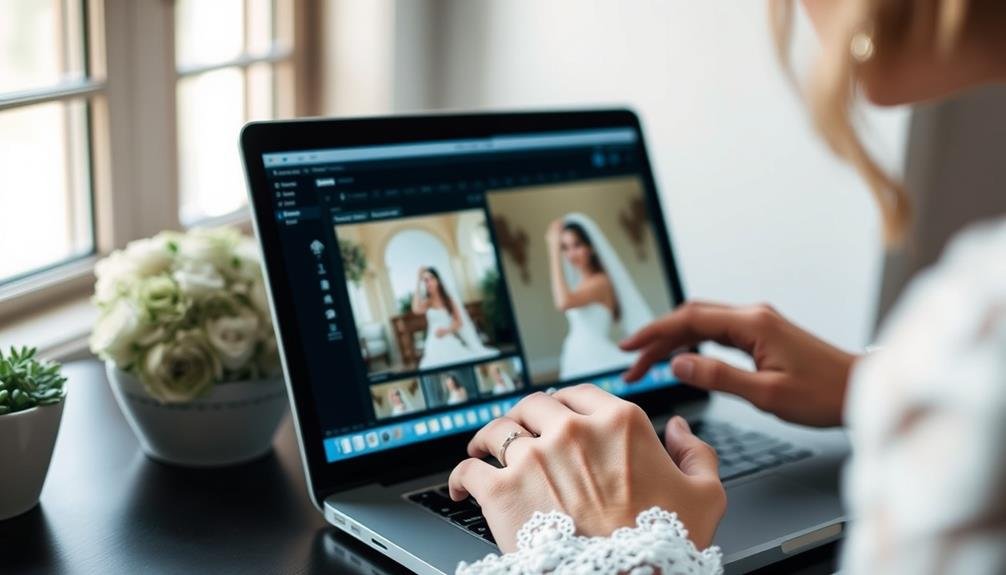
Once you've captured your wedding photos, it's time to elevate them through post-processing.
Start by adjusting exposure and contrast to correct any lighting issues and add depth to your images.
Next, enhance colors and tones to create a cohesive look, and finish by retouching and fine-tuning details to guarantee your photos have a polished, professional appearance.
Adjusting Exposure and Contrast
Post-processing plays an essential role in achieving professional-looking wedding photos. When it comes to adjusting exposure and contrast, you'll want to strike a balance between enhancing the images and maintaining a natural look.
Start by evaluating each photo individually, as lighting conditions can vary throughout the day.
To adjust exposure, use the histogram as your guide. Verify the graph isn't heavily skewed to either side, which would indicate under or overexposure. Brighten shadows and tone down highlights to reveal more details in the image.
For contrast, focus on creating depth and dimension without losing the softness often desired in wedding photos.
Here are three key tips for adjusting exposure and contrast:
- Use adjustment layers in your editing software to make non-destructive changes
- Apply local adjustments to specific areas of the photo rather than global changes
- Compare your edits to the original image frequently to avoid over-processing
Enhancing Colors and Tones
Wedding photography's color palette sets the mood and atmosphere of the entire album. To enhance your images' colors and tones, start by adjusting the white balance to guarantee accurate skin tones and overall color temperature.
Use the warmth slider to add a golden glow for romantic shots or cool tones for a more dramatic effect.
Next, fine-tune the vibrancy and saturation. Boost vibrancy to enhance muted colors without affecting skin tones, while saturation increases the intensity of all colors.
Be cautious not to overdo it, as this can lead to unnatural-looking images.
Experiment with split toning to add depth and character. Apply warm tones to highlights and cool tones to shadows for a cinematic look.
Use the HSL (Hue, Saturation, Luminance) panel to target specific colors, allowing you to emphasize or subdue certain elements in your photos.
Don't forget to adjust the overall tonal range. Use the blacks and whites sliders to set the image's darkest and brightest points, then fine-tune shadows and highlights to reveal details.
Retouching and Fine-Tuning Details
After enhancing colors and tones, it's time to focus on refining the finer details of your wedding photos. Retouching and fine-tuning are essential steps in achieving a polished, professional look.
Start by removing blemishes, smoothing skin, and whitening teeth using your editing software's healing and clone tools. Be careful not to overdo it; you want the couple to look like themselves, just on their best day.
Pay attention to distracting elements in the background. Remove unwanted objects, such as trash cans or photobombers, to keep the focus on the newlyweds.
Don't forget to crop and straighten your images for perfect composition.
To elevate your retouching skills, consider these advanced techniques:
- Dodge and burn to enhance facial features and add dimension
- Use frequency separation for flawless skin without losing texture
- Apply selective sharpening to draw attention to key areas, like eyes and jewelry
Frequently Asked Questions
How Do I Handle Difficult Family Dynamics During Wedding Photo Sessions?
You'll need to handle difficult family dynamics tactfully. Be diplomatic, stay calm, and use humor to diffuse tension. Plan ahead with the couple, prioritize key shots, and have a designated family member help organize groups.
What's the Best Way to Communicate With the Couple During the Shoot?
To communicate effectively with the couple during the shoot, you'll want to establish clear signals beforehand. Use hand gestures, maintain eye contact, and give concise verbal directions. Keep your tone positive and encouraging throughout the session.
How Can I Manage My Nerves as a First-Time Wedding Photographer?
To manage your nerves as a first-time wedding photographer, take deep breaths and focus on your preparation. Remember, you've practiced and planned for this. Stay positive, communicate with the couple, and trust your skills. You've got this!
Should I Create a Shot List With the Couple Beforehand?
Yes, you should absolutely create a shot list with the couple beforehand. It'll help you stay organized, guarantee you capture all the important moments, and give the couple peace of mind that their expectations will be met.
How Do I Balance Capturing Moments and Enjoying the Wedding as a Guest?
You'll need to find a balance. Set aside specific times for photography, but also allow yourself to be present. Don't feel pressured to capture every moment. Enjoy the celebration and take photos during key events or when inspiration strikes.
In Summary
You've now got the tools to capture your wedding day beautifully. Remember, practice makes perfect, so don't wait until the big day to start shooting. Trust your instincts, stay calm, and focus on the moments that matter. With these tips, you'll create a stunning visual narrative of your special day. Embrace the challenge, have fun, and cherish the memories you've preserved through your own lens. Your DIY wedding photos will be truly one-of-a-kind.

I’m Sarah, the creator and writer behind this site. I’m a wife and a mother of two wonderful kids who keep me on my toes and inspire me daily. My passion lies in creating and organizing memorable events and group activities, where people can come together and make lasting memories.


Leave a Reply