Creating stunning wedding invitations at home is easier than you might think. Start by gathering essential supplies like quality cardstock, envelopes, and printing materials. Choose a theme that reflects your style and wedding vision. Design a layout that balances text and visuals, selecting appropriate fonts and colors. Carefully craft your message, considering the tone and essential details. Add personal touches with meaningful imagery or embellishments. Print your invitations using DIY techniques, then assemble and mail them with care. With attention to detail and creativity, you'll transform blank paper into beautiful, personalized invitations that set the perfect tone for your special day. The following tips will help you master each step of the process.
Key Takeaways
- Choose high-quality cardstock and gather essential supplies like adhesives, a paper cutter, and calligraphy pens for professional results.
- Select a cohesive theme and color scheme that reflects your wedding style and personal preferences.
- Design a balanced layout with a focal point, using complementary fonts and arranging text hierarchically for visual appeal.
- Incorporate meaningful visuals and embellishments like custom illustrations, wax seals, or pressed flowers to enhance uniqueness.
- Master DIY printing techniques or consider professional services for intricate designs, then assemble and mail invitations 6-8 weeks before the wedding.
Gathering Your Supplies
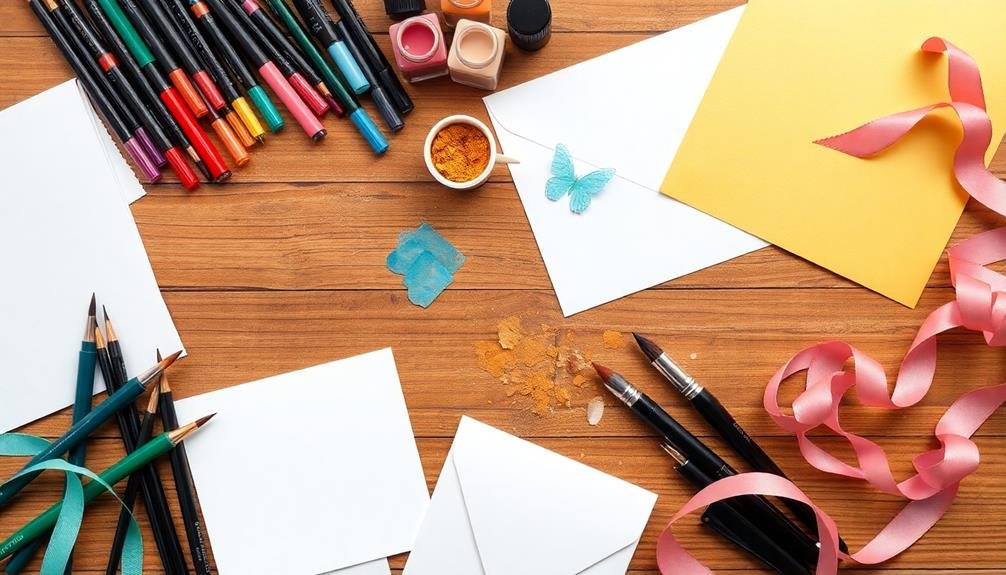
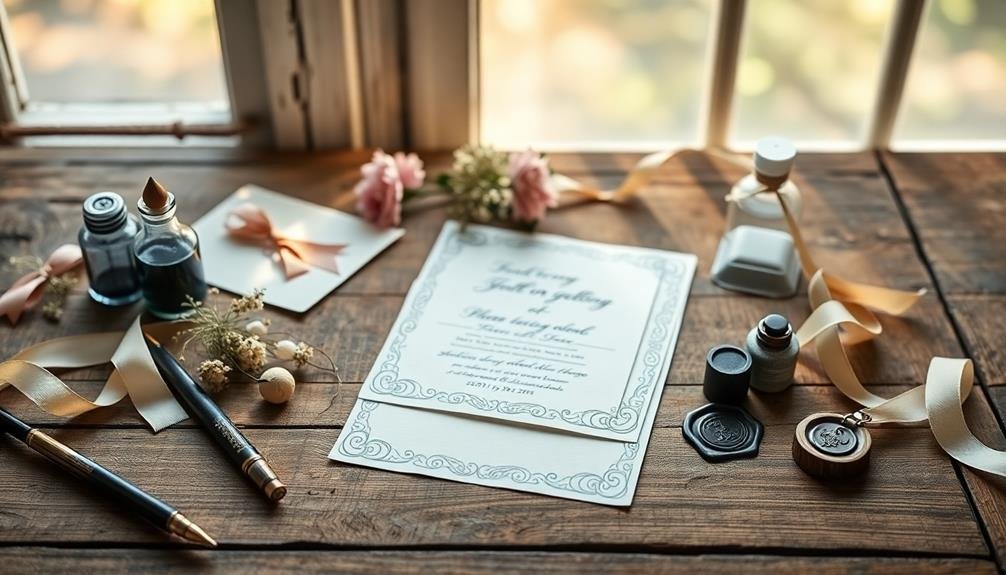
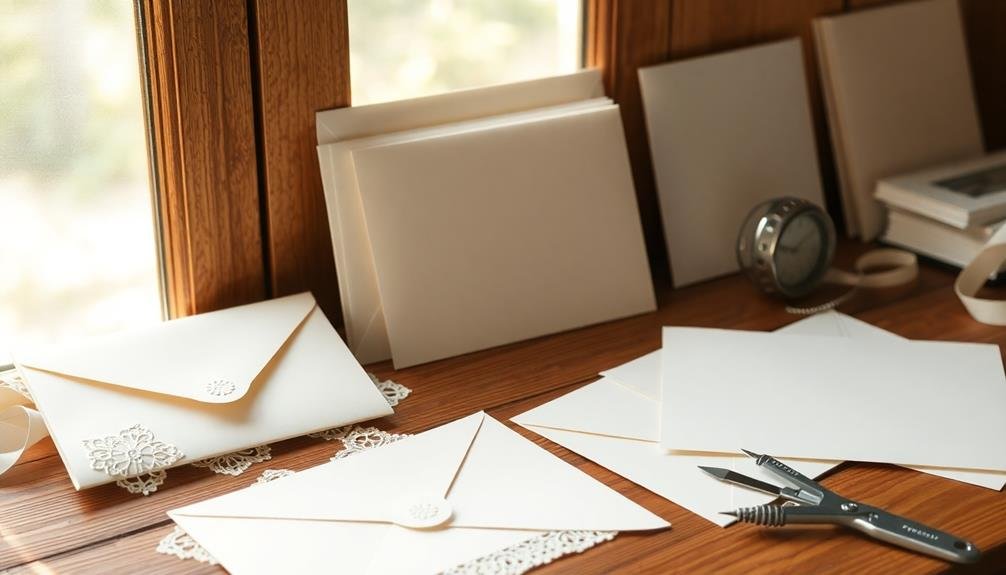
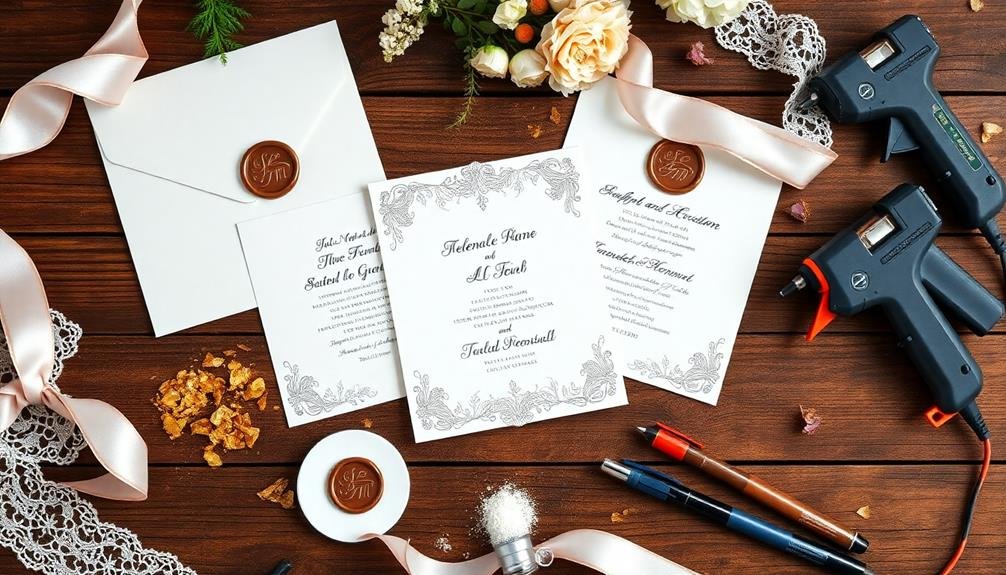
Before diving into the creative process, you'll need to gather all the necessary supplies for making your wedding invitations at home. Start with high-quality cardstock or specialty paper in your chosen color and texture. You'll also need envelopes that complement your invitation design and size. Don't forget to pick up matching envelope liners for an extra touch of elegance.
For printing, make sure you have plenty of ink or toner for your printer. If you're handwriting details, invest in calligraphy pens or fine-tipped markers. Adhesives are vital, so stock up on double-sided tape, glue dots, or a good craft glue. Decorative elements like ribbons, lace, or wax seals can add a personal touch.
You'll need a paper cutter or sharp scissors for precise cuts, and a bone folder for crisp folds. A ruler and pencil are essential for measuring and marking. If you're including RSVP cards, don't forget to get postage stamps.
Choosing Your Wedding Theme
With your supplies gathered, it's time to focus on choosing your wedding theme. Your theme sets the tone for your entire wedding and should reflect your personality as a couple. Consider the season, venue, and your shared interests when brainstorming ideas.
Popular themes include rustic, bohemian, classic elegance, beach, vintage, and modern minimalist. Once you've settled on a theme, select colors that complement it. For a rustic wedding, think earthy tones like brown, green, and orange. A beach theme might incorporate blues, sandy beiges, and coral accents.
Next, choose design elements that align with your theme. For a vintage-inspired wedding, consider lace patterns, antique fonts, or sepia-toned images. A modern minimalist theme might feature clean lines, geometric shapes, and a monochromatic color scheme.
Don't forget to incorporate personal touches that make your invitations unique. This could be a custom monogram, a meaningful quote, or an illustration of your venue.
Designing Your Layout
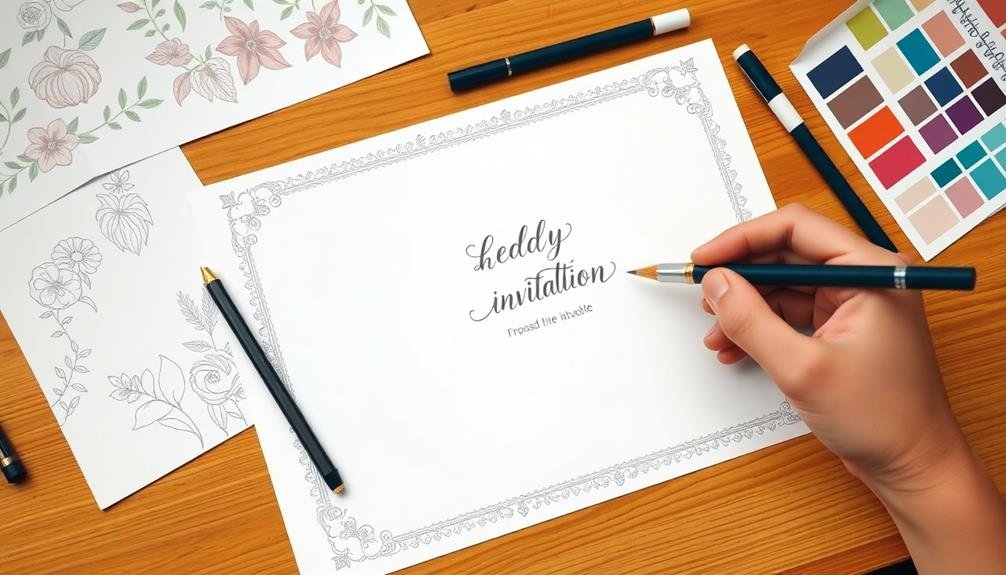
Once you've established your theme and gathered inspiration, it's time to design your invitation layout. Start by choosing a focal point for your design, such as a monogram, floral element, or graphic that represents your theme. Place this element strategically to draw the eye and create visual interest.
Next, select your fonts carefully. Use no more than two or three complementary typefaces to maintain a cohesive look. Consider a decorative font for headings and a readable serif or sans-serif font for body text. Arrange your text in a hierarchy, with the most important information (like your names and wedding date) in larger or bolder type.
Balance is key in your layout. Use white space effectively to prevent the design from feeling cluttered. Align elements neatly and maintain consistent margins. If you're including graphics or borders, make certain they don't overpower the text.
Consider the shape of your invitation. While rectangular cards are traditional, you might opt for square, circular, or even die-cut shapes to make your invitation stand out.
Selecting Paper and Envelopes
Choosing the right paper and envelopes is essential for your DIY wedding invitations. Consider the weight, texture, and color of the paper to match your wedding theme and style. Cardstock is a popular choice for invitations, typically ranging from 80 to 110 lb weight. For a luxurious feel, opt for cotton or linen paper.
When selecting envelopes, verify they complement your invitation design and provide adequate protection. Choose from standard, square, or specialty shapes, keeping in mind that non-standard sizes may incur additional postage costs. Inner envelopes can add an extra layer of elegance and protection.
Consider the printing method you'll use when choosing paper. Inkjet printers work well with matte or semi-gloss papers, while laser printers perform better with smooth, uncoated papers. For letterpress or embossing, select thicker papers that can withstand the pressure.
Don't forget to test your chosen paper and envelopes before committing to a large purchase. Print a sample invitation and assemble it to verify the paper works well with your design and printing method.
This step will help you avoid costly mistakes and verify your invitations look perfect.
Crafting the Perfect Message
When crafting your wedding invitation message, you'll need to contemplate the formality of your event.
For formal weddings, you'll want to use traditional, elegant language, while casual celebrations call for a more relaxed tone.
Remember to infuse your invitation with personal touches that reflect your unique style as a couple, making the message truly memorable for your guests.
Wording for Formal Weddings
Formal wedding invitations require careful consideration of every word to convey the right tone and information. When crafting your wording, start with the hosts' names, typically the bride's parents, followed by "request the honor of your presence" for religious ceremonies or "request the pleasure of your company" for non-religious events.
Next, include the couple's full names, with the bride's name traditionally appearing first. State the date, time, and venue details clearly, using formal language such as "Saturday, the fifteenth of June" rather than numerals. If the ceremony and reception are at different locations, specify this on separate lines.
Include RSVP instructions with a deadline and contact information. For a truly formal touch, spell out all numbers and avoid abbreviations. Consider adding dress code information if it's not implied by the formality of your invitation.
Remember to proofread meticulously, as errors on formal invitations can be particularly glaring. If you're unsure about specific etiquette rules, consult trusted wedding resources or a professional stationer for guidance.
Your formal wording should reflect the elegance and significance of your special day.
Casual Invitation Language
When crafting the main invitation text, focus on conveying essential information in a relaxed tone. Instead of "request the honor of your presence," try phrases like "We're tying the knot!" or "Let's party!"
Be sure to include the date, time, and location in a clear, easy-to-read format.
Don't be afraid to get creative with your wording. You can use rhymes, puns, or even reference shared interests with your guests. For example, movie buffs might say, "It's time for our feature presentation: Our Wedding!"
Remember to keep the tone consistent throughout the invitation, including RSVP instructions and additional details.
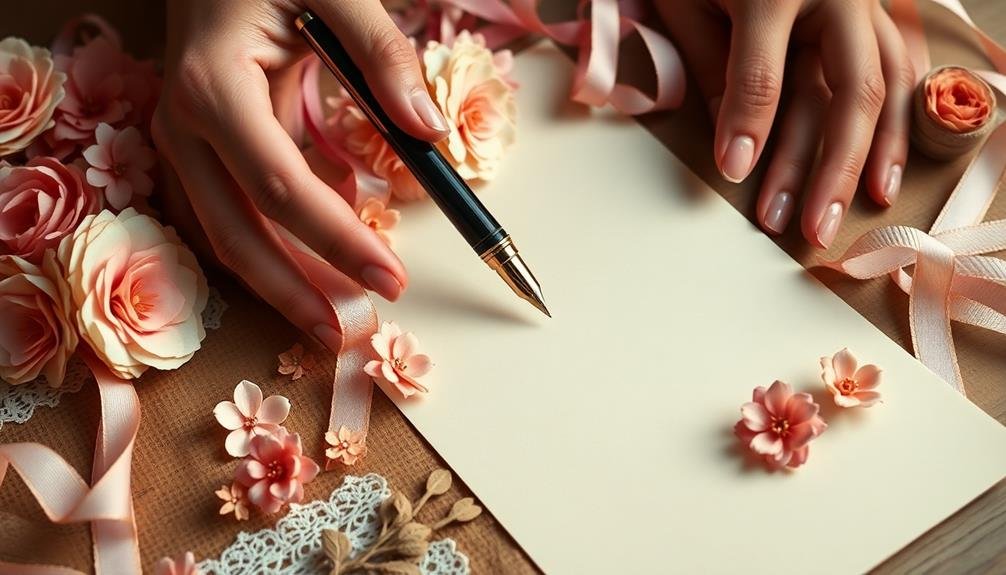
Personal Touches Matter
Adding personal touches to your wedding invitations can truly set them apart from the crowd. Consider incorporating elements that reflect your unique love story or shared interests. You might include a custom illustration of your favorite place, a meaningful quote, or even a timeline of your relationship milestones.
Don't shy away from injecting your personalities into the wording. Use inside jokes or nicknames that are special to you as a couple. If you're known for your sense of humor, let it shine through with a witty line or two.
For a more sentimental approach, share a brief anecdote about how you met or fell in love.
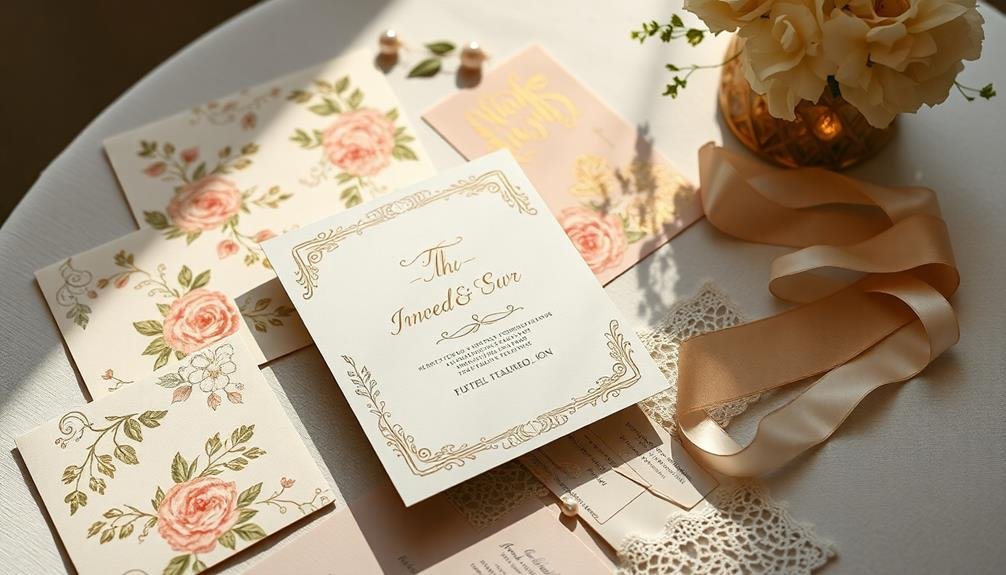
Think about the overall design as well. Choose colors, fonts, and patterns that resonate with your style as a couple. If you're crafty, consider adding handmade elements like pressed flowers, wax seals, or hand-lettered details.
For a modern touch, incorporate a QR code linking to your wedding website or a digital photo album.
Typography and Font Selection
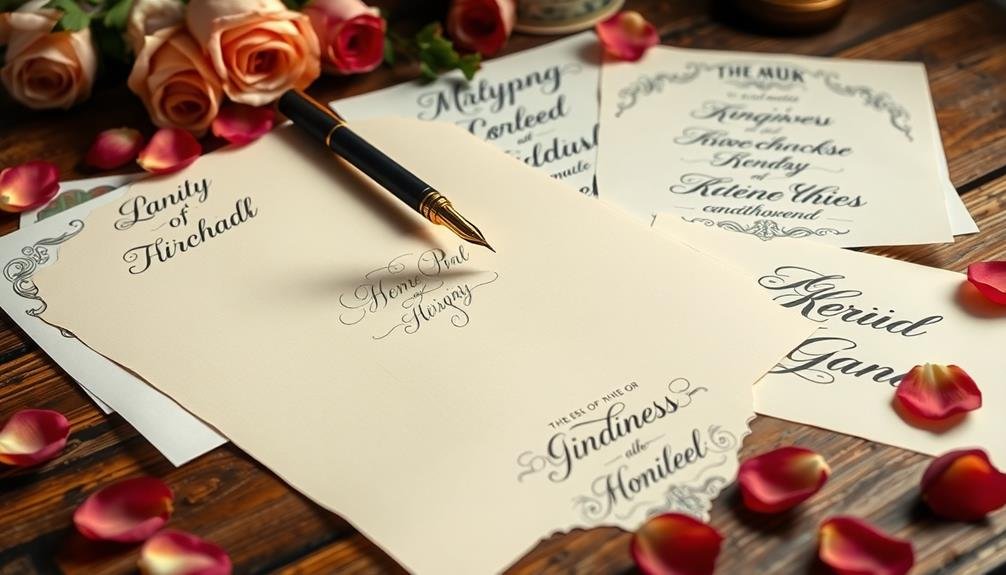
Typography and font selection play an essential role in setting the tone for your wedding invitations. When choosing fonts, consider the style and formality of your wedding. For a traditional affair, opt for classic serif fonts like Garamond or Baskerville. If you're planning a modern celebration, sans-serif fonts like Futura or Helvetica might be more appropriate.
Mix and match fonts to create visual interest, but limit yourself to two or three complementary typefaces. Use a larger, more decorative font for the couple's names and a simpler, readable font for the details.
Pay attention to kerning (letter spacing) and leading (line spacing) to guarantee your text is visually appealing and easy to read.
Here are five tips to help you select the perfect typography for your invitations:
- Choose fonts that reflect your wedding's theme and style
- Confirm readability by selecting clear, legible typefaces
- Consider the paper color and texture when choosing font colors
- Test print your designs to check for clarity and overall appearance
- Use hierarchy to emphasize important information through font size and weight
Adding Color and Imagery
When adding color and imagery to your DIY wedding invitations, you'll want to contemplate a cohesive color scheme that reflects your wedding's theme and personal style.
You can incorporate these colors through your font choices, backgrounds, or decorative elements.
Don't forget to include meaningful visuals, such as custom illustrations, floral motifs, or symbols that represent your relationship, to make your invitations truly unique and personal.
Choosing Color Schemes
Color schemes can make or break your wedding invitations, so it's crucial to choose wisely. When selecting colors, take into account your wedding's overall theme and the season in which you're tying the knot.
Spring and summer weddings often feature lighter, brighter hues, while fall and winter celebrations tend to embrace richer, deeper tones.
To create a cohesive look, stick to a palette of two to three main colors. You can incorporate these colors in various ways, such as through text, borders, or background designs.
Don't forget to take into account how your chosen colors will look when printed, as some shades may appear different on screen versus paper.
Here are five popular color schemes to take into account for your wedding invitations:
- Classic: Black and white with gold accents
- Romantic: Blush pink and sage green
- Modern: Navy blue and copper
- Rustic: Burgundy and forest green
- Beach-inspired: Aqua and coral
Remember to balance your color choices. Use darker colors for text to guarantee readability, and lighter shades for backgrounds or accents.
Incorporating Meaningful Visuals
Visuals play an essential role in creating enchanting wedding invitations. They can convey your unique love story and set the tone for your special day. When incorporating meaningful visuals, consider elements that represent you as a couple or reflect your wedding theme.
Start by selecting images that resonate with your relationship. You might choose a photo of yourselves, a sketch of your venue, or symbols that hold significance. Next, decide on the placement of these visuals. Will they serve as a background, a border, or a focal point?
Don't forget to balance your visuals with text. Guarantee that your chosen images don't overpower the essential information. Use graphic design software or templates to seamlessly integrate your visuals with the invitation text.
Here's a table of visual ideas to inspire you:
| Nature-inspired | Romantic | Modern |
|---|---|---|
| Floral patterns | Hearts | Geometric shapes |
| Leaves | Lace | Minimalist icons |
| Landscapes | Ribbons | Abstract art |
| Watercolor | Swirls | Metallic accents |
| Botanical sketches | Doves | Typography-based designs |
DIY Printing Techniques

DIY printing techniques offer budget-friendly options for creating beautiful wedding invitations at home.
You'll find several methods to choose from, each with its own unique advantages. Consider these popular techniques:
- Inkjet printing: Perfect for vibrant colors and intricate designs
- Laser printing: Ideal for crisp text and sharp images
- Letterpress: Creates an elegant, textured look
- Screen printing: Great for bold, simple designs
- Heat embossing: Adds a raised, shimmering effect
To achieve professional-looking results, invest in high-quality paper and ink.
Test your chosen method on scrap paper before committing to your final invitations. For inkjet and laser printing, verify your printer settings are optimized for the paper type you're using.
If you're opting for letterpress or screen printing, you'll need to create a negative of your design and transfer it to a plate or screen.
Heat embossing requires special ink and powder, along with a heat gun to melt the powder into a raised design.
Remember to allow ample time for printing and drying, especially if you're working with multiple colors or layers.
With patience and attention to detail, you can create stunning invitations that reflect your personal style and save money in the process.
Embellishments and Finishing Touches
Elegance lies in the details when it comes to wedding invitations. After printing your invitations, it's time to add those special touches that'll make them truly unique.
Start with simple embellishments like ribbons or twine to tie your invitation suite together. You can also use wax seals for a classic, romantic look. Choose a seal design that matches your wedding theme and apply it to the envelope or invitation itself.
For a touch of sparkle, consider adding rhinestones or glitter accents. Use them sparingly to highlight key elements like your names or the wedding date.
Pressed flowers or dried petals can add a delicate, natural touch, especially for spring or garden weddings. If you're feeling creative, try incorporating watercolor washes or metallic foil accents.
Don't forget about texture. Embossing or letterpress techniques can add depth to your invitations. You can achieve a similar effect with textured paper or by layering different materials.
Assembling and Mailing Tips
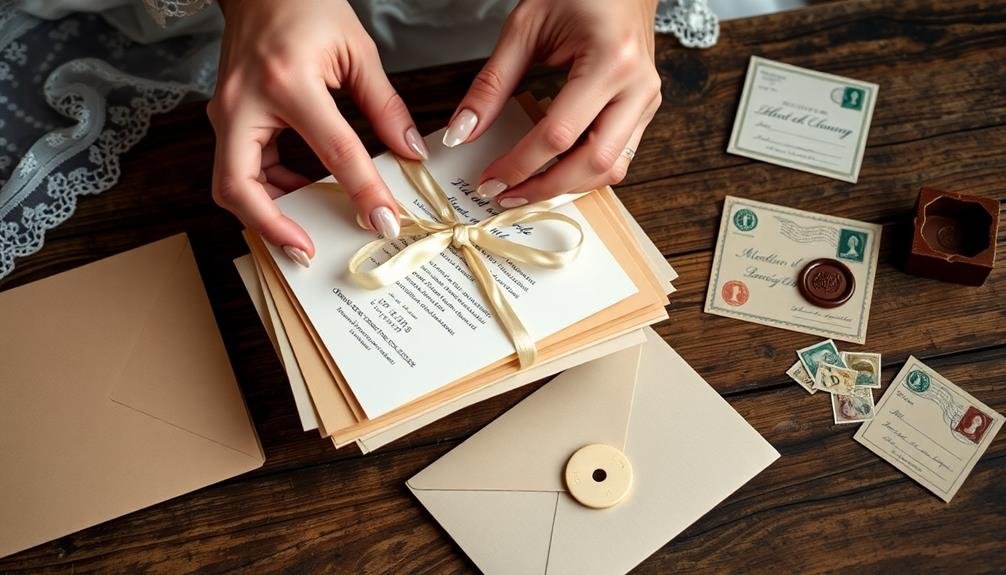
After creating your beautiful invitations, it's time to assemble and mail them correctly. Start by gathering all components, including the main invitation, RSVP cards, and any additional inserts.
Stack them in the proper order, typically with the main invitation on the bottom and smaller pieces on top. Use a bone folder to create crisp folds if needed.
When addressing envelopes, consider using calligraphy or printed labels for a polished look. Don't forget to include return addresses on both the outer and RSVP envelopes. Before sealing, double-check that you've included all necessary items.
Here are five essential tips for mailing your invitations:
- Weigh a complete invitation set at the post office to determine correct postage
- Use "hand-cancel" stamps to avoid machine processing that may damage delicate invitations
- Mail a sample to yourself to check for any issues
- Send invitations 6-8 weeks before the wedding date
- Consider ordering extra invitations for last-minute guests or keepsakes
Frequently Asked Questions
How Far in Advance Should I Start Making My Wedding Invitations?
Start making your wedding invitations 4-6 months before the big day. You'll need time for design, printing, assembly, and addressing. This timeline allows for any unexpected delays and guarantees you'll send them out 6-8 weeks in advance.
Can I Create Digital Invitations Instead of Physical Ones?
Yes, you can create digital invitations instead of physical ones. They're eco-friendly, cost-effective, and easily shareable. You'll save time and money on printing and postage. Many online platforms offer customizable templates for stunning digital wedding invitations.
What's the Average Cost per Invitation When Making Them at Home?
You'll typically spend $0.50 to $3 per invitation when making them at home. Your costs will vary based on paper quality, printing method, and embellishments. Don't forget to factor in envelopes and postage for the total cost.
How Do I Handle Last-Minute Guest List Changes After Printing Invitations?
For last-minute guest list changes, you'll need to act quickly. Print additional invitations for new guests. For removed guests, you can call or email to politely explain the situation. Consider having extra invitations on hand for unexpected changes.
Are There Any Copyright Concerns When Using Online Images for Invitations?
You'll need to be cautious when using online images for invitations. Many are copyrighted, so you shouldn't use them without permission. Instead, opt for royalty-free images or create your own designs to avoid legal issues.
In Summary
You've now got all the tools to create stunning wedding invitations at home. With your personal touch, you'll save money and craft something truly unique. Don't be afraid to experiment and let your creativity shine. Remember, these invitations set the tone for your special day, so pour your heart into them. As you mail them out, you'll feel a sense of pride knowing you've created something beautiful from scratch.

I’m Sarah, the creator and writer behind this site. I’m a wife and a mother of two wonderful kids who keep me on my toes and inspire me daily. My passion lies in creating and organizing memorable events and group activities, where people can come together and make lasting memories.
Leave a Reply