
For your rustic wedding reception, create budget-friendly signs that add charm and guide guests. Start with a welcoming wooden sign at the entrance, then use chalkboards or repurposed pallets for seating charts and bar menus. Display clear guestbook instructions and ceremony programs on easels or crates. Craft fun photo booth props and label your dessert table with handmade signs. Don't forget a marker for the gift table and a heartfelt "Thank You" message. These DIY signs not only save money but also infuse your special day with personal touches. Explore these ideas further to discover how to make each sign uniquely yours.
Welcome Sign
A well-crafted welcome sign sets the tone for your budget-friendly wedding reception. It's the first thing your guests will see, so make it count without breaking the bank.
For a rustic wedding, consider using a large piece of reclaimed wood as your canvas. You can find these at salvage yards or even ask local farmers if they've any old barn wood to spare.
Once you've got your base, it's time to get creative. Use chalk paint for an easy-to-apply, matte finish that fits the rustic aesthetic. If you're not confident in your handwriting, create a stencil using contact paper and a craft knife. This method guarantees clean, professional-looking letters without the cost of hiring a calligrapher.
Don't forget to include essential information like the couple's names, wedding date, and a warm greeting. Add some simple floral or leaf designs in the corners for a touch of elegance.
To save even more, consider borrowing an easel or creating a simple stand using two-by-fours. With these tips, you'll craft a stunning welcome sign that sets the perfect tone for your budget-conscious, rustic celebration.
Seating Chart
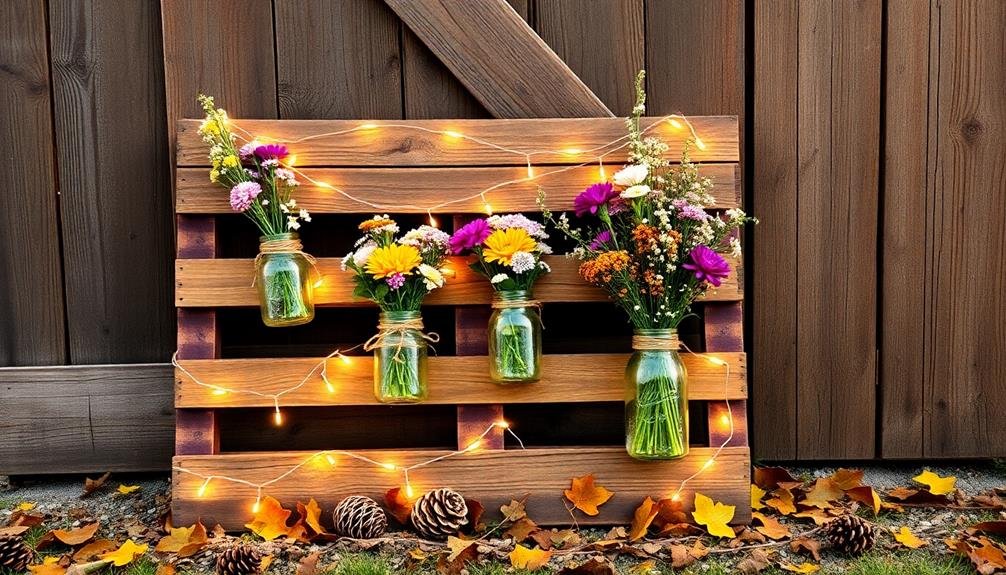
You can create an affordable and charming seating chart using a recycled wooden pallet.
Paint the pallet and attach cards or small chalkboards to display guest names and table assignments.
Alternatively, opt for a large chalkboard seating display, which allows for easy changes and adds a rustic touch to your reception decor.
DIY Pallet Seating Chart
Repurposing a wooden pallet into a charming seating chart offers a rustic and budget-friendly option for your wedding reception.
You'll need to start by sourcing a pallet in good condition, sanding it down, and applying a coat of paint or stain to match your wedding theme. Once prepared, you can use a variety of methods to display your seating information.
Consider using clothespins to attach individual cards with guest names and table numbers. Alternatively, you could paint directly on the pallet wood or use chalk paint for a more versatile surface. If you're handy with power tools, create small shelves or pockets to hold name cards or table assignments.
To enhance the rustic charm, incorporate elements like twine, burlap, or fairy lights. You might also add decorative touches such as small floral arrangements or greenery.
Remember to arrange the names alphabetically or by table number for easy navigation.
When displaying your DIY pallet seating chart, verify it's placed in a prominent location where guests can easily find it. Consider adding a header with text like "Find Your Seat" or "Seating Arrangements" to guide your guests.
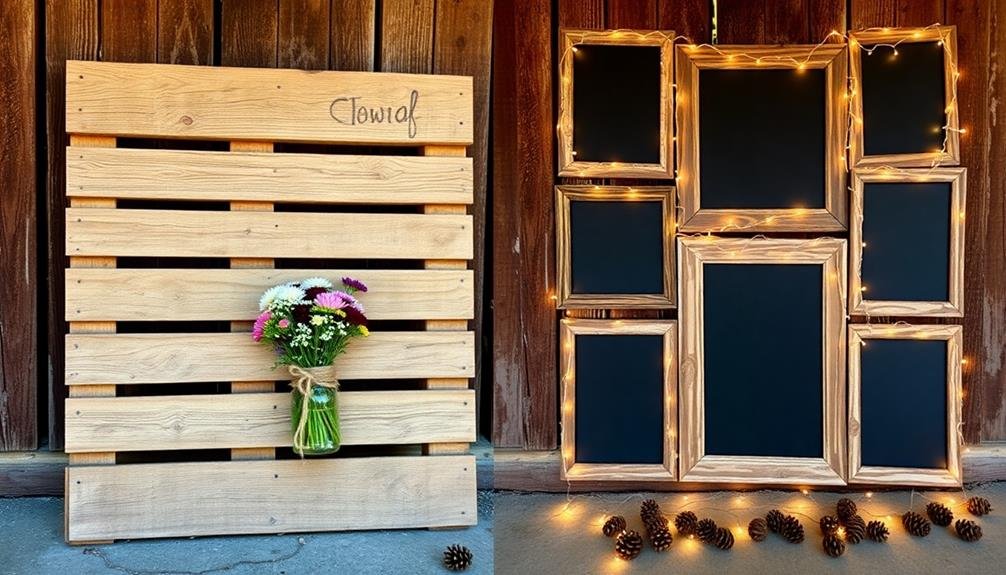
Chalkboard Seating Displays
Versatility and charm make chalkboard seating displays a popular choice for budget-conscious couples. You'll find that these displays offer a perfect blend of rustic elegance and practicality, allowing you to create a unique seating chart that fits your wedding's style.
To create your chalkboard seating display, start by purchasing a large chalkboard or painting a smooth surface with chalkboard paint. You can opt for a single large board or multiple smaller ones, depending on your guest count and available space. Use chalk markers for a cleaner, more professional look that won't smudge easily.
When designing your layout, consider using a mix of fonts and sizes to add visual interest. You might organize guests alphabetically or by table number, incorporating decorative elements like flowers or vines to enhance the rustic feel.
Don't forget to include a header that clearly identifies the display as a seating chart.
For an extra personal touch, add small illustrations or inside jokes that your guests will appreciate. Remember to create a draft on paper before writing on the chalkboard to avoid mistakes.
With some creativity and careful planning, your chalkboard seating display will become a standout feature of your budget-friendly rustic wedding reception.
Bar Menu
For your bar menu, consider using a chalkboard to display drink options, creating a rustic and budget-friendly aesthetic.
You can easily update the menu as needed and customize it with artistic flair.
Alternatively, repurpose a wooden pallet as a unique drink list display, painting or stenciling your beverage offerings for a charming, DIY touch.
Chalkboard Bar Menu Options
When crafting a budget-friendly wedding reception, a chalkboard bar menu can add a charming touch while keeping costs low. You'll find that chalkboards are versatile, easily customizable, and perfect for creating a rustic atmosphere. To create your bar menu, start with a large framed chalkboard or repurpose an old mirror with chalkboard paint.
Consider these popular chalkboard bar menu options:
| Menu Style | Description |
|---|---|
| Full Menu | List all drinks available |
| Signature Cocktails | Highlight 2-3 special drinks |
| Beer & Wine Only | Simple list for limited bars |
| His & Hers | Showcase couple's favorites |
| Drink Prices | Include costs for cash bars |
When designing your menu, use different fonts and sizes to create visual interest. Incorporate small illustrations or borders to enhance the rustic feel. Don't forget to include non-alcoholic options for guests who aren't drinking. If you're not confident in your handwriting, consider using chalkboard markers or stencils for a cleaner look. Remember to place your chalkboard bar menu in a prominent location where guests can easily see it as they approach the bar area.
Wooden Pallet Drink List
Repurposing wooden pallets for a drink list offers a rustic and eco-friendly alternative to traditional bar menus. You'll find that this DIY project not only saves money but also adds a unique charm to your wedding reception.
To create your wooden pallet drink list, start by sanding the pallet to achieve a smooth surface. Then, apply a coat of paint or stain to match your wedding color scheme.
Once your pallet is prepared, you can use various methods to display your drink options:
- Chalkboard paint: Apply chalkboard paint to sections of the pallet and write your drink list with chalk or chalk markers.
- Wooden signs: Attach small wooden signs to the pallet slats, each featuring a different drink option.
- Hanging tags: Use twine to hang cardstock tags from the pallet, listing your beverages.
- Vinyl lettering: Apply custom vinyl lettering directly to the pallet for a clean, professional look.
Don't forget to include both alcoholic and non-alcoholic options on your drink list.
You can also add a personal touch by naming signature cocktails after the bride and groom or incorporating inside jokes that your guests will appreciate.
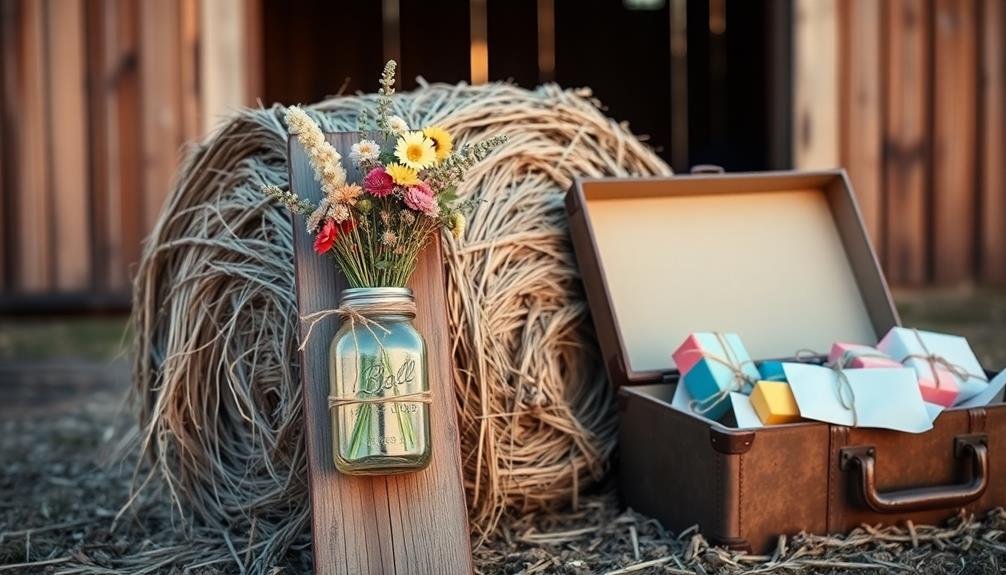
Guestbook Instructions

Clear guestbook instructions are essential for a smooth wedding reception experience. To create budget-friendly signs for your rustic wedding, consider using repurposed materials like wooden crates, chalkboards, or even old windows.
You'll want to place your guestbook sign in a prominent location near the entrance or guestbook table. Keep your instructions simple and easy to read. Use a large, clear font or neat handwriting. Include brief, specific directions such as "Please sign our guestbook" or "Leave a message for the newlyweds."
If you're using a non-traditional guestbook, like a photo frame or puzzle pieces, provide clear instructions on how guests should participate. Don't forget to add a personal touch to your sign. Incorporate your wedding colors or theme elements.
You can use twine, burlap, or lace to decorate the edges of your sign for a rustic feel. If you're crafty, consider adding pressed flowers or small wooden embellishments.
Remember to test your sign's visibility from a distance and in different lighting conditions. This guarantees all your guests can easily read and follow the instructions, making your guestbook a cherished keepsake of your special day.
Ceremony Program

For your ceremony program, consider using a chalkboard easel display to save money and create a rustic charm.
You can easily update the information on the chalkboard as needed, making it versatile for future events.
Alternatively, repurpose a wooden pallet into a unique program display by painting or writing the details directly onto the wood slats, adding a touch of DIY flair to your wedding decor.
Chalkboard Easel Display Options
Showcasing your ceremony program on a chalkboard easel display offers a charming and budget-friendly option for your wedding reception.
You'll find that chalkboard easels are versatile and can be customized to match your rustic theme. To create an eye-catching display, consider using different colored chalk or chalk markers for a vibrant look.
When selecting a chalkboard easel, keep these options in mind:
- Freestanding A-frame: This classic style is sturdy and easy to set up, perfect for outdoor receptions.
- Tabletop easel: Ideal for smaller spaces or as part of a larger display on your welcome table.
- Wall-mounted chalkboard: A space-saving option that can be hung on a barn wall or fence.
- Repurposed window frame: For a unique twist, transform an old window into a chalkboard display.
To maximize the impact of your chalkboard easel, use clear, legible handwriting or stencils for important information.
You can also add decorative elements like floral sketches or borders to enhance the rustic appeal. Don't forget to seal your chalkboard art with a fixative spray to prevent smudging throughout the event.
Wooden Pallet Designs
In line with rustic wedding trends, wooden pallet designs offer a charming and eco-friendly option for displaying your ceremony program. You'll find that reclaimed pallets are readily available and often free, making them an ideal choice for budget-conscious couples.
To create your pallet program sign, start by sanding the wood to smooth any rough edges. You can leave it natural or stain it to match your wedding color scheme. Use white or metallic paint pens to write out your ceremony details directly on the wood. Alternatively, attach printed paper or fabric to the pallet for a different look.
Consider arranging multiple pallets to create a larger display area. You can lean them against a wall or prop them up on easels. For added charm, incorporate elements like twine, burlap, or fairy lights.
Don't forget to include essential information such as the order of events, wedding party names, and any special readings or performances. You might also add a personal touch with a favorite quote or your wedding hashtag.
Remember to position your pallet sign where guests can easily see it as they arrive at the ceremony site.
Directional Signs
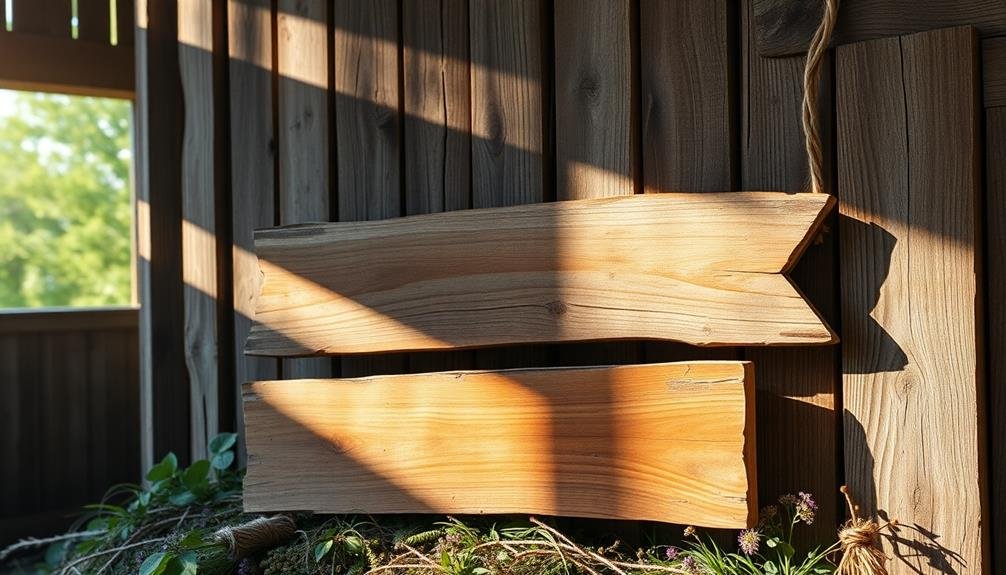
Directional signs play an essential role in guiding your wedding guests smoothly through the venue. For a budget-friendly rustic wedding, you can create charming and practical directional signs using inexpensive materials. Opt for wooden planks, chalkboards, or even repurposed items like old windows or doors to craft your signs.
To make your directional signs both functional and aesthetically pleasing, consider these four tips:
- Use clear, legible fonts that match your wedding's rustic theme.
- Incorporate arrows or other visual cues to indicate directions clearly.
- Keep the wording concise and easy to read from a distance.
- Add small decorative elements like twine, burlap, or wildflowers for a rustic touch.
Place your directional signs strategically throughout the venue, marking key areas such as the ceremony site, reception area, restrooms, and parking lot.
Don't forget to include signs for any additional activities or spaces, like a photo booth or gift table. By creating your own budget-friendly directional signs, you'll not only save money but also add a personal touch to your rustic wedding decor while ensuring your guests can navigate the venue with ease.
Photo Booth Props
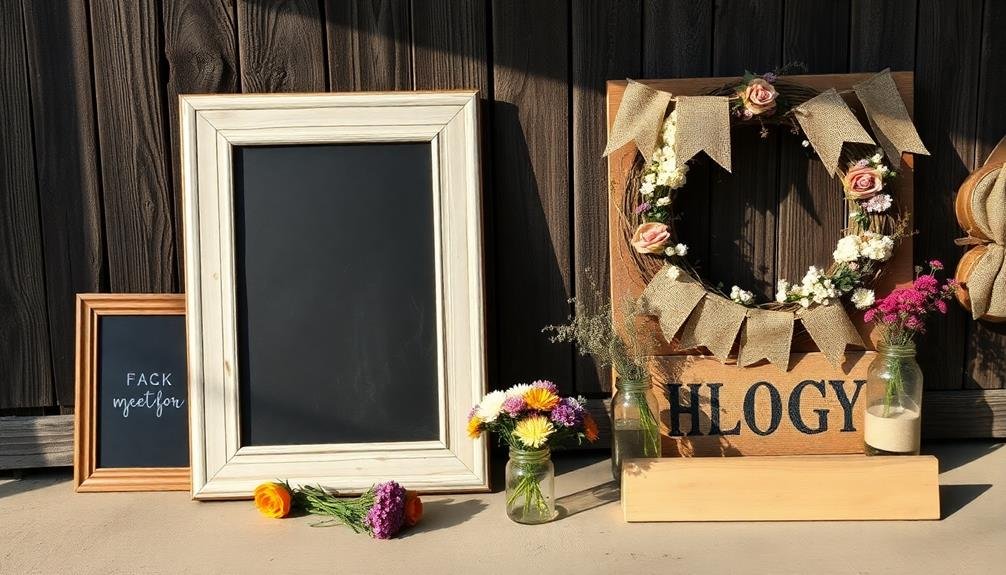
Photo booth props frequently add an extra layer of fun and excitement to wedding receptions. For a budget-friendly rustic wedding, you can create DIY props that fit your theme perfectly. Start by gathering materials like cardboard, craft sticks, and twine. Cut out shapes like mustaches, lips, and speech bubbles, then attach them to the sticks.
For a rustic touch, use burlap to create props like bow ties or flower crowns. You can also repurpose old picture frames by adding twine handles, allowing guests to pose behind them. Don't forget to include props that reflect your personalities or shared interests.
To save money, print out prop designs on cardstock instead of buying pre-made ones. You can find free printable templates online or design your own using graphic software. Consider making larger props like oversized flowers or musical instruments using foam board for a dramatic effect.
Display your props on a rustic wooden crate or vintage suitcase near the photo booth area. Add a chalkboard sign with instructions to encourage guests to use the props and have fun capturing memories of your special day.
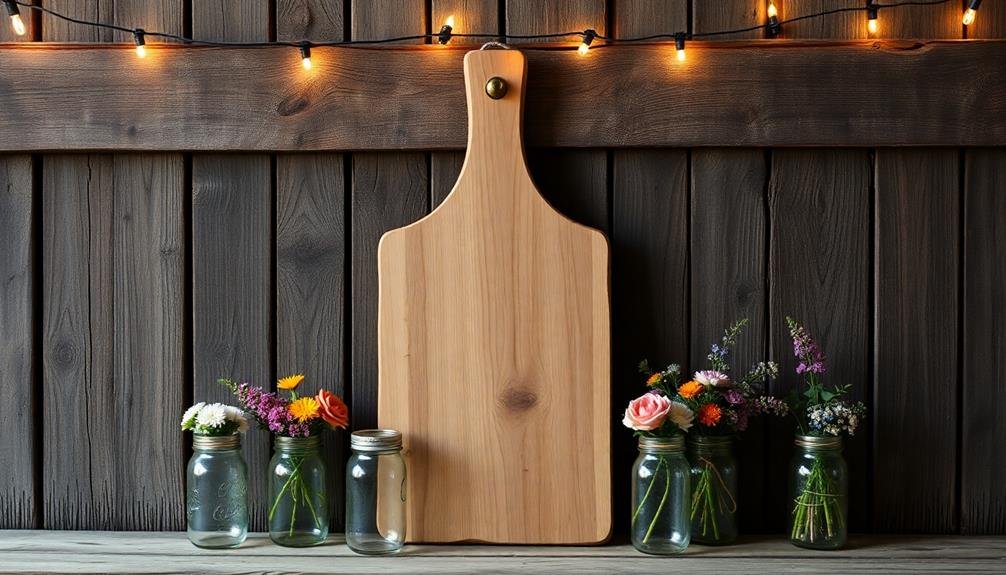
Dessert Table Display
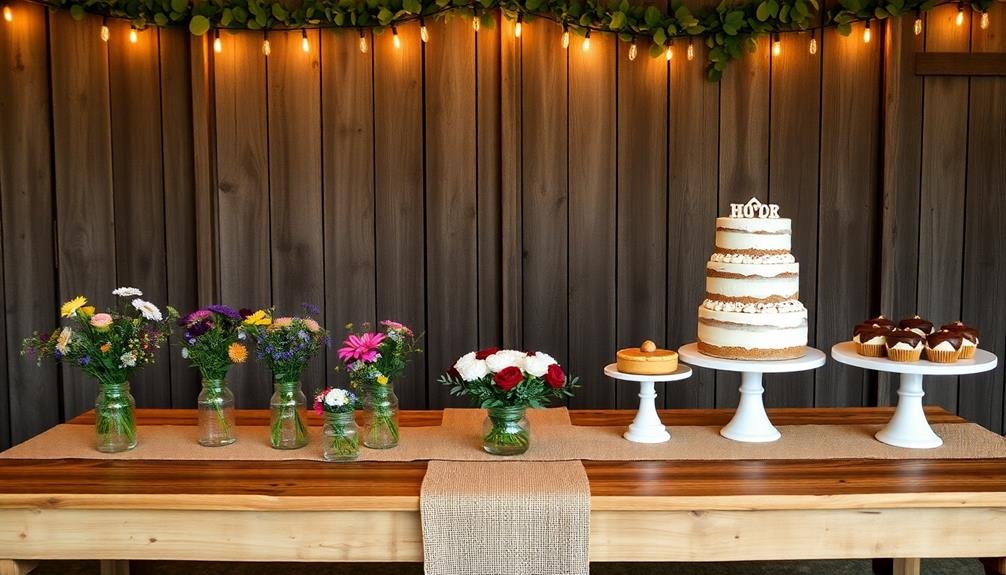
A sweet centerpiece of any wedding reception, the dessert table display can be both gorgeous and budget-friendly with some creative planning. You don't need to break the bank to create a stunning visual feast for your guests. Focus on DIY elements and repurposed items to keep costs low while maintaining a rustic charm.
Start by selecting a focal point for your dessert table, such as a homemade cake or a tiered display of cupcakes. Surround this centerpiece with an array of smaller treats, using mismatched vintage plates and stands to add character. Incorporate natural elements like wood slices, mason jars filled with wildflowers, or burlap runners to enhance the rustic theme.
To create an eye-catching dessert table display on a budget:
- Use wooden crates or repurposed ladders as shelving
- Craft your own signage using chalkboards or reclaimed wood
- Illuminate the table with strings of fairy lights or mason jar candles
- Display desserts on thrifted cake stands or vintage tea cups
Don't forget to include a simple, handmade sign that ties into your overall wedding theme. This personal touch will make your dessert table feel cohesive and intentional.
Gift Table Marker
Simplicity shines when it comes to marking your gift table. A rustic-themed wedding calls for a charming, yet budget-friendly approach to signage. You'll want to create a clear marker that directs guests to the right spot for their presents without breaking the bank.
Consider using a repurposed wooden plank or a slice of tree trunk as your base. Sand it down and apply a light stain to enhance its natural beauty. Then, use white or metallic paint to hand-letter "Gifts" or "Cards and Gifts" onto the surface. If you're not confident in your penmanship, stencils can help achieve a polished look.
Alternatively, you can opt for a chalkboard sign. Find an inexpensive frame at a thrift store, paint it to match your decor, and insert a chalkboard. Write your message with chalk markers for a crisp, clean appearance.
For an extra touch of rustic charm, adorn your sign with twine, burlap, or dried flowers. These natural elements will complement your theme while keeping costs low.
Thank You Message
After marking the gift table, you'll want to express gratitude to your guests for their presence and generosity. A "Thank You" sign is a perfect way to show your appreciation while adding a personal touch to your rustic wedding decor.
You can create a budget-friendly sign using materials you might already have on hand or can easily find at a craft store.
Consider these four ideas for your DIY "Thank You" sign:
- Repurposed wood: Use an old wooden pallet or barn wood to paint your message. Sand it lightly for a weathered look.
- Chalkboard: Write your message on a framed chalkboard for a classic, versatile option.
- Embroidery hoop: Stretch burlap or linen fabric in a large embroidery hoop and stitch your message with colorful thread.
- Window frame: Write your message on an old window pane using paint markers.
Keep the wording simple and heartfelt. "Thank you for celebrating with us" or "Thanks for sharing our special day" are perfect options.
Place the sign near the entrance or by the guest book to guarantee it's seen by all your guests.
Frequently Asked Questions
How Can I Weatherproof My Wedding Signs for an Outdoor Reception?
You can weatherproof your outdoor wedding signs by applying a clear sealant or varnish. Use waterproof materials like acrylic paint or vinyl lettering. Consider laminating paper signs or opting for durable materials like wood or metal for longer-lasting protection.
What Fonts Work Best for Rustic Wedding Signs?
You'll want to use fonts that exude a rustic charm. Try hand-lettered styles like Brusher, Playlist Script, or Amatic SC. Serif fonts like Quattrocento or Josefin Slab also work well. Don't forget to mix and match for variety!
Where Can I Find Affordable Wooden Pallets for DIY Wedding Signs?
You can find affordable wooden pallets for DIY wedding signs at local hardware stores, construction sites, or online marketplaces. Don't forget to check Facebook Marketplace or Craigslist for free or low-cost options in your area.
Are There Eco-Friendly Alternatives to Traditional Wedding Signage Materials?
You'll find plenty of eco-friendly alternatives for wedding signs. Try using recycled cardboard, reclaimed wood, or even digital displays. You can also opt for biodegradable materials like bamboo or cork. These choices reduce waste and show your commitment to sustainability.
How Far in Advance Should I Order Custom Wedding Signs?
You'll want to order custom wedding signs at least 6-8 weeks before your big day. This allows time for design, production, and shipping. Don't wait until the last minute, as rush orders can be costly and stressful.
In Summary
You've now got a great selection of budget-friendly rustic wedding signs to choose from. Don't be afraid to get creative and personalize these ideas to fit your unique style. Remember, it's the little touches that make your special day memorable. With these affordable options, you'll add charm and functionality to your reception without breaking the bank. So go ahead, pick your favorites, and start crafting those perfect signs for your rustic wedding celebration!

I’m Sarah, the creator and writer behind this site. I’m a wife and a mother of two wonderful kids who keep me on my toes and inspire me daily. My passion lies in creating and organizing memorable events and group activities, where people can come together and make lasting memories.

Leave a Reply